OK finally finished up all the wiring to make it ‘permanent’ by splicing a new plug onto the extended wire from my existing 24VAC/1000ma power supply. Took me a little while to gather all the oddball pieces needed to make everything look professional with the Orbit box (didn’t want wires dangling loose out of the two pre-cut holes in the box), so I though I’d share my Bill Of Materials in case it helps anyone else who is starting from scratch like I did.
Basically, I started with a blank wall (Iro did not fit in old controller box, so I removed it), a 1/2" PVC pipe coming up the wall carrying all ZONE, COM, and MASTER VALVE wires, and then separate 24VAC and rain sensor wires by themselves (not in PVC).
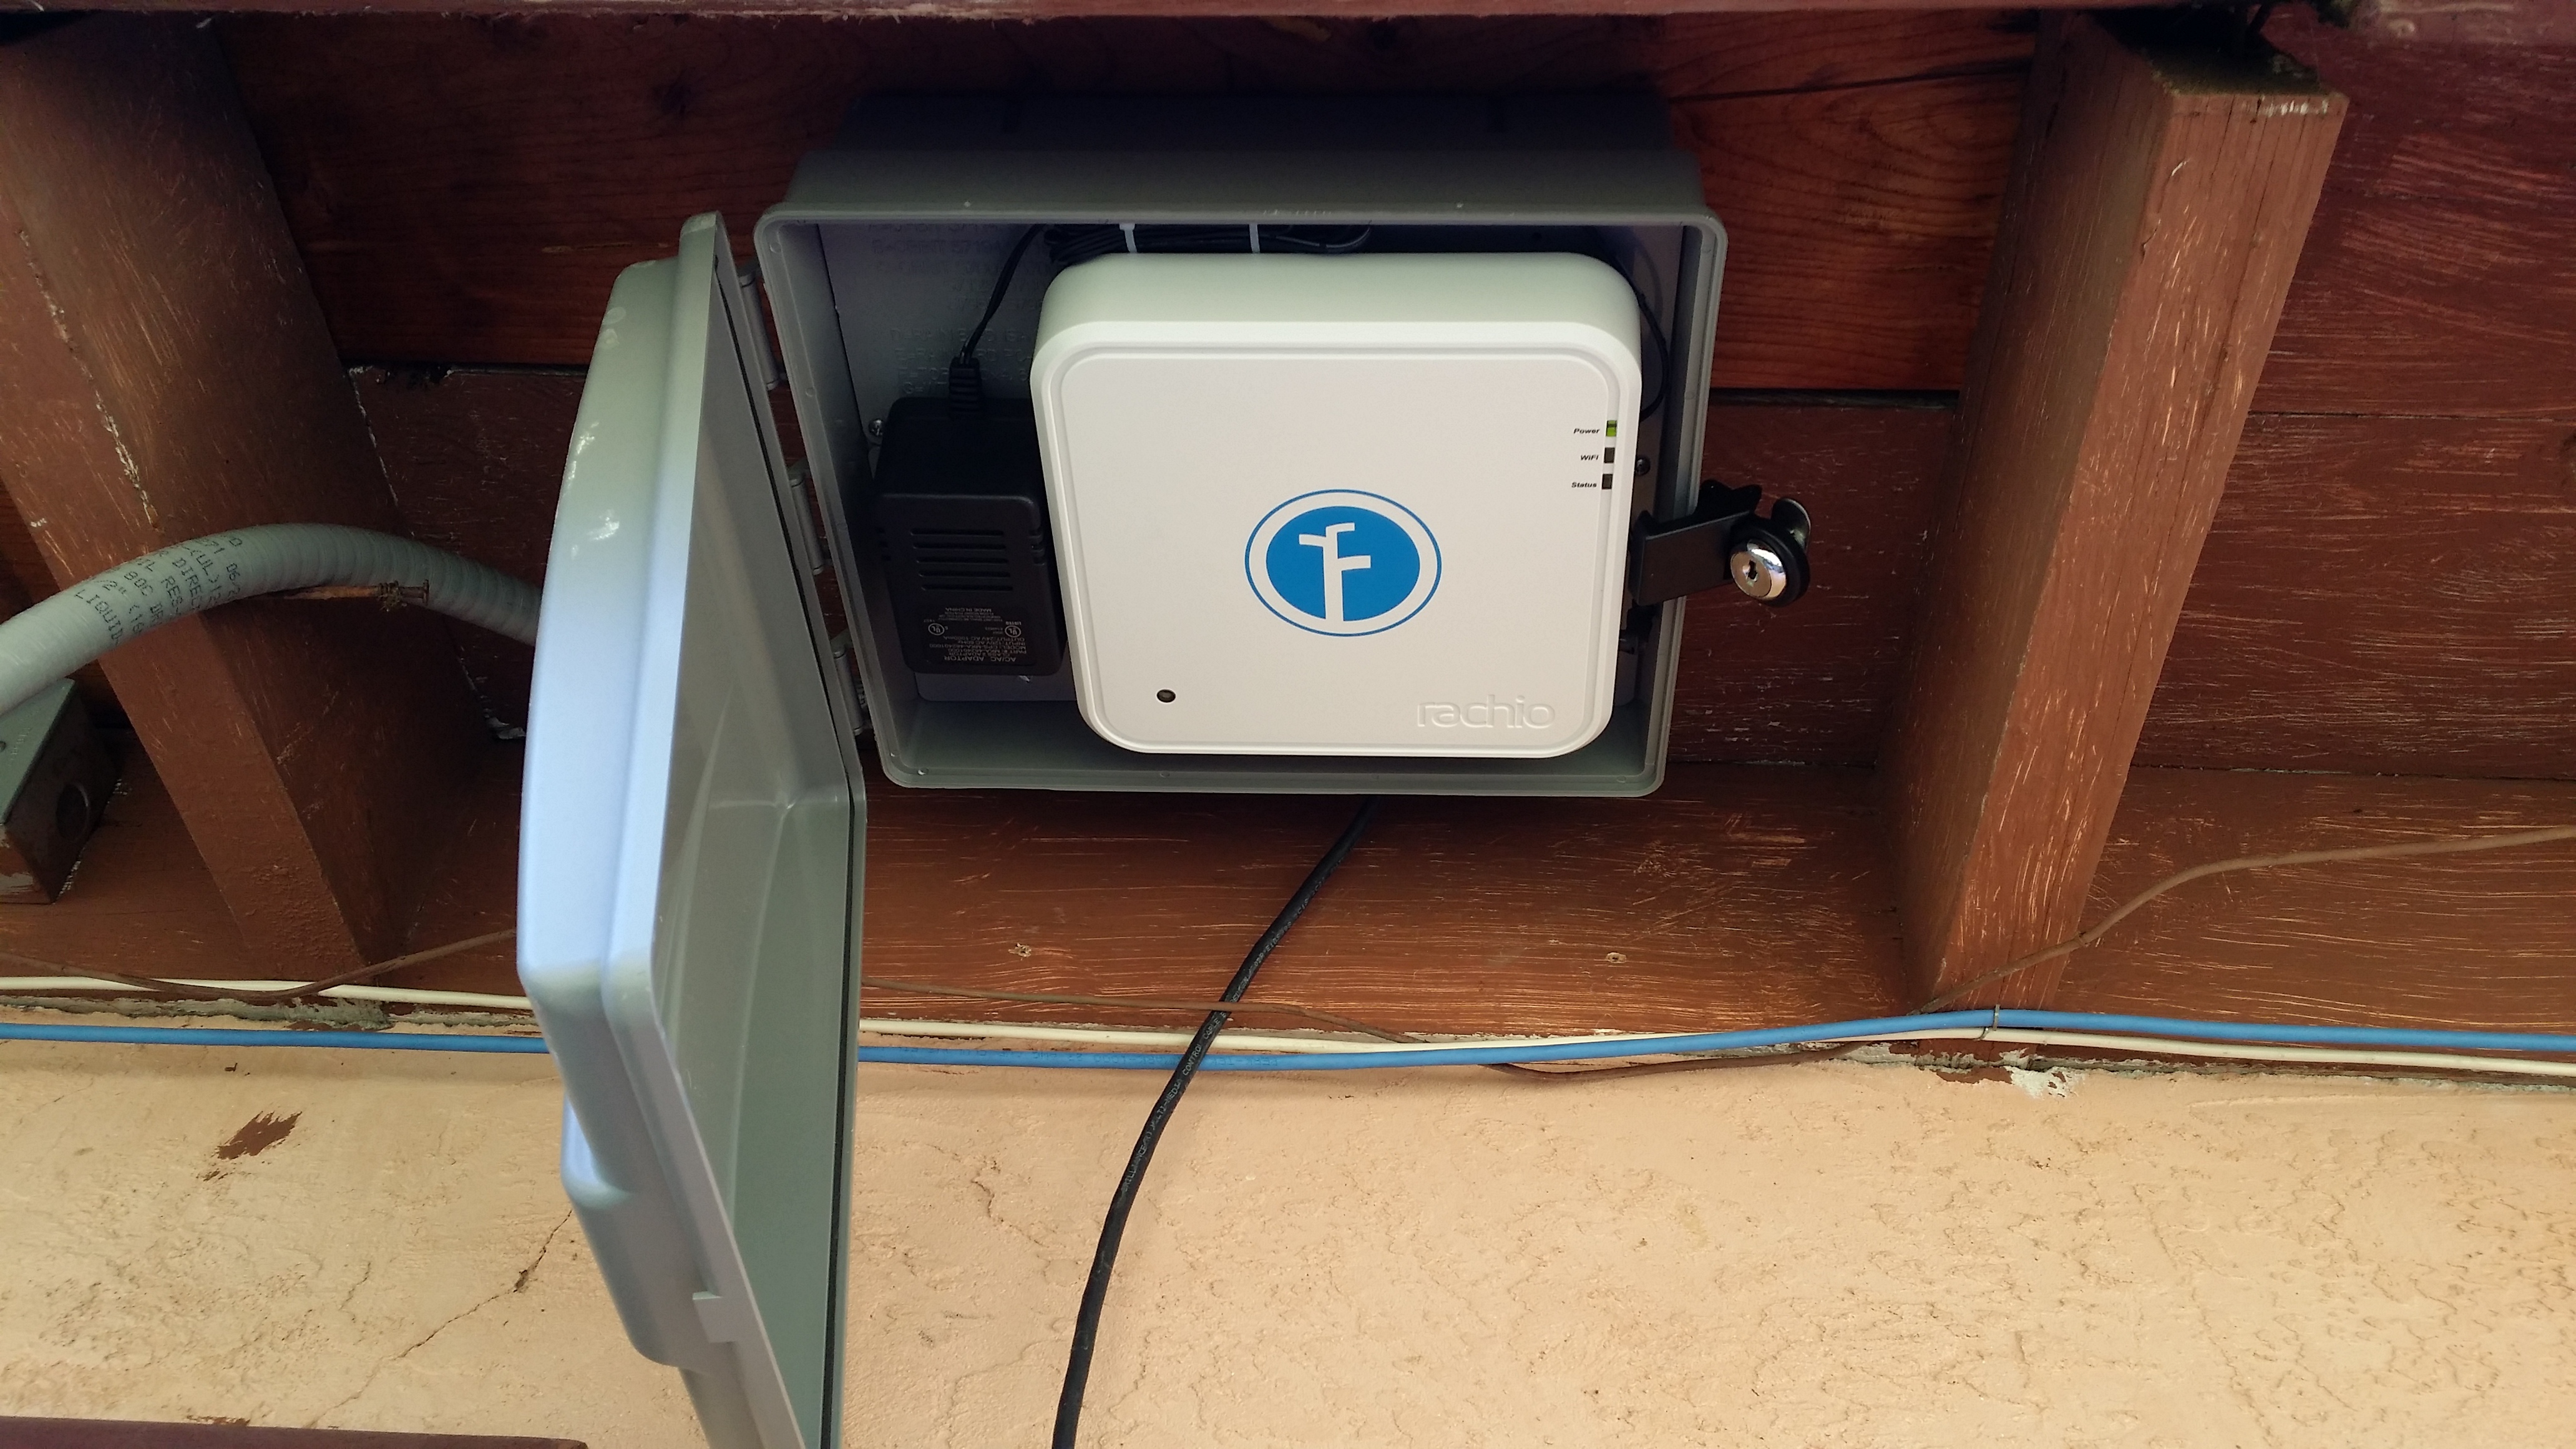
Here’s the final result (will update with a photo in better light when I get a chance):
(and yes it bugs me very much that the Iro is not level! )
Here’s the BOM:
$31.97 Orbit Outdoor Timer Box
$0.34 3/4" Male Terminal Adapter - fits pre-cut hole on right side of Orbit box for zone wires
$0.46 3/4" to 1/2" PVC reducer bushing - step down 3/4" Terminal Adapter to existing 1/2" PVC
$1.04 3/4" Locknuts - for top of terminal adapter (inside box)
$4.66 (x2) CordMate Channel - for concealing rain sensor wires coming from ceiling
$1.73 (x2) CordMate 90-Degree Flat Elbow - for tidy CordMate Channel corners
$1.35 M20 x 1.5 cable gland - water tight connector for 24VAC/RainSensor wires (perfect fit)
$0.27 M20 cable gland nut - for top of cable gland (inside box)
$3.13 barrel plug to wire leads - new plug for Iro, soldered to existing 24VAC wire
$3.21 jack to barrel plug, right angle - alternative plug for Iro, if need to save space
NOTES:
Turns out I didn’t need both barrel plugs, but I listed them both here because I can confirm the right-angle plug does indeed fit Iro and it does save a bit of space over the straight-plug that comes with the unit. Would be useful for this installing Iro into a box with a tight fit, but I ended up not needing it for this box.
The Orbit box comes with a GFCI receptacle that sits in the lower left corner of the box. I am not using that GFCI receptacle and have removed it. My power supply sits on the wall, outside the box, and I run the 24VAC wires through the cable gland on the left side of the box (black wire in photo). If you use this internal GFCI receptacle to plug in the power adapter, then I think it would be a really tight fit for the Iro (maybe the right-angle plug would help).
This box is sealed pretty well, has a little gasket around the edge, and the cable gland ensures the power wire connection is sealed decently, too. Should keep the Iro dust-free and provide a nice tidy look in the garage.
Now I’m done working on it, and can let Iro take care of my lawn for the rest of the summer.