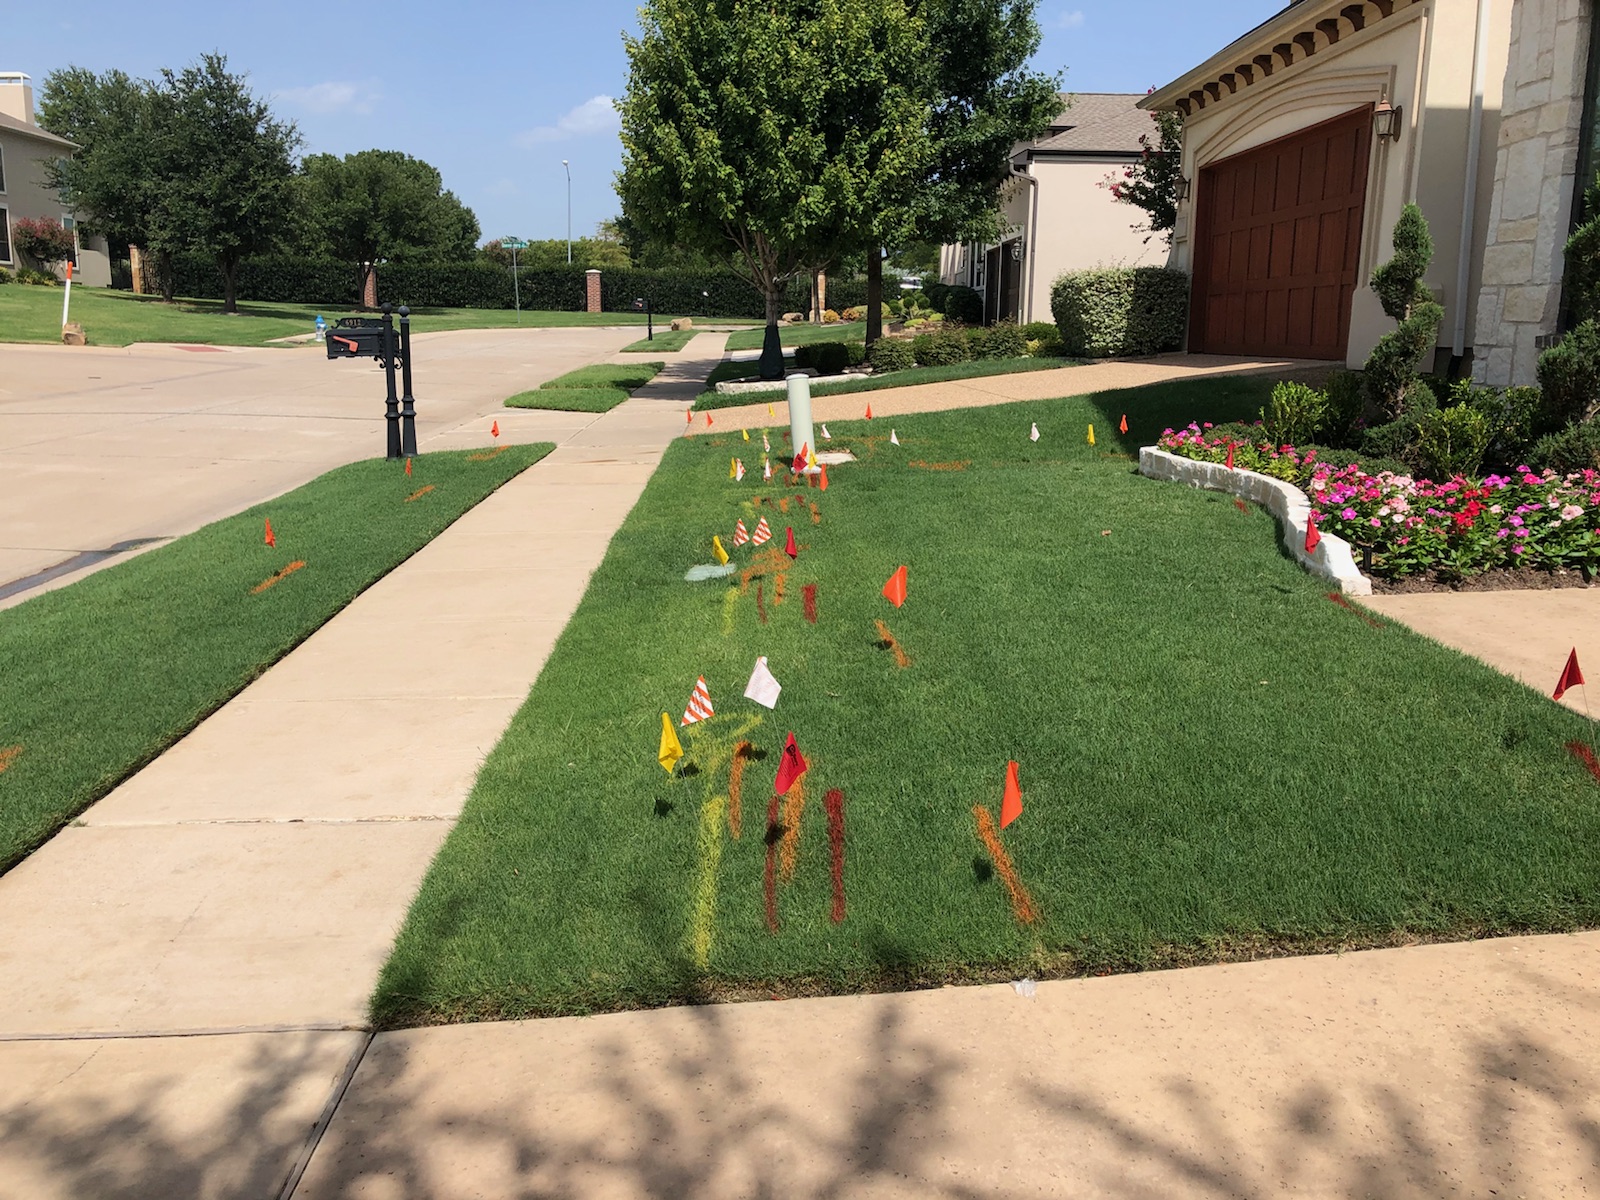
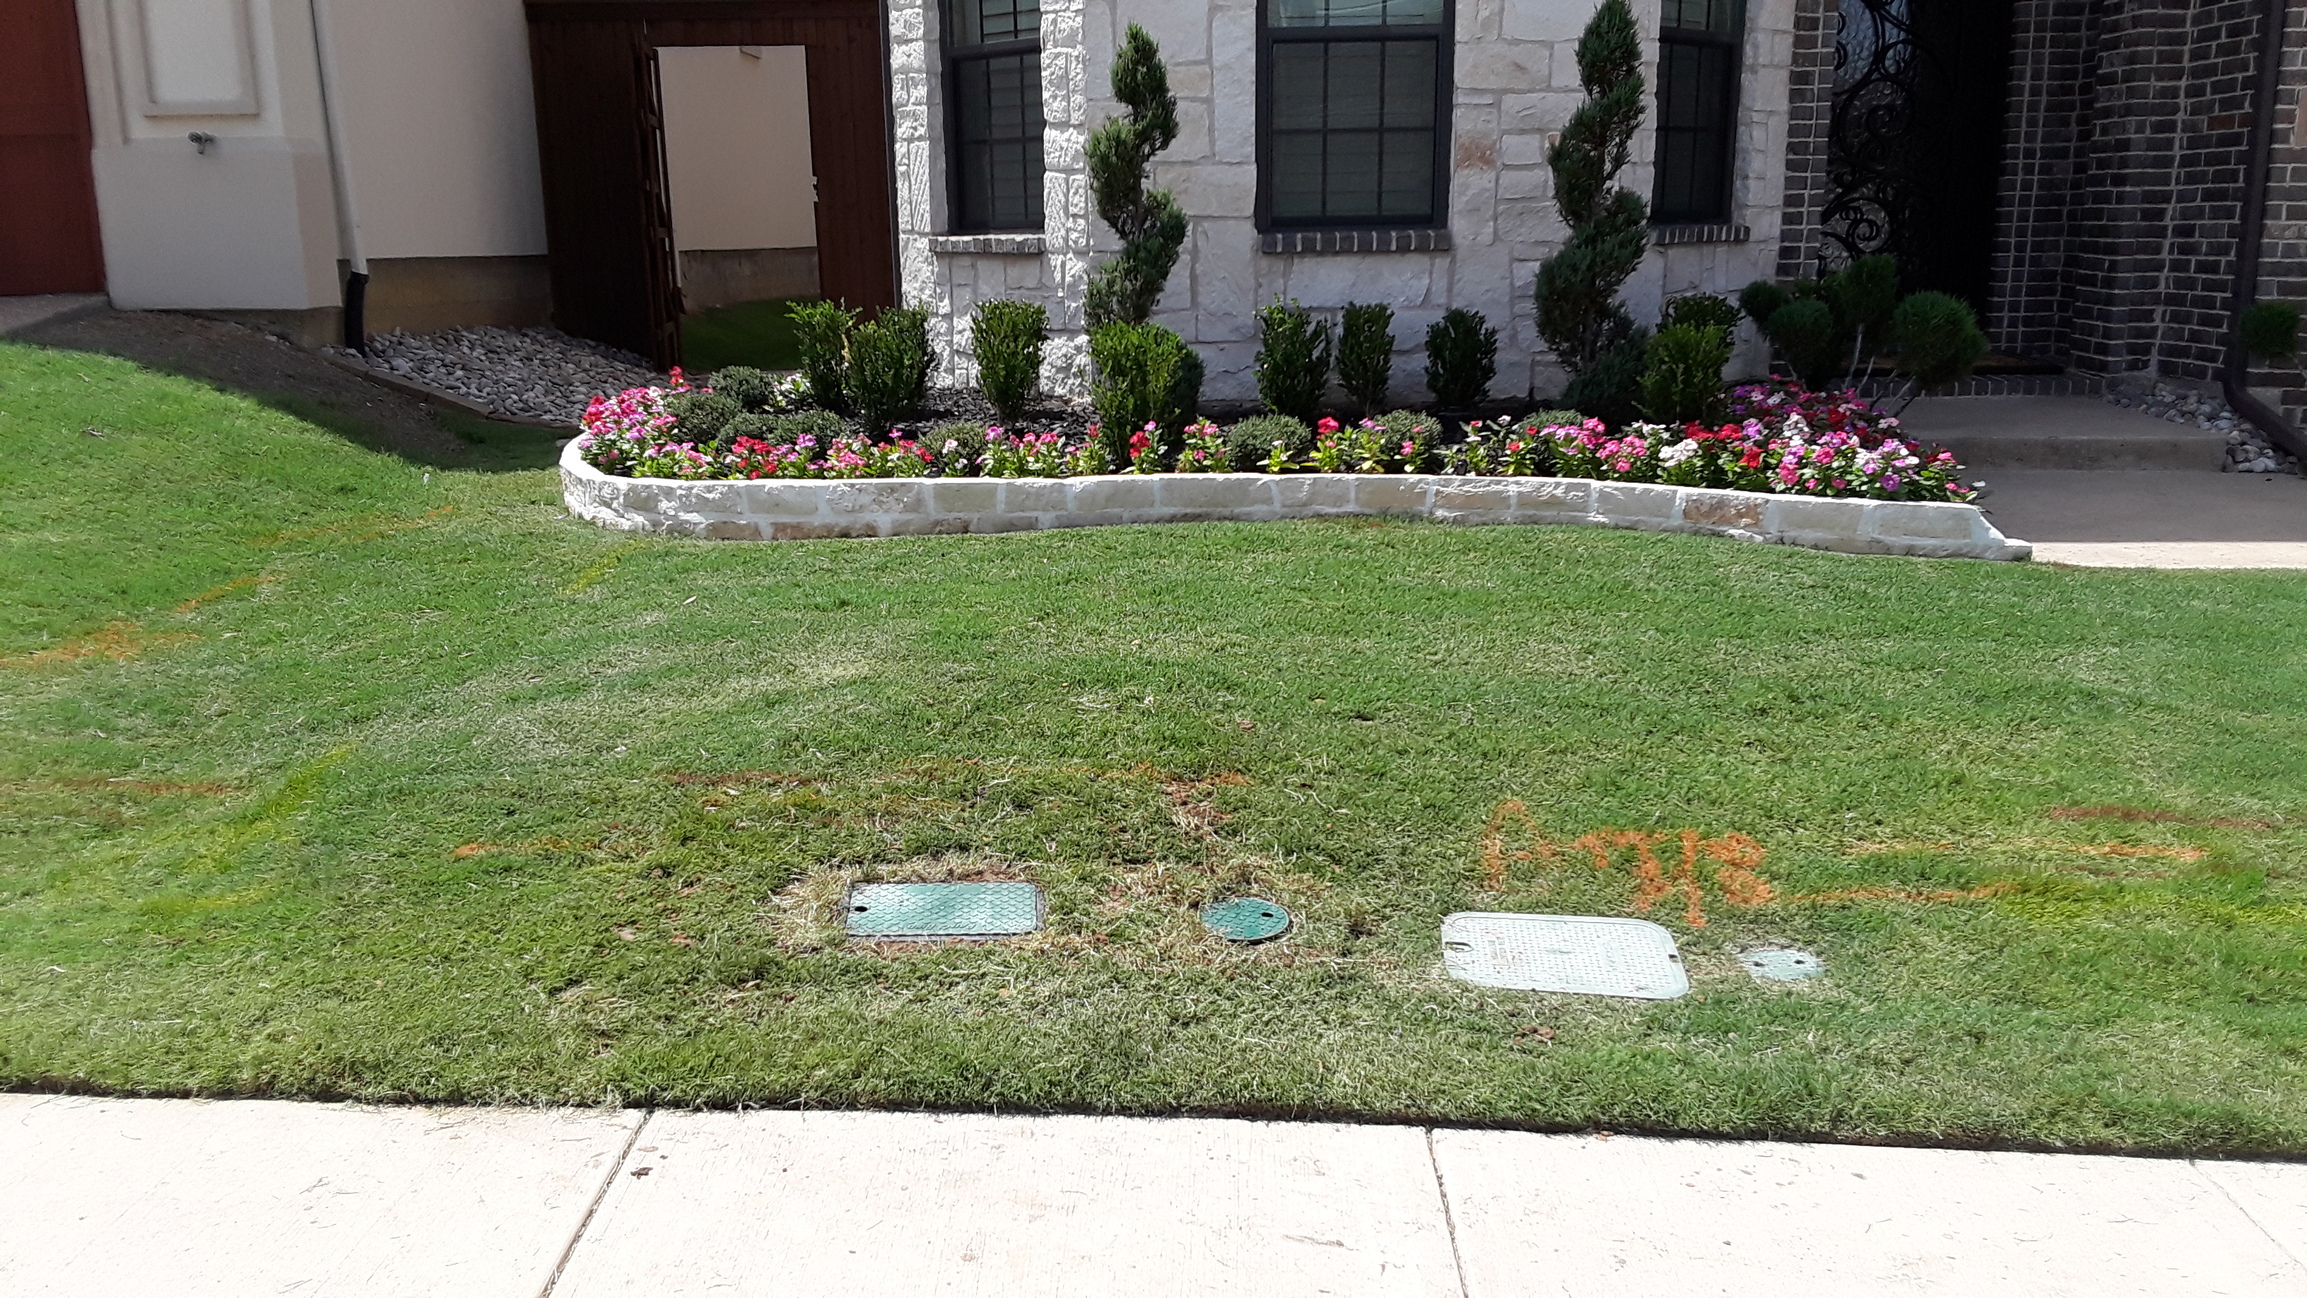
Preparation and installation of the Rachio 3 Wireless Flow Meter was a great learning experience. I had installed the Rachio 3 controller a few weeks before. The install site is on a new zero lot line property in Plano. There weren’t a lot of mature trees or landscape to contend with, but I did have to plan carefully. The location I picked was after the double check and master valve, which was also in line with all the local utilities. I did have to call DIGTESS to contact the utilities, so that they could be marked before I proceeded to excavate.
Before I started excavating, I installed the flow meter batteries and synced the meter with the controller. The R3C is installed outdoors and it’s about forty-five feet to the flow meter. The sync and connection went smoothly and the radio signal is strong.
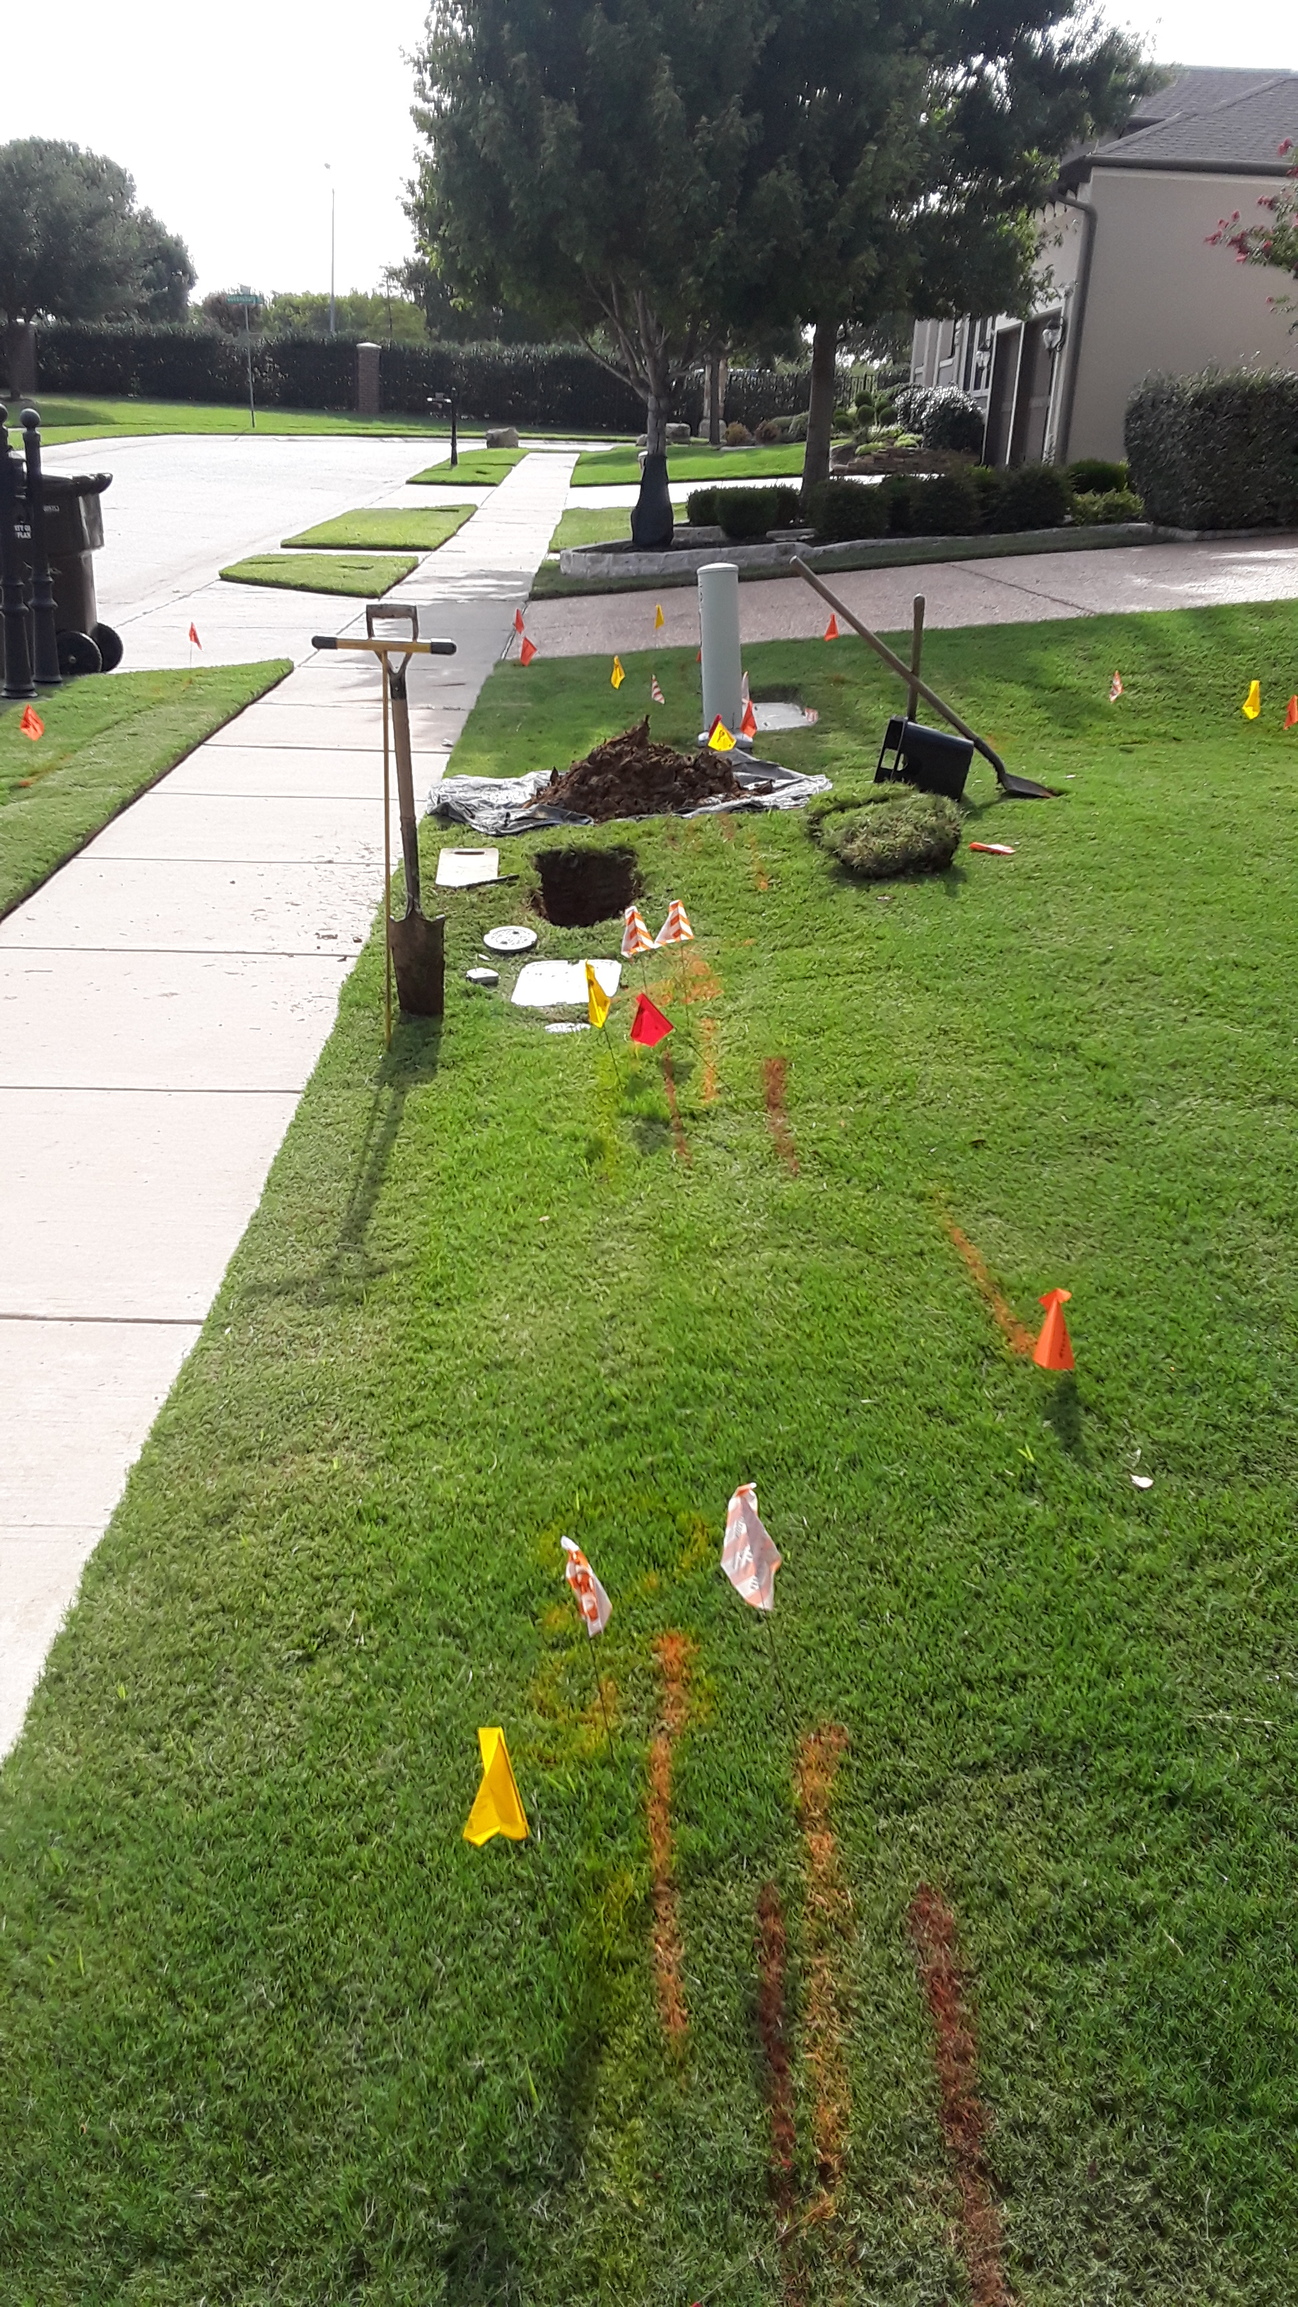
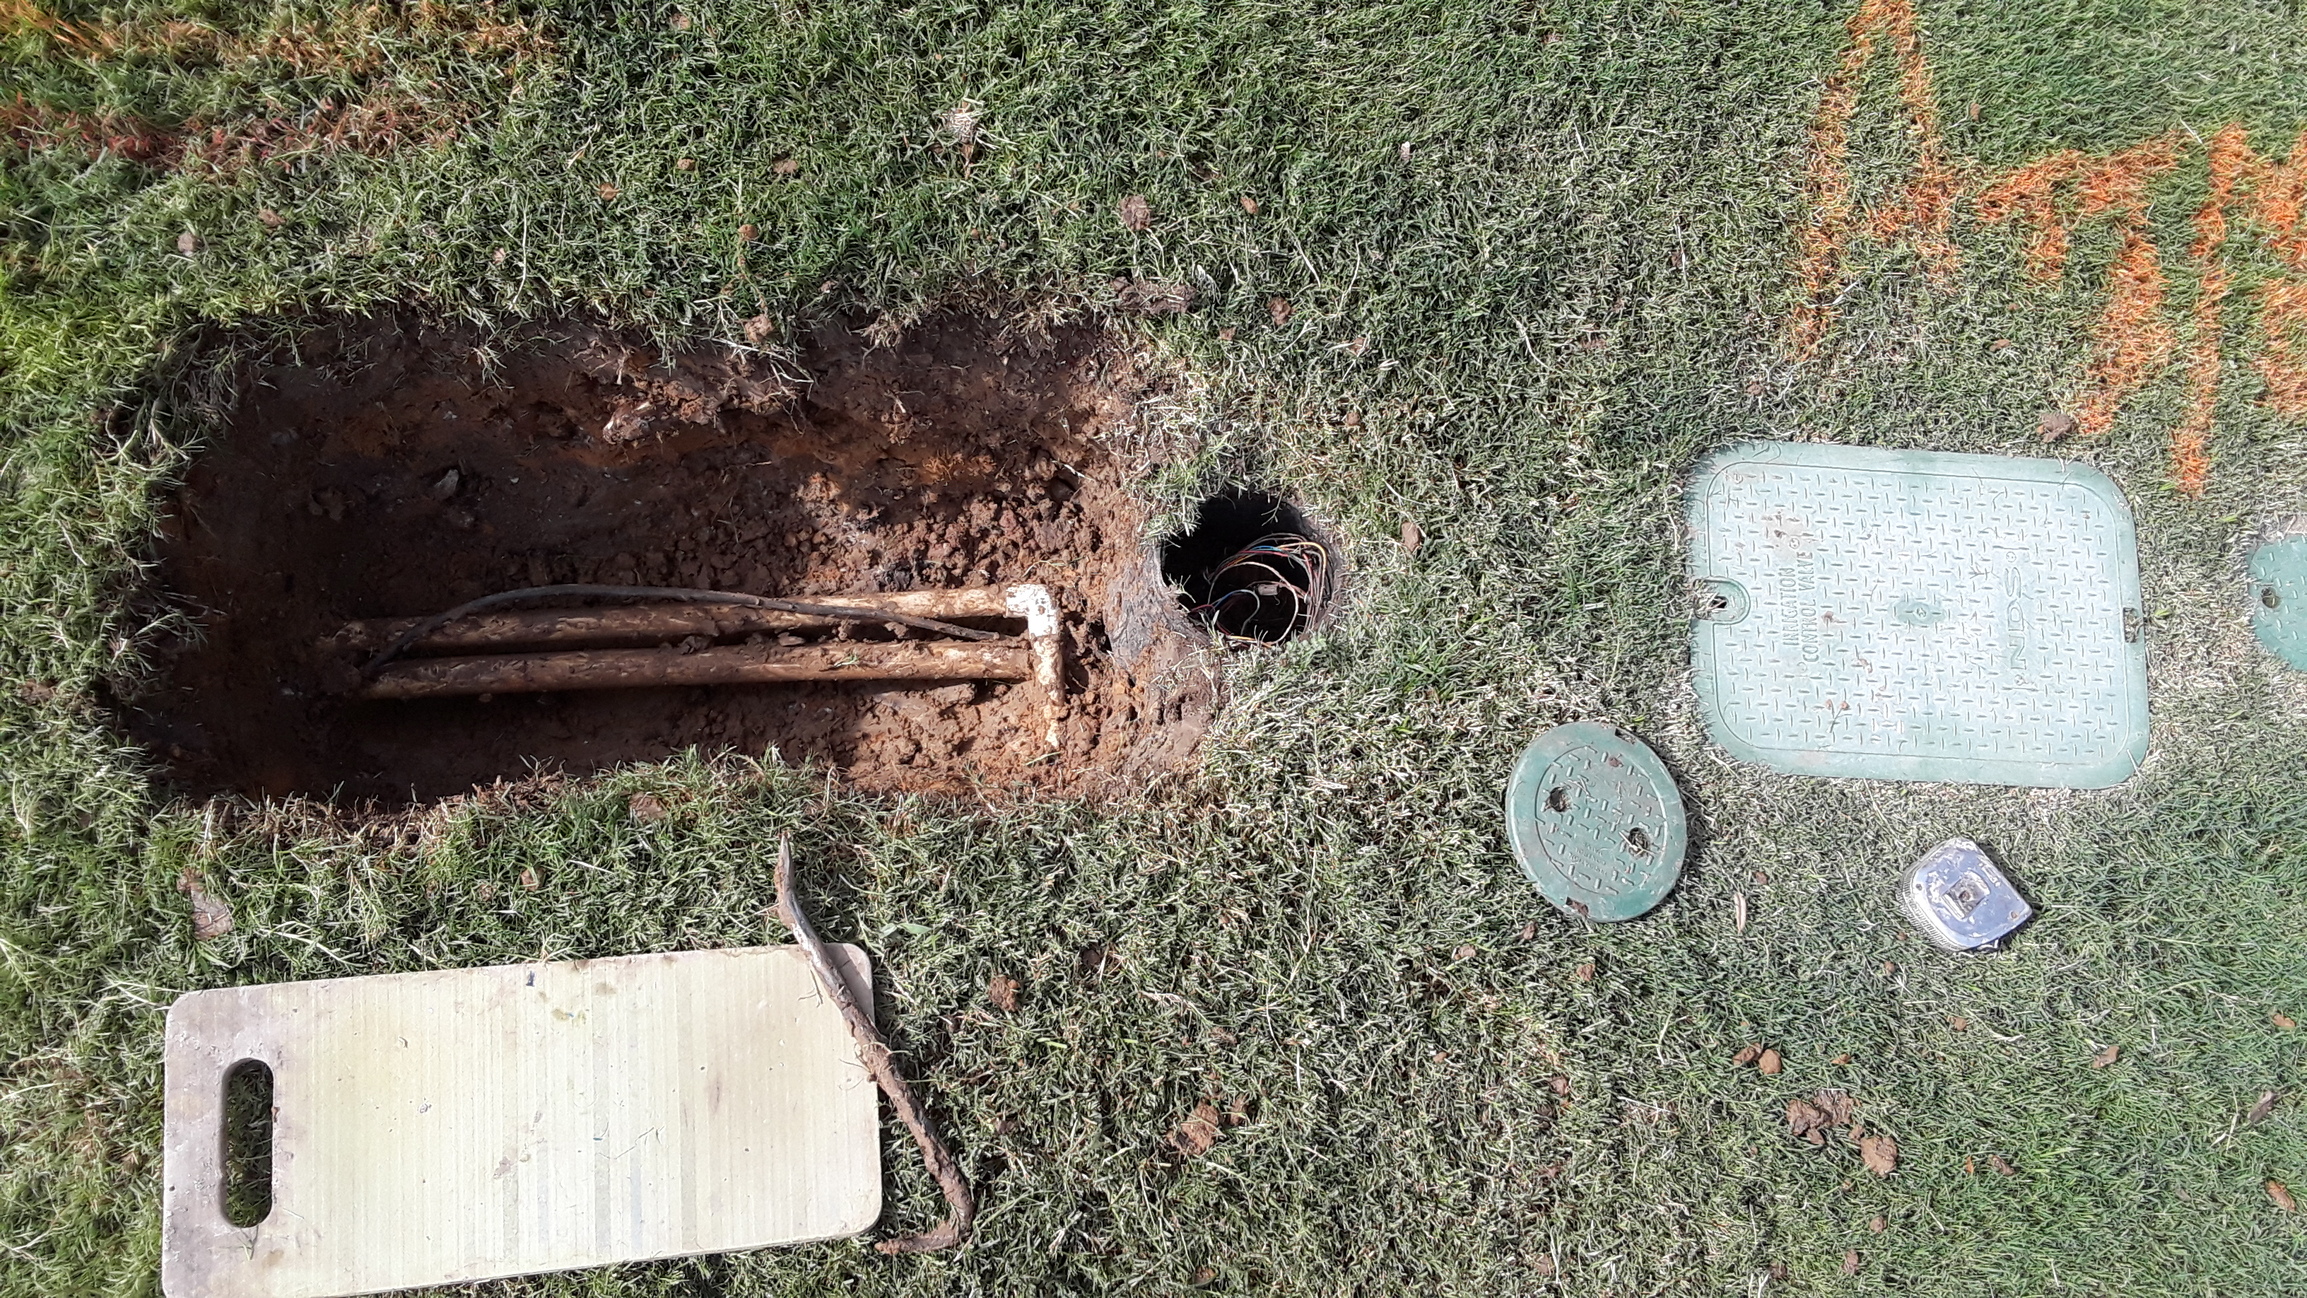
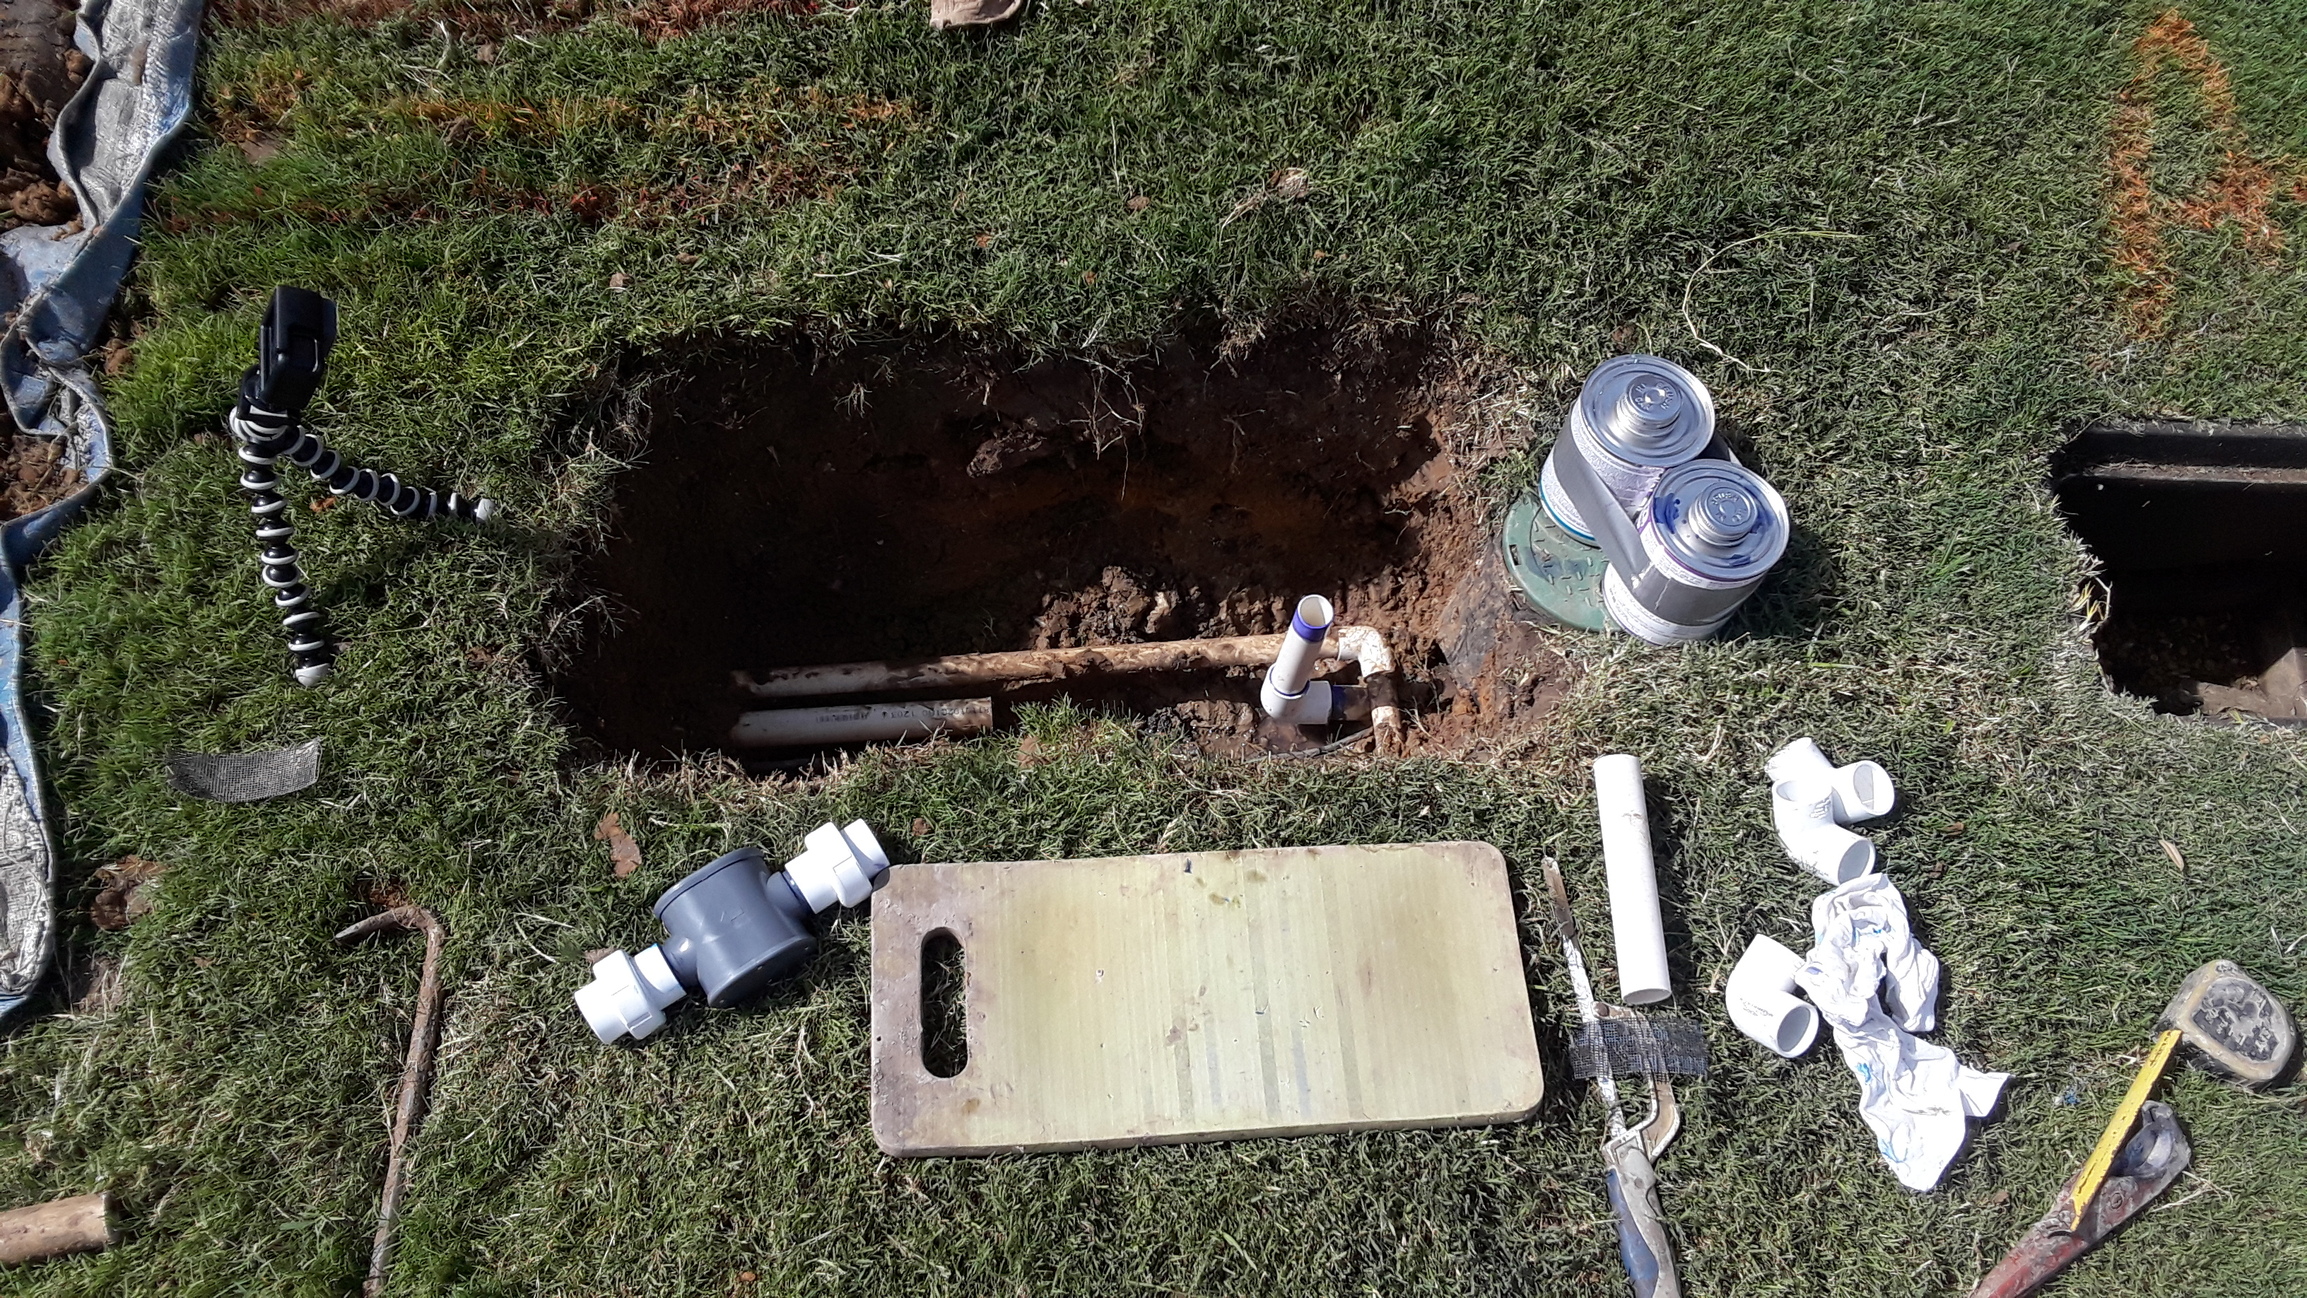
I had been planning in my head on how the installation would go. I always try to visualize my work on new things that I do to forsee any challenges. It started out fine until I got down to the mainline pipe. First, it was over twelve inches deep. Second, there was a lateral pipe beside the mainline. Now I was starting to rethink my plan. I needed to get my inlet pipe to the flow meter long enough to work properly. I also needed to be able to service the flow meter in the future so that I could replace the batteries. My experience in the irrigation industry has taught me that I can count on water and mud to fill a valve box to make service a challenge. It has also taught me that anything with batteries in the ground that is claimed to be sealed always gets moisture in it. My goal was to try to prevent that as much as possible.
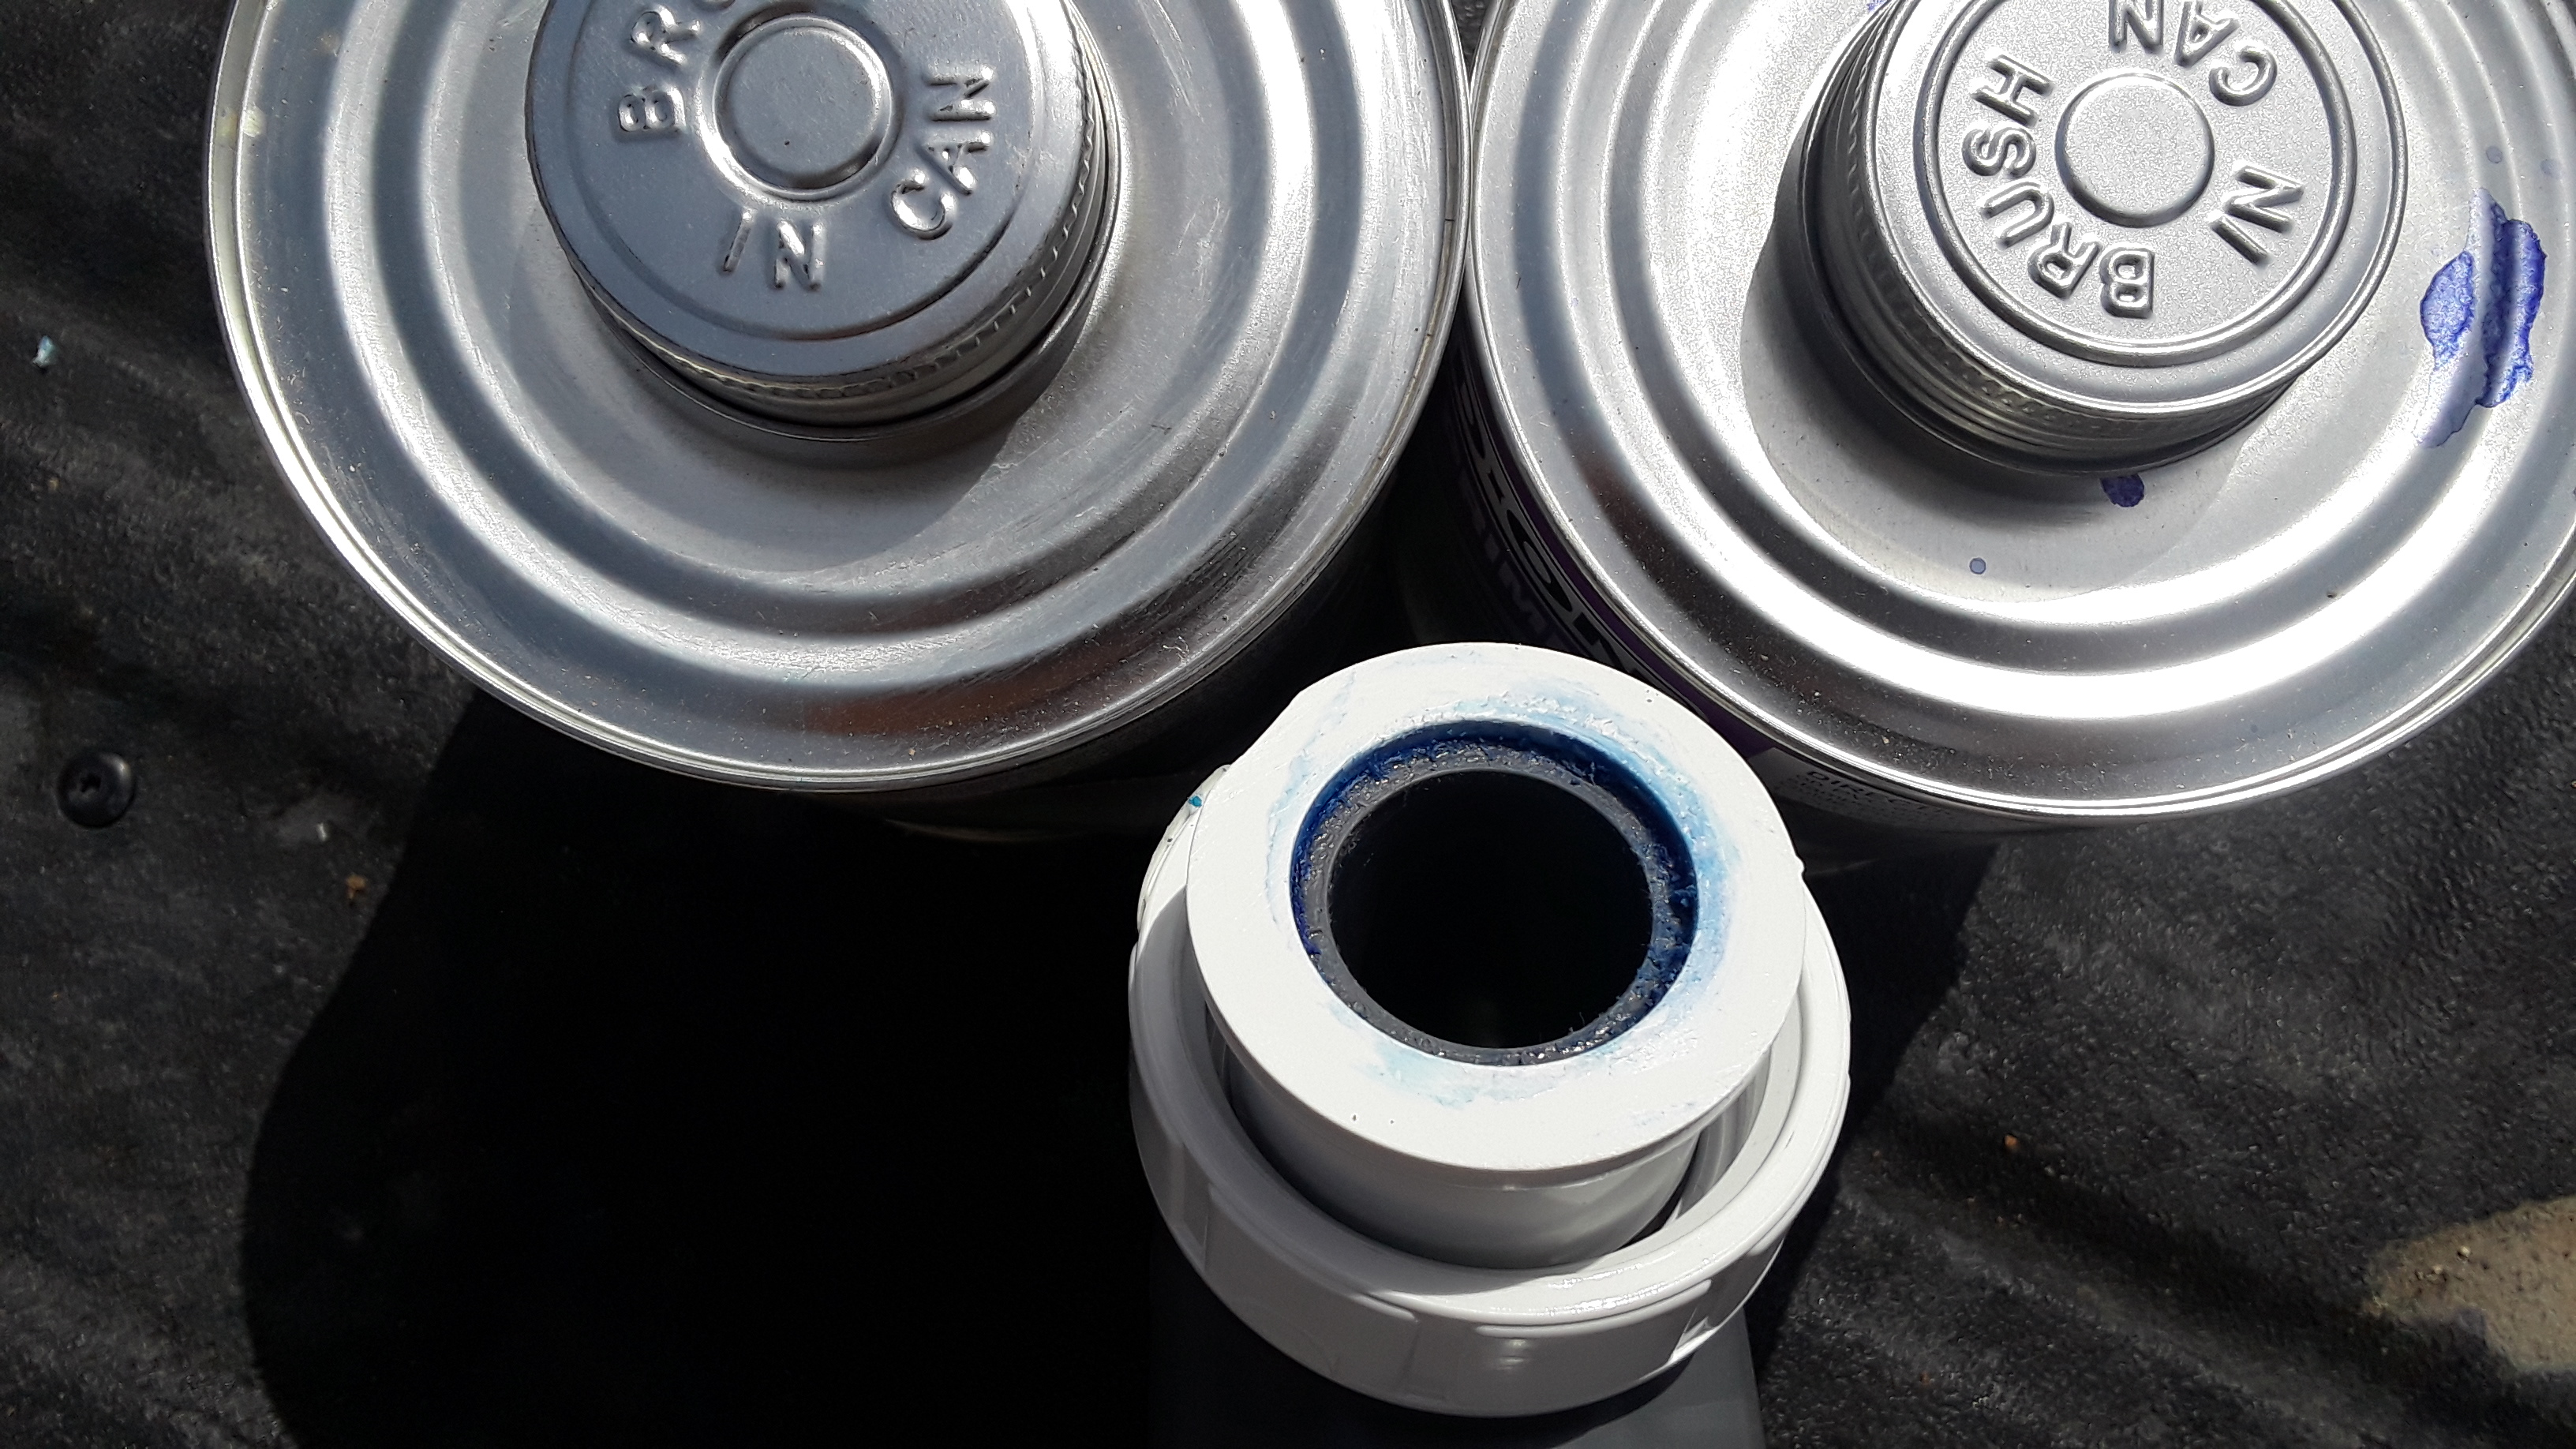
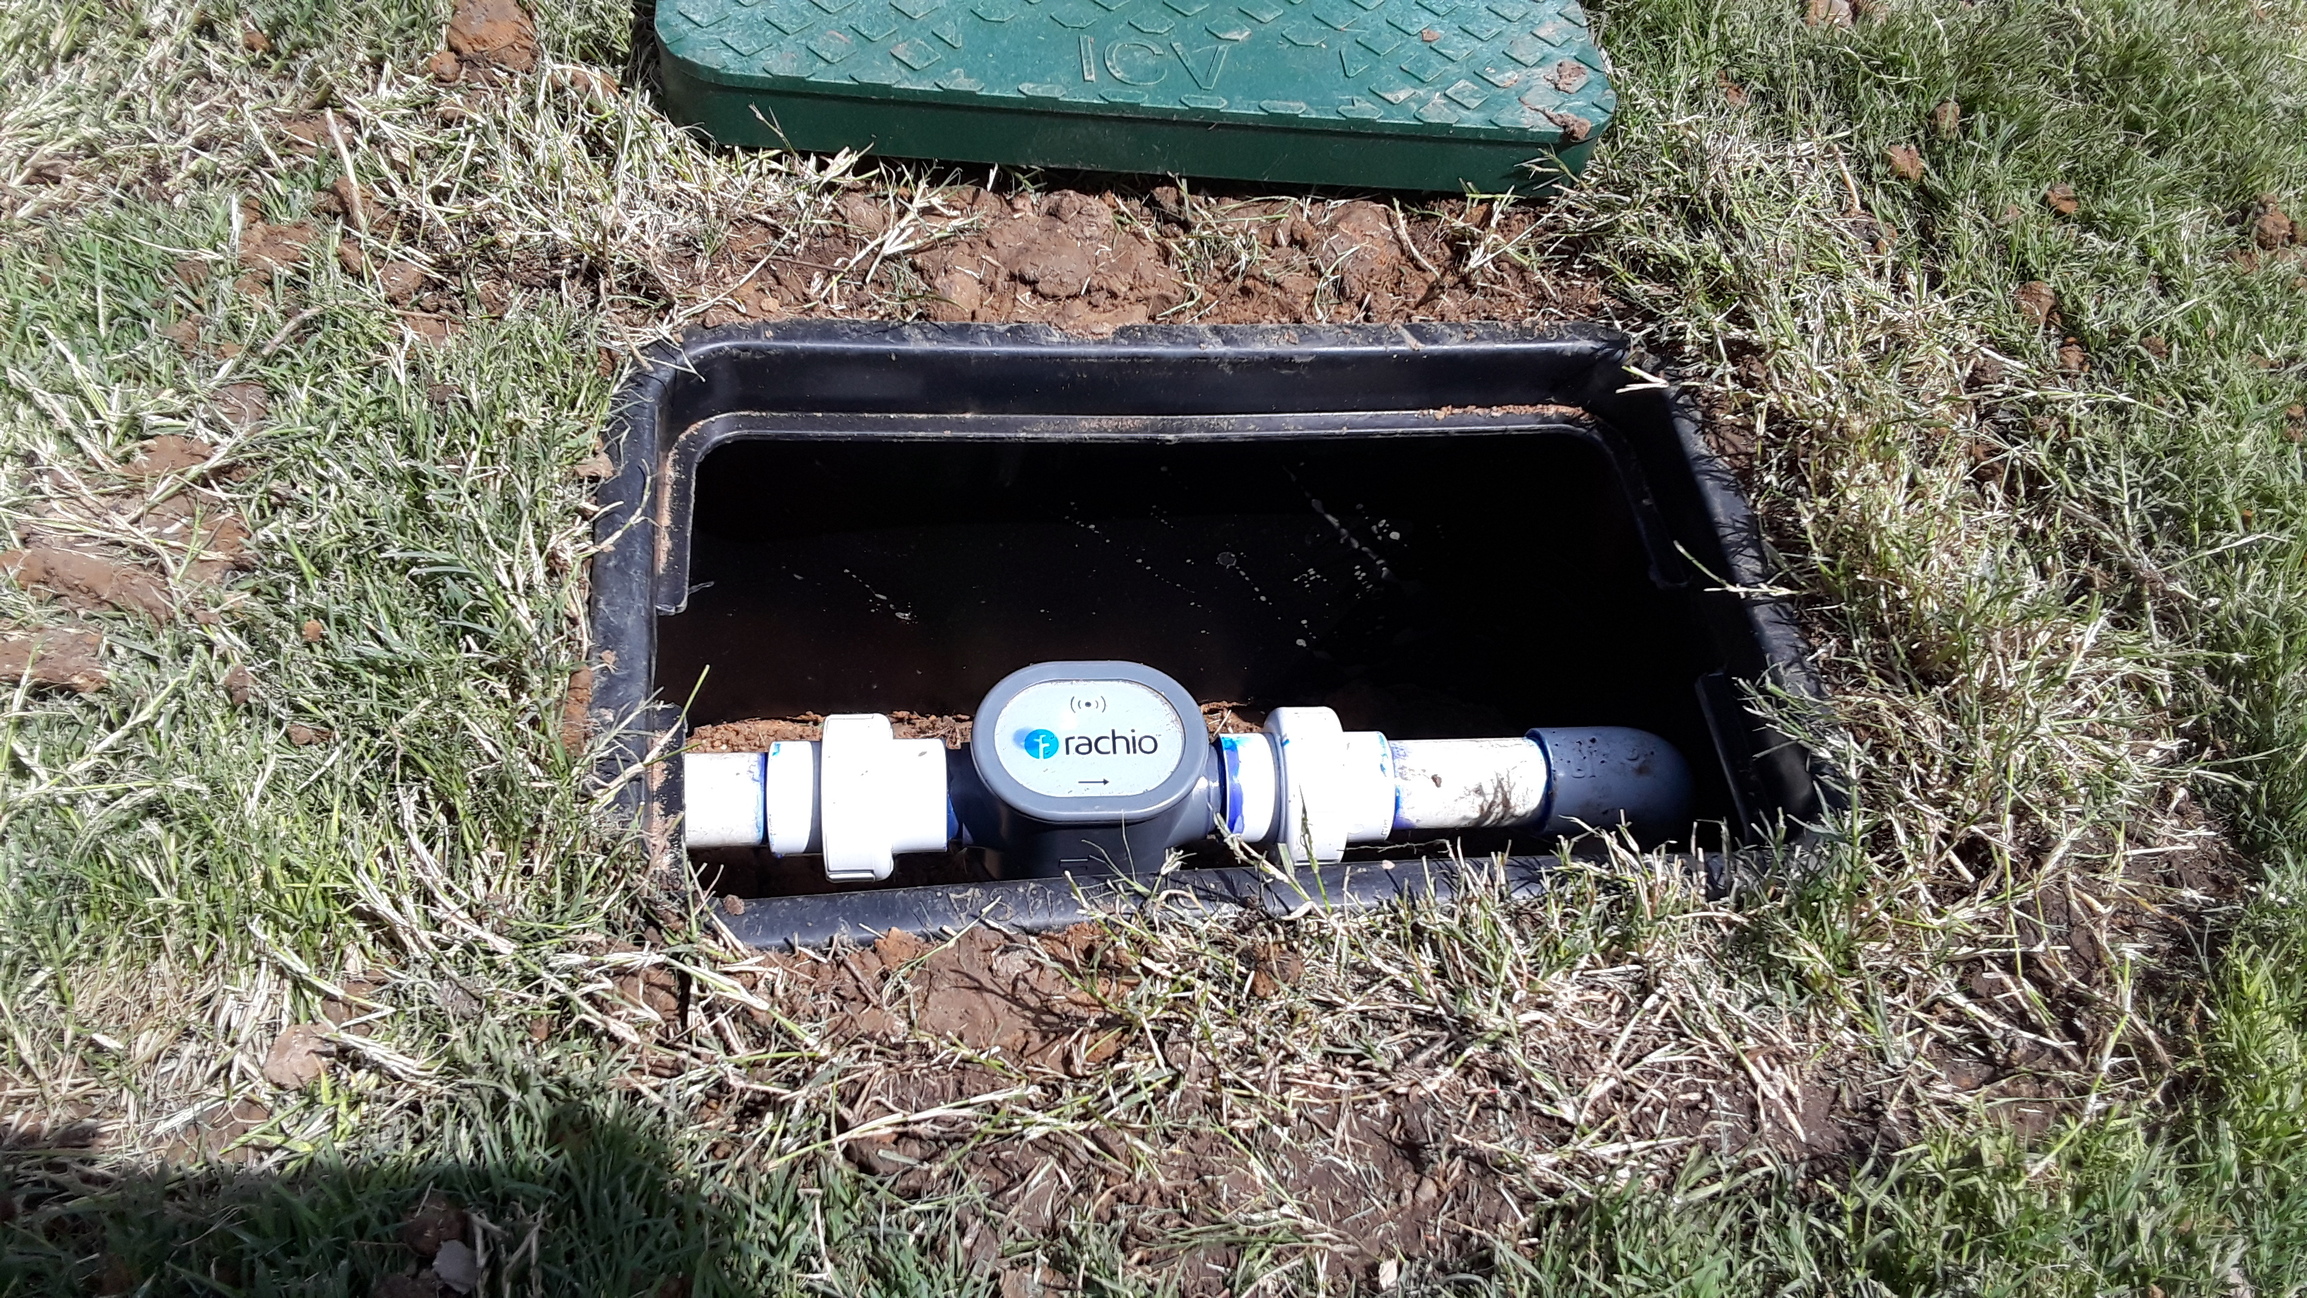
I also thought a lot about how I was going to piece everything together with all the fittings. I was troubled by all of the push-lock fittings before and after the flow meters I was seeing on the forum. I know the engineers at Rachio spent a lot of time figuring out what works to make sure the meter calculates correctly. I just kept thinking about the multiple push-lock fittings creating extra turbulence in the water before the meter. Plus, I personally do not trust push-lock fittings on a mainline, but mostly because I have never used them. So, even though it is highly recommended not to solvent weld to the sensor, I did anyway. I solvent welded a one inch union on both ends. I was careful and made sure the connections were clean going into the meter.
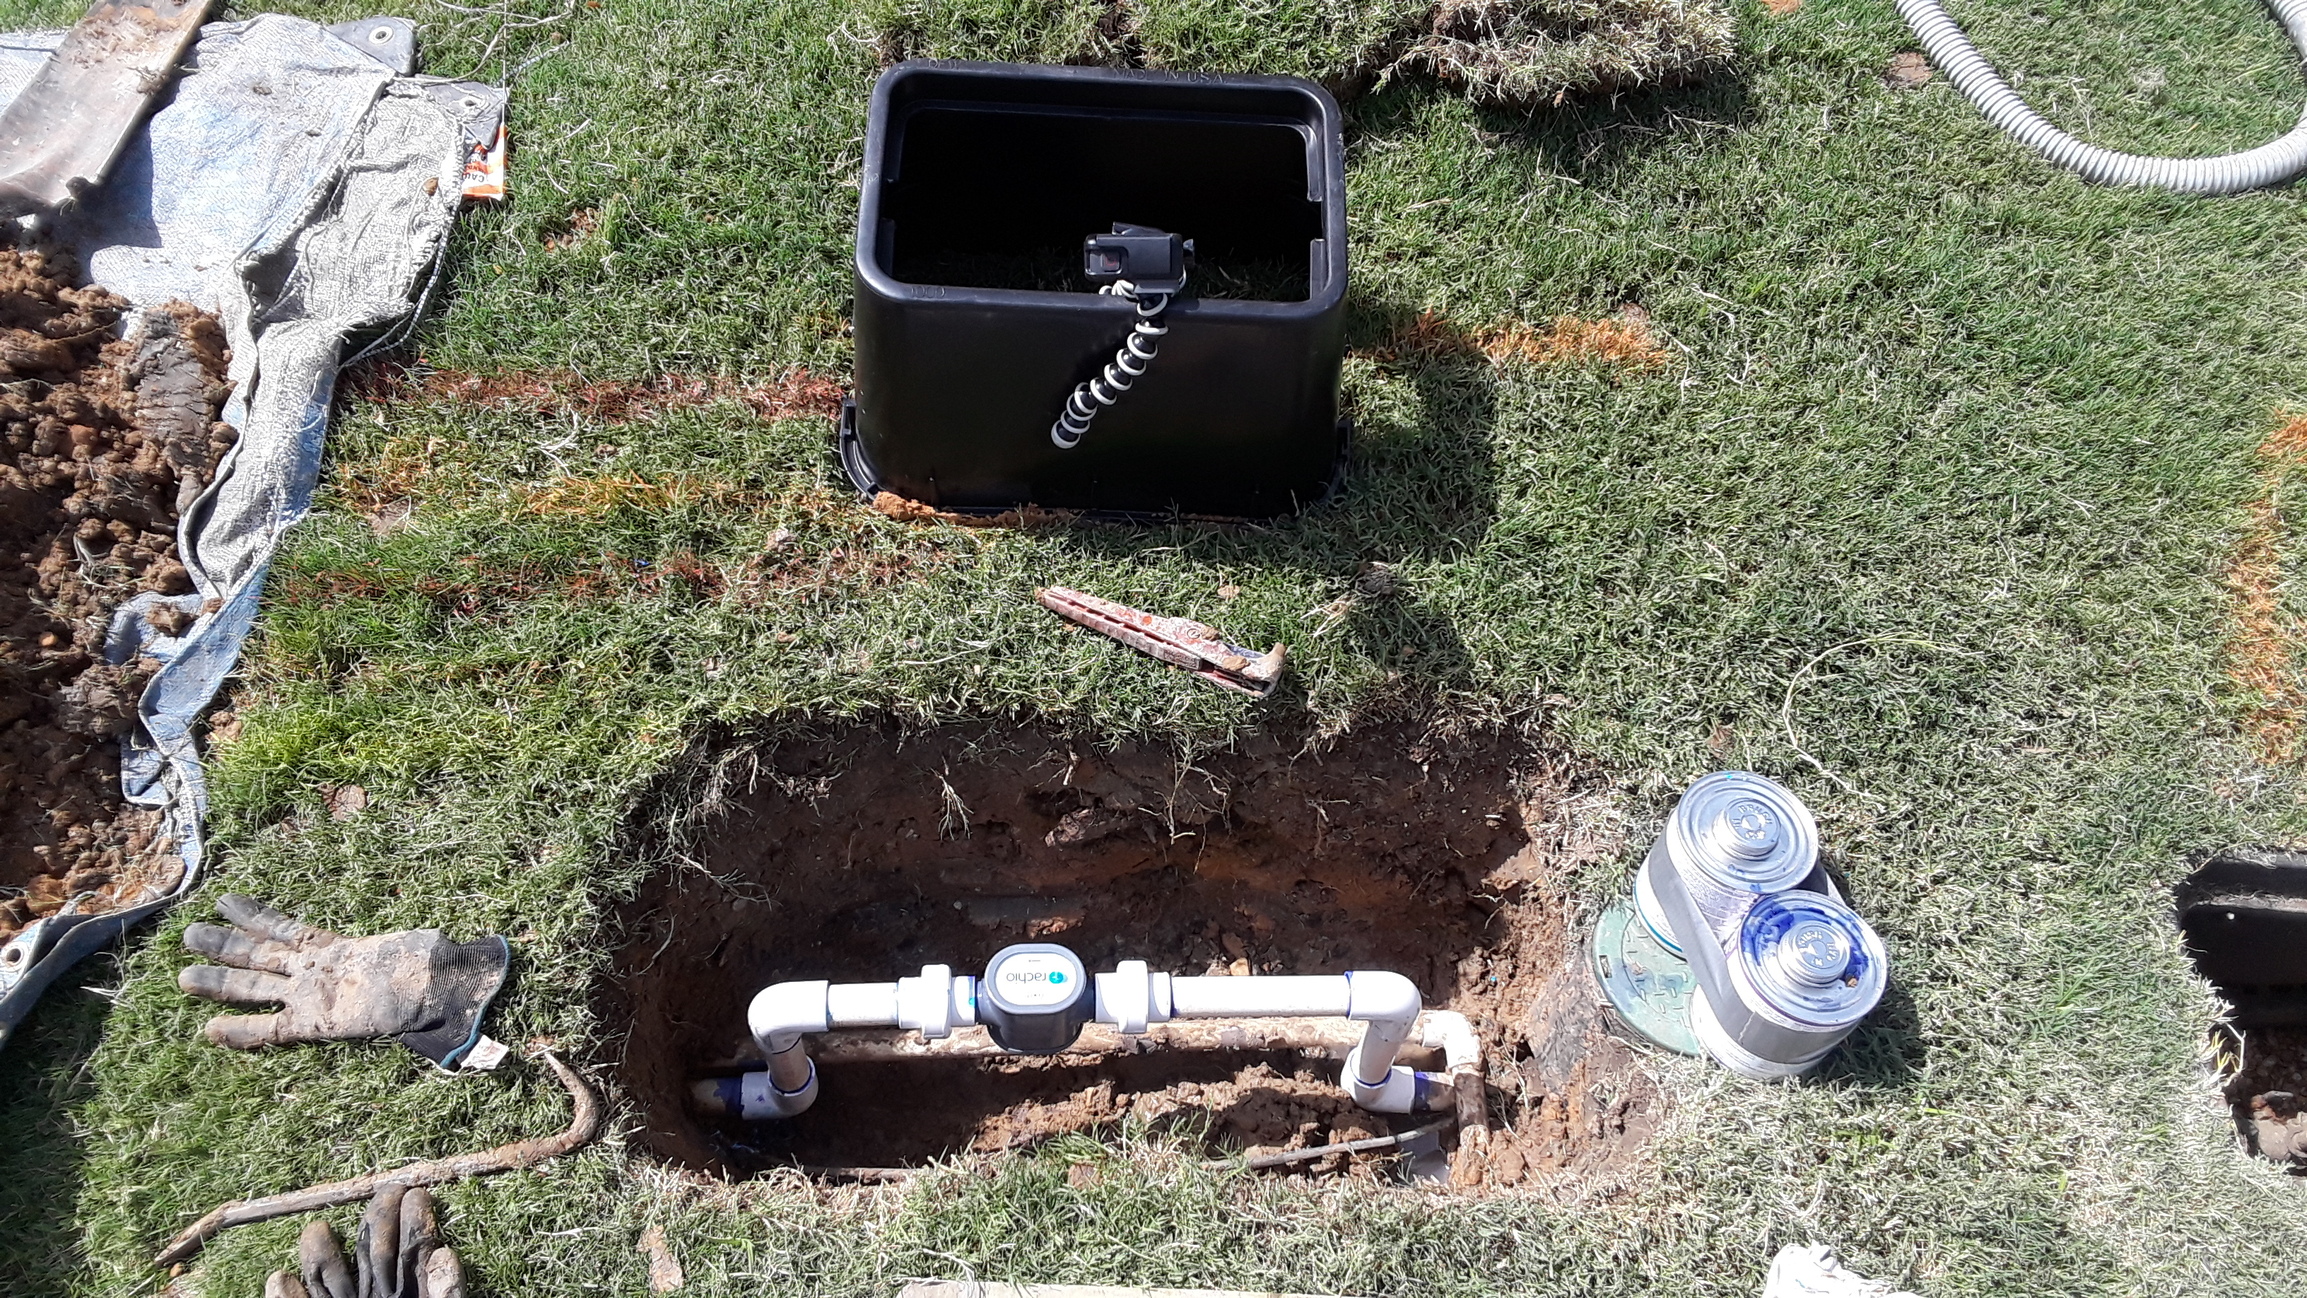
I decided after many thoughtful minutes before cutting the mainline, I was going to have to build the pipe up to bridge the meter. I needed to get the meter away from the other pipe, but more importantly, I needed the meter to be serviceable and high enough to keep mud and water away from the electronics. The meter is six inches above the mainline and has eight inches of inlet pipe.
After I installed the meter, I let all the fittings cure for an hour while I did some other work on-site. When cured, I slowly charged the mainline to make sure all the air was out of the mainline by opening the double check about a quarter turn, activating the back yard (furthest) zone and slowly allowing the main to fill with water until fully pressurized.
Once pressurized, I opened the double check fully to allow full flow before calibration. I sat in my truck’s AC to cool off while I did this part because it was so hot outside. The calibration was cool! I compared the meter calculation with my rough calculation of the last and biggest zone, the back yard. The flow meter calculated one gallon per minute higher than I did. I think that was due to the water pressure, which I didn’t account for.
My overall expereince was great. I look forward to watching the flow meter as it works, and I’m interested to see how it performs it’s tasks.