Two questions: Sprinkler gushing water & Zones

Thanks to my new Rachio units, I’m finally getting to know the irrigation system at my new house. Two major questions have emerged so far.

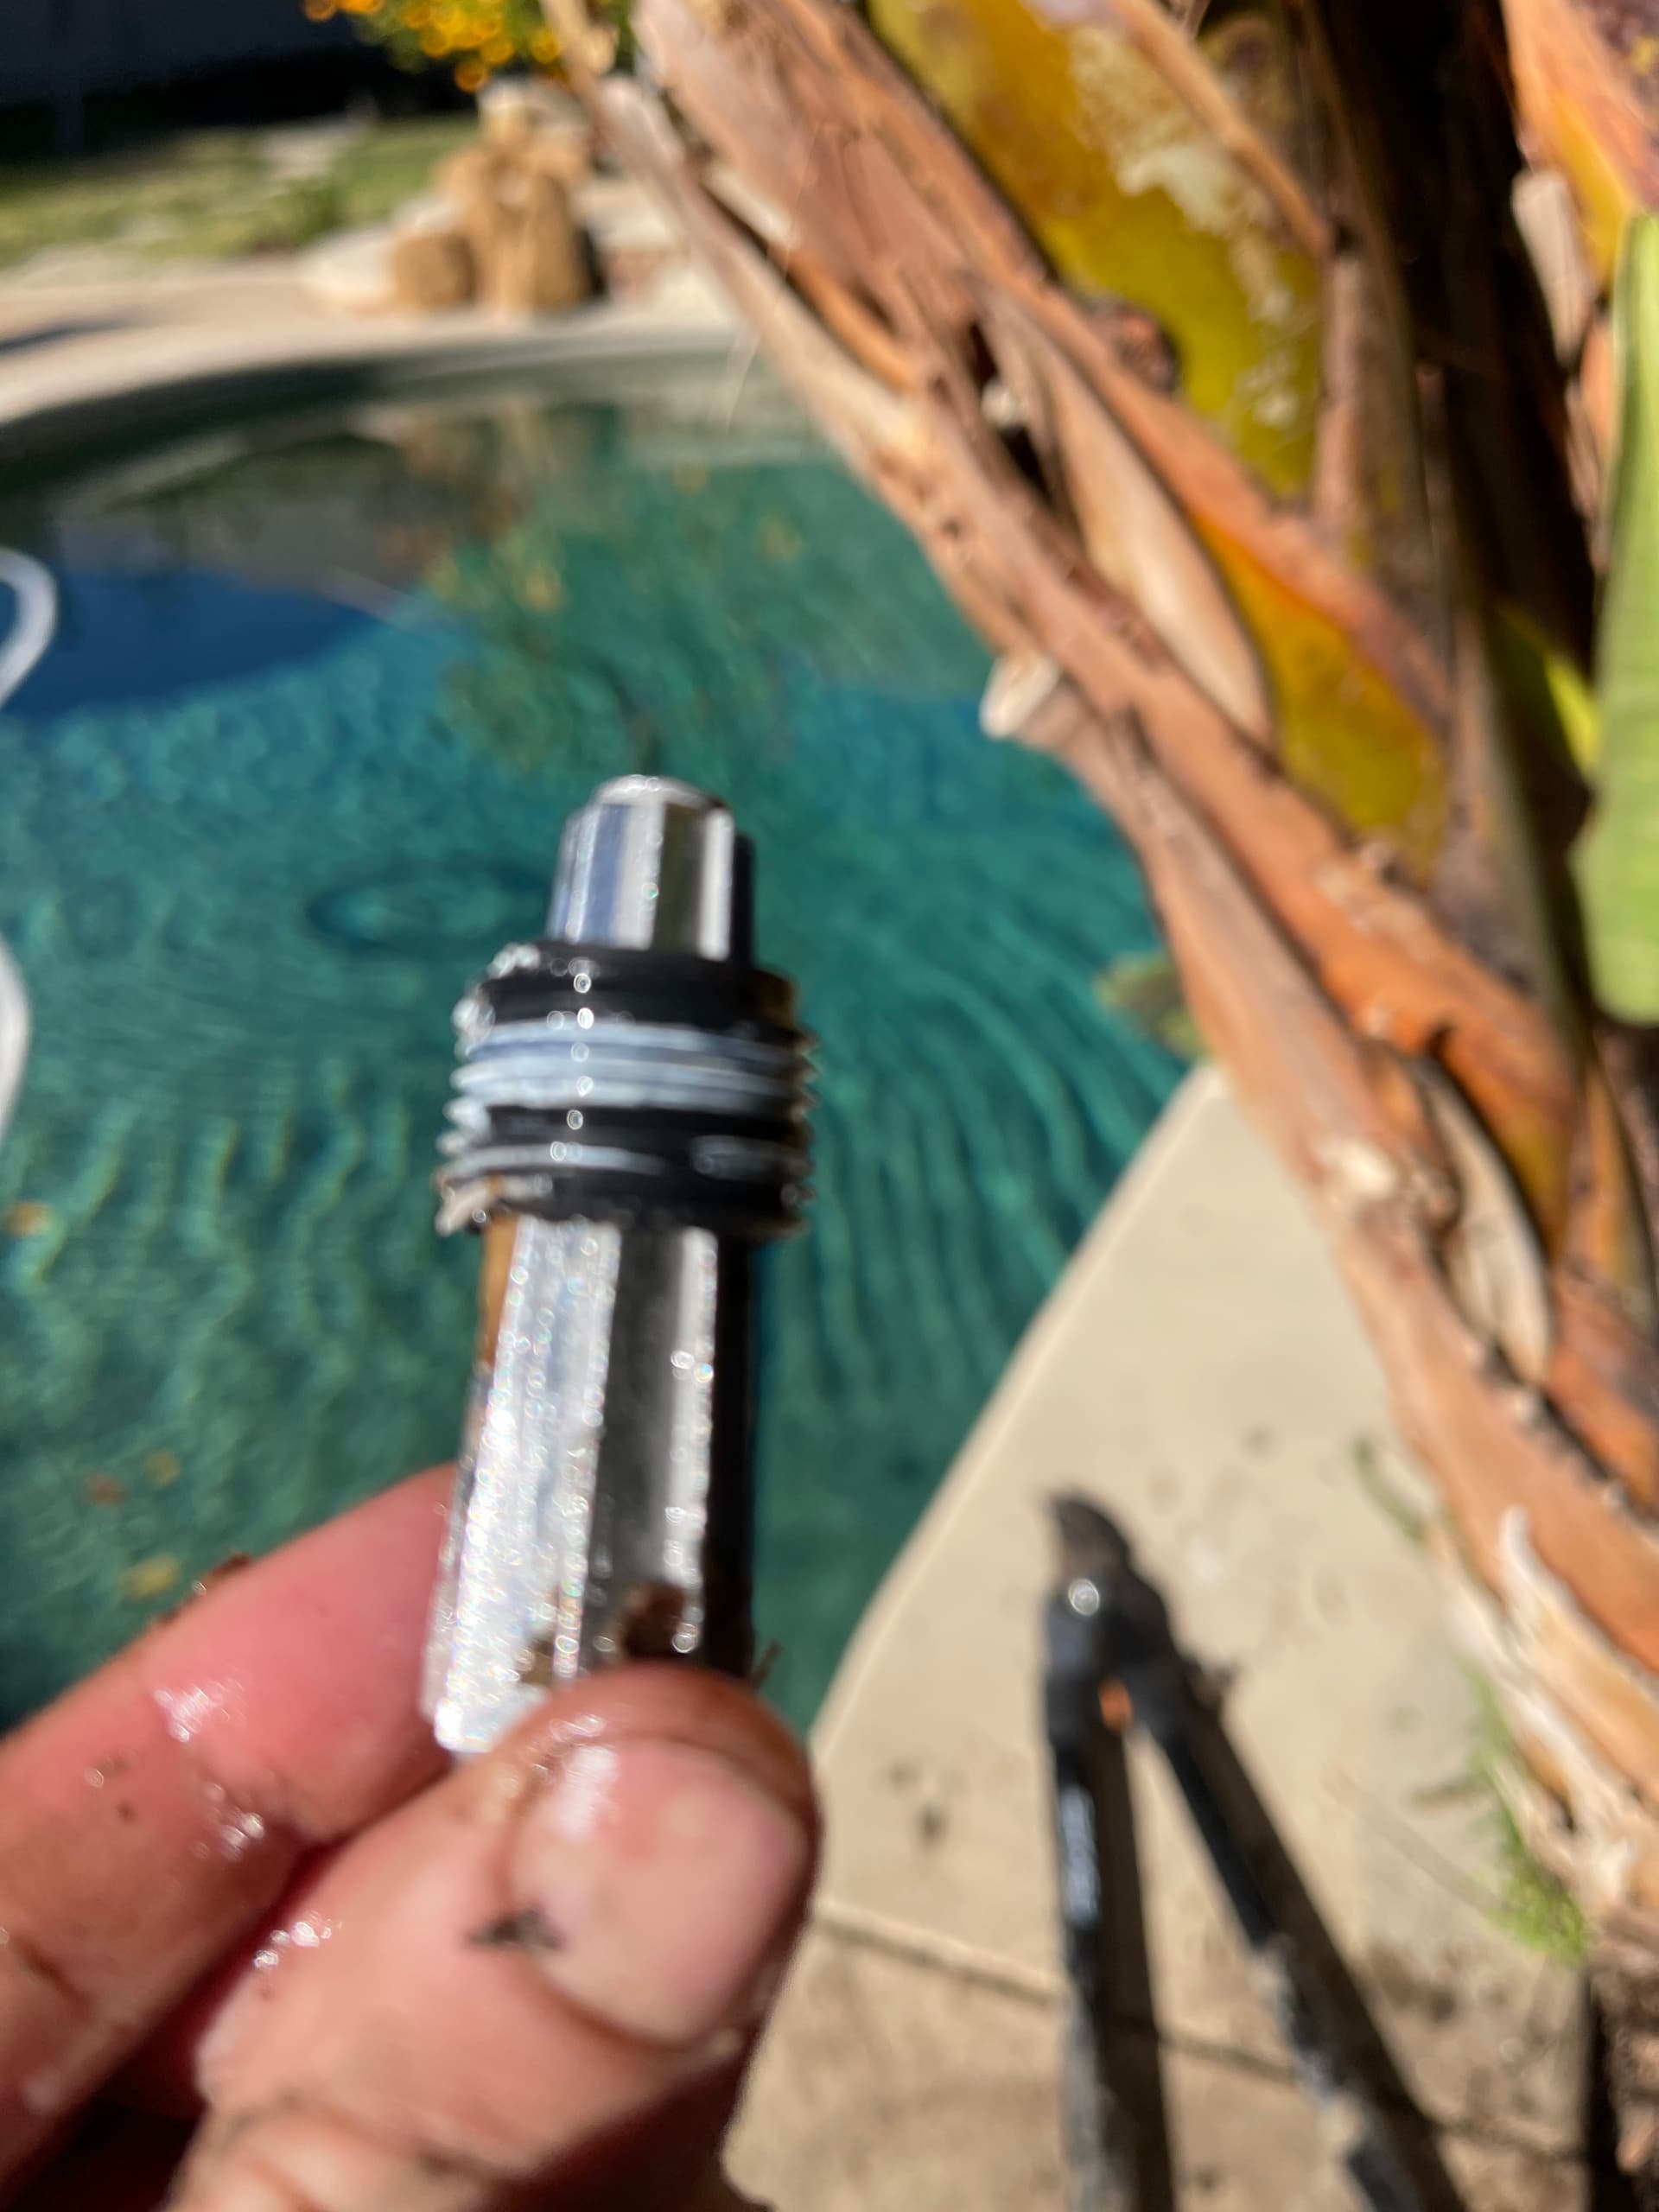
First, because the system watered at night, and I had other things to work on, I never took the time to really investigate what was happening when I watered. My Rachio’s make that a ton easier, so I finally got to work today. I discovered lots of broken and stuck heads, but I think I’ve got those sorted out.

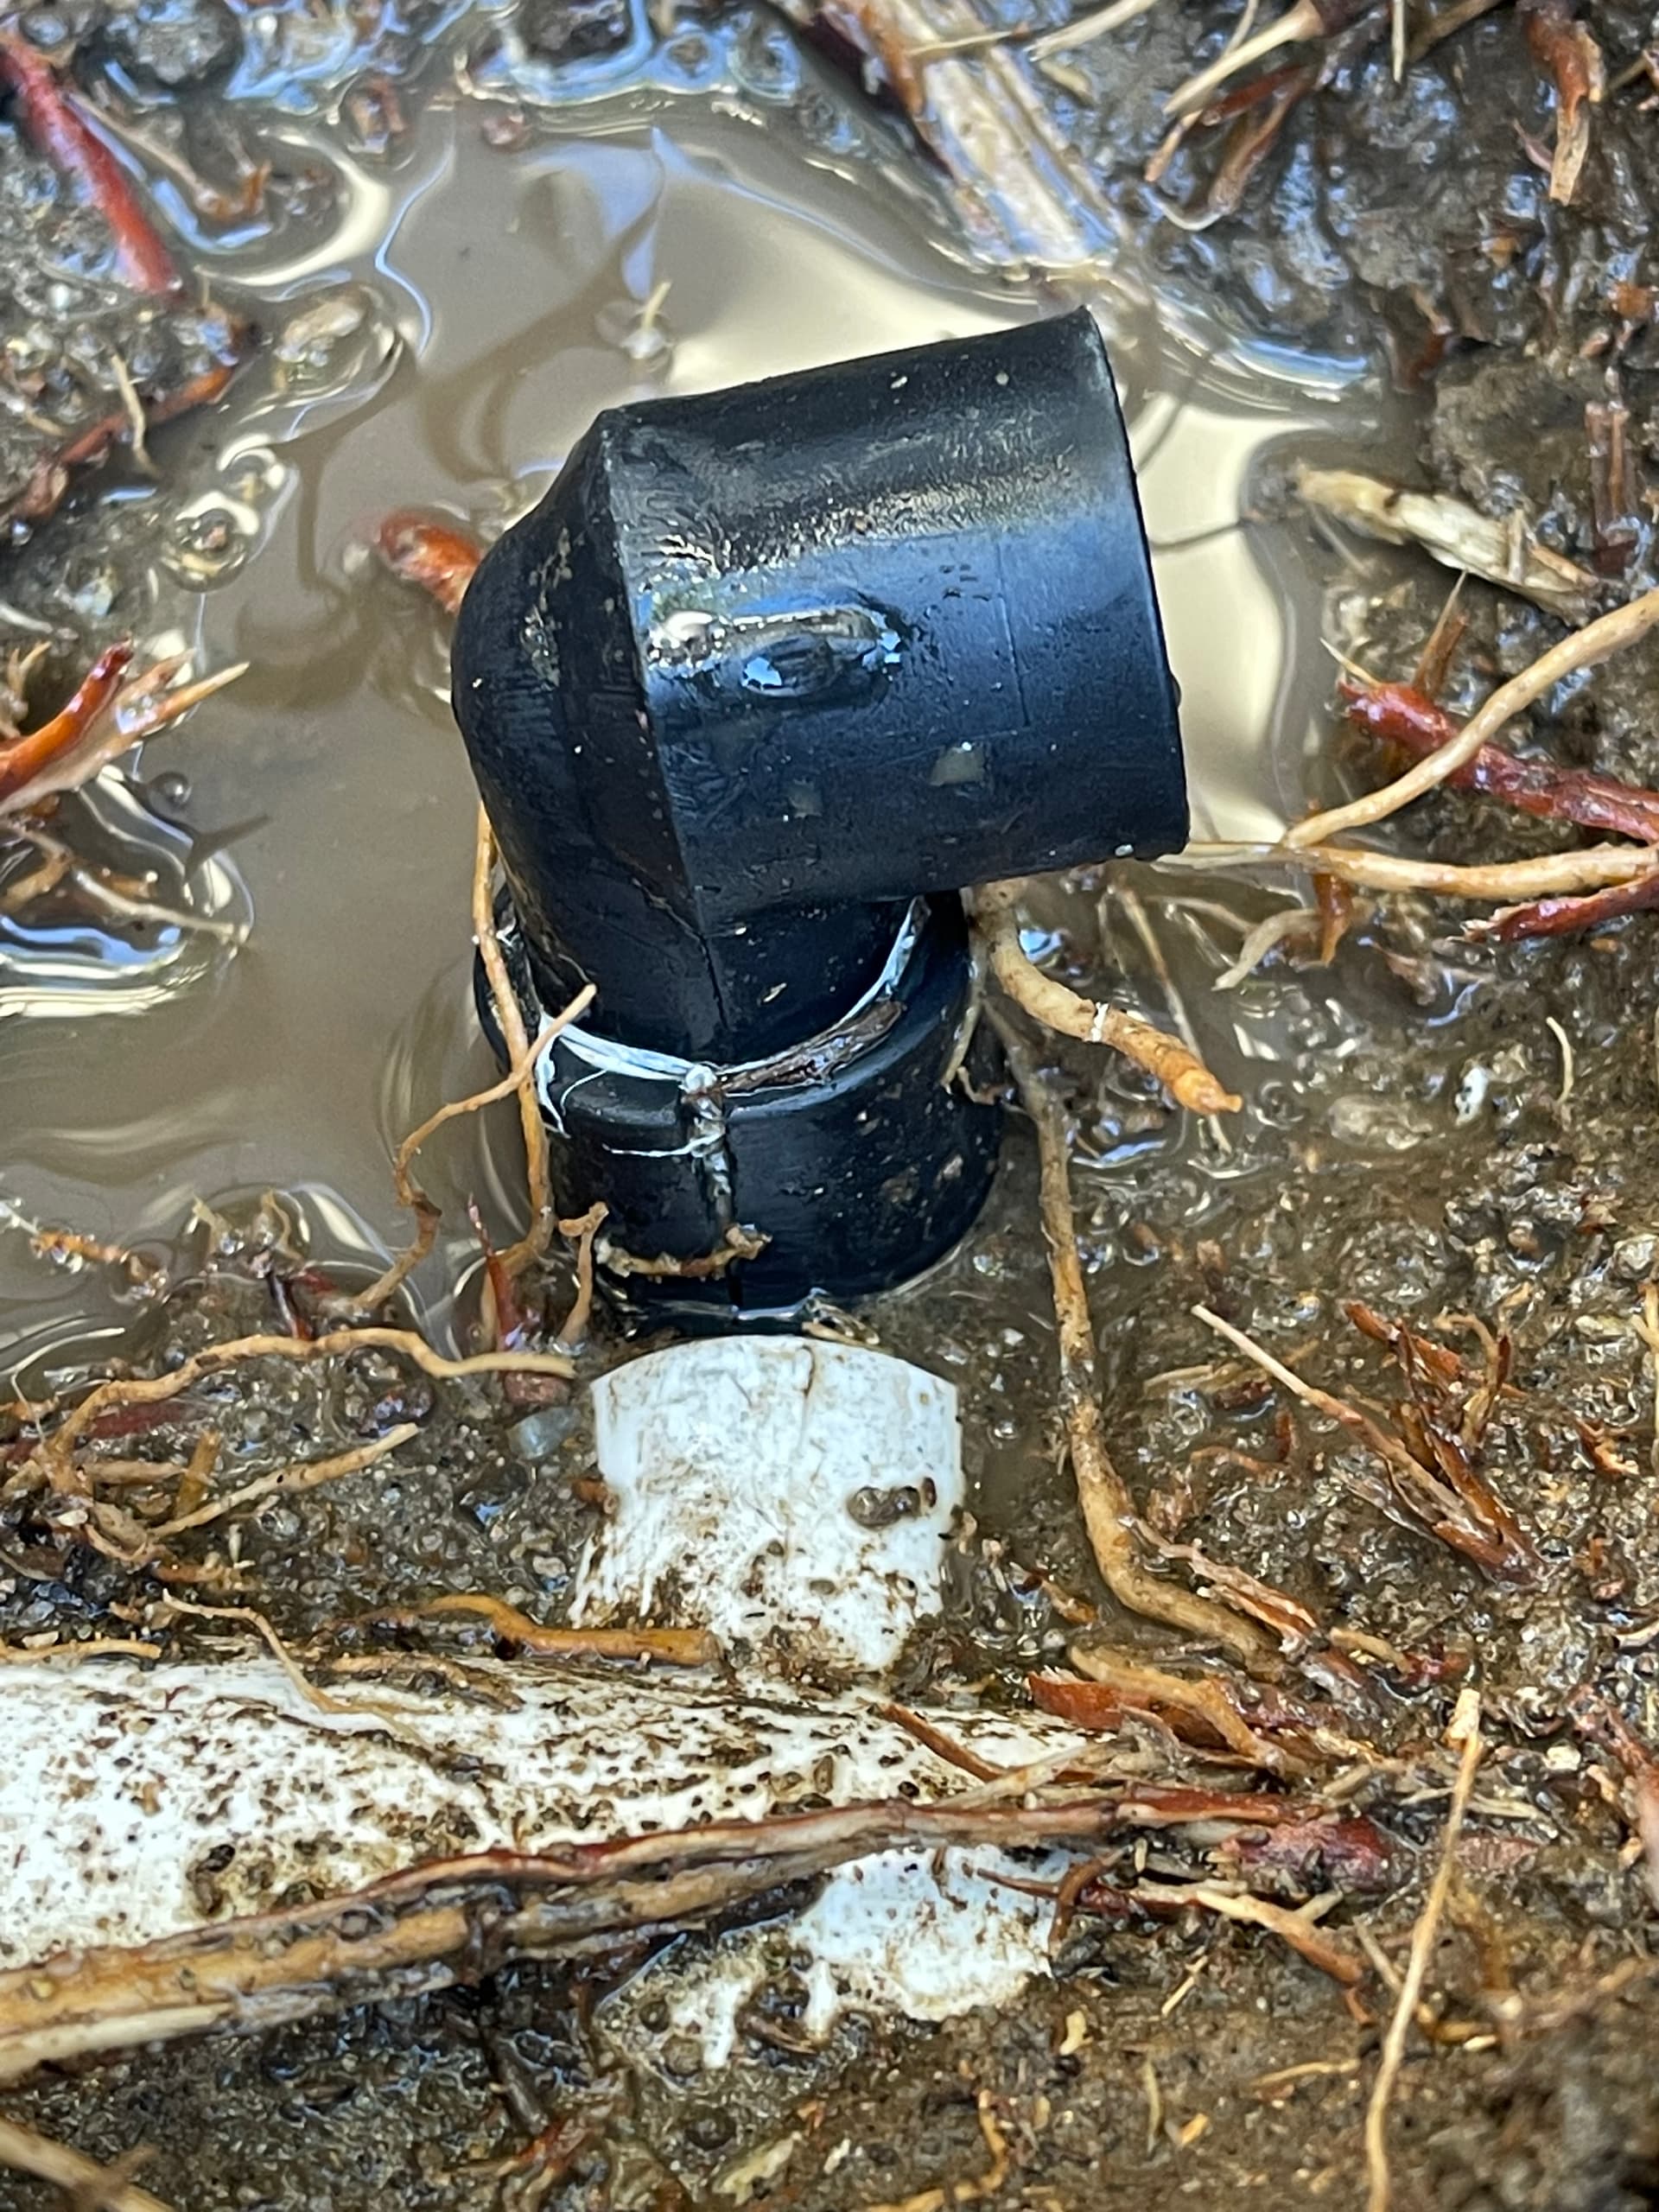
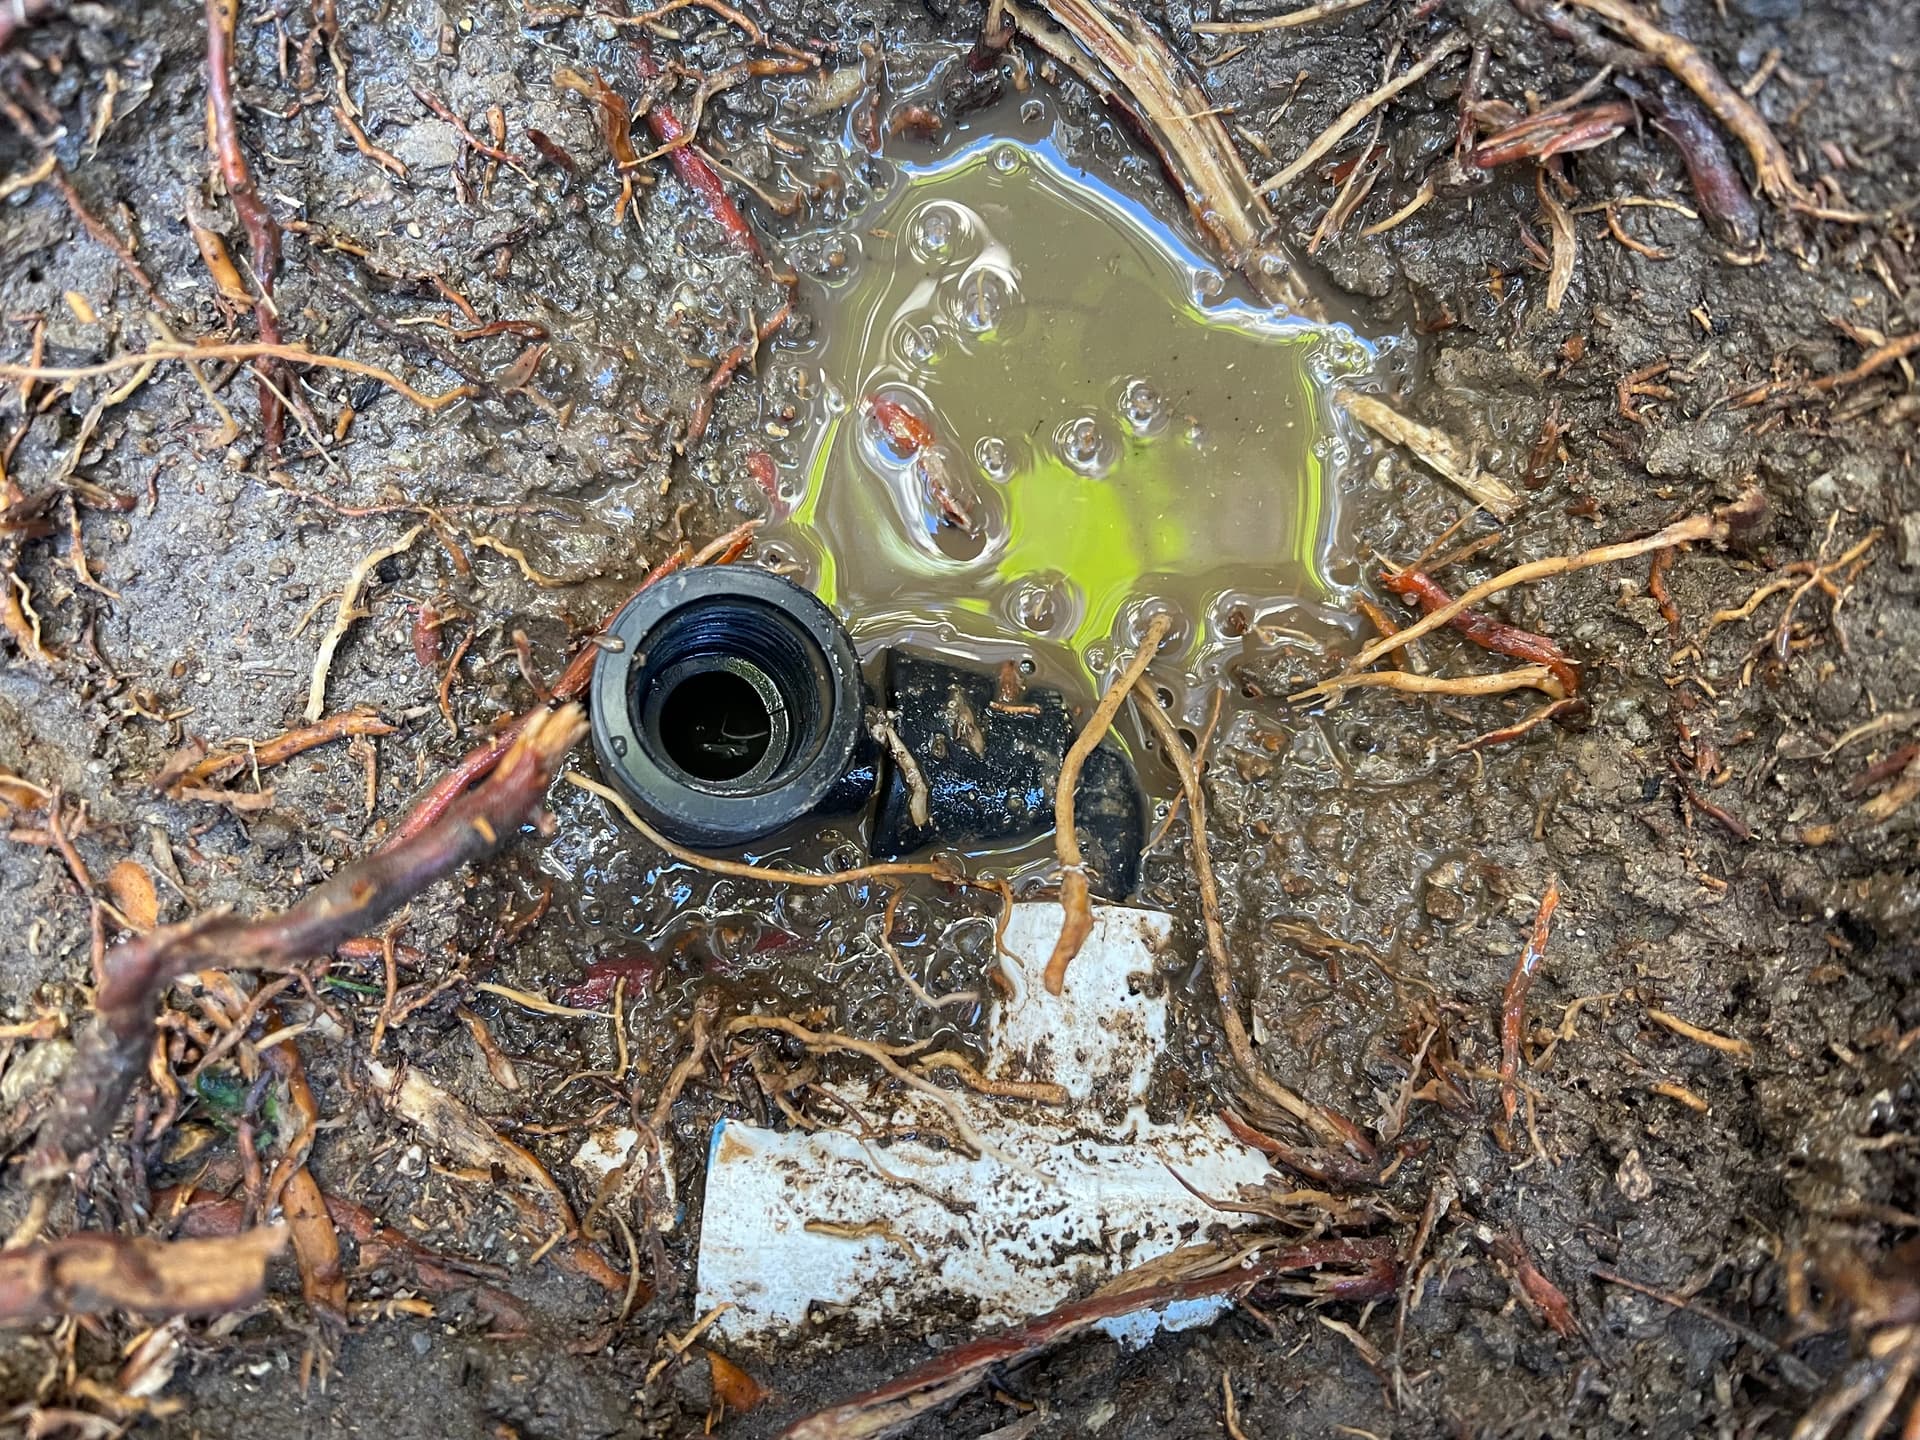
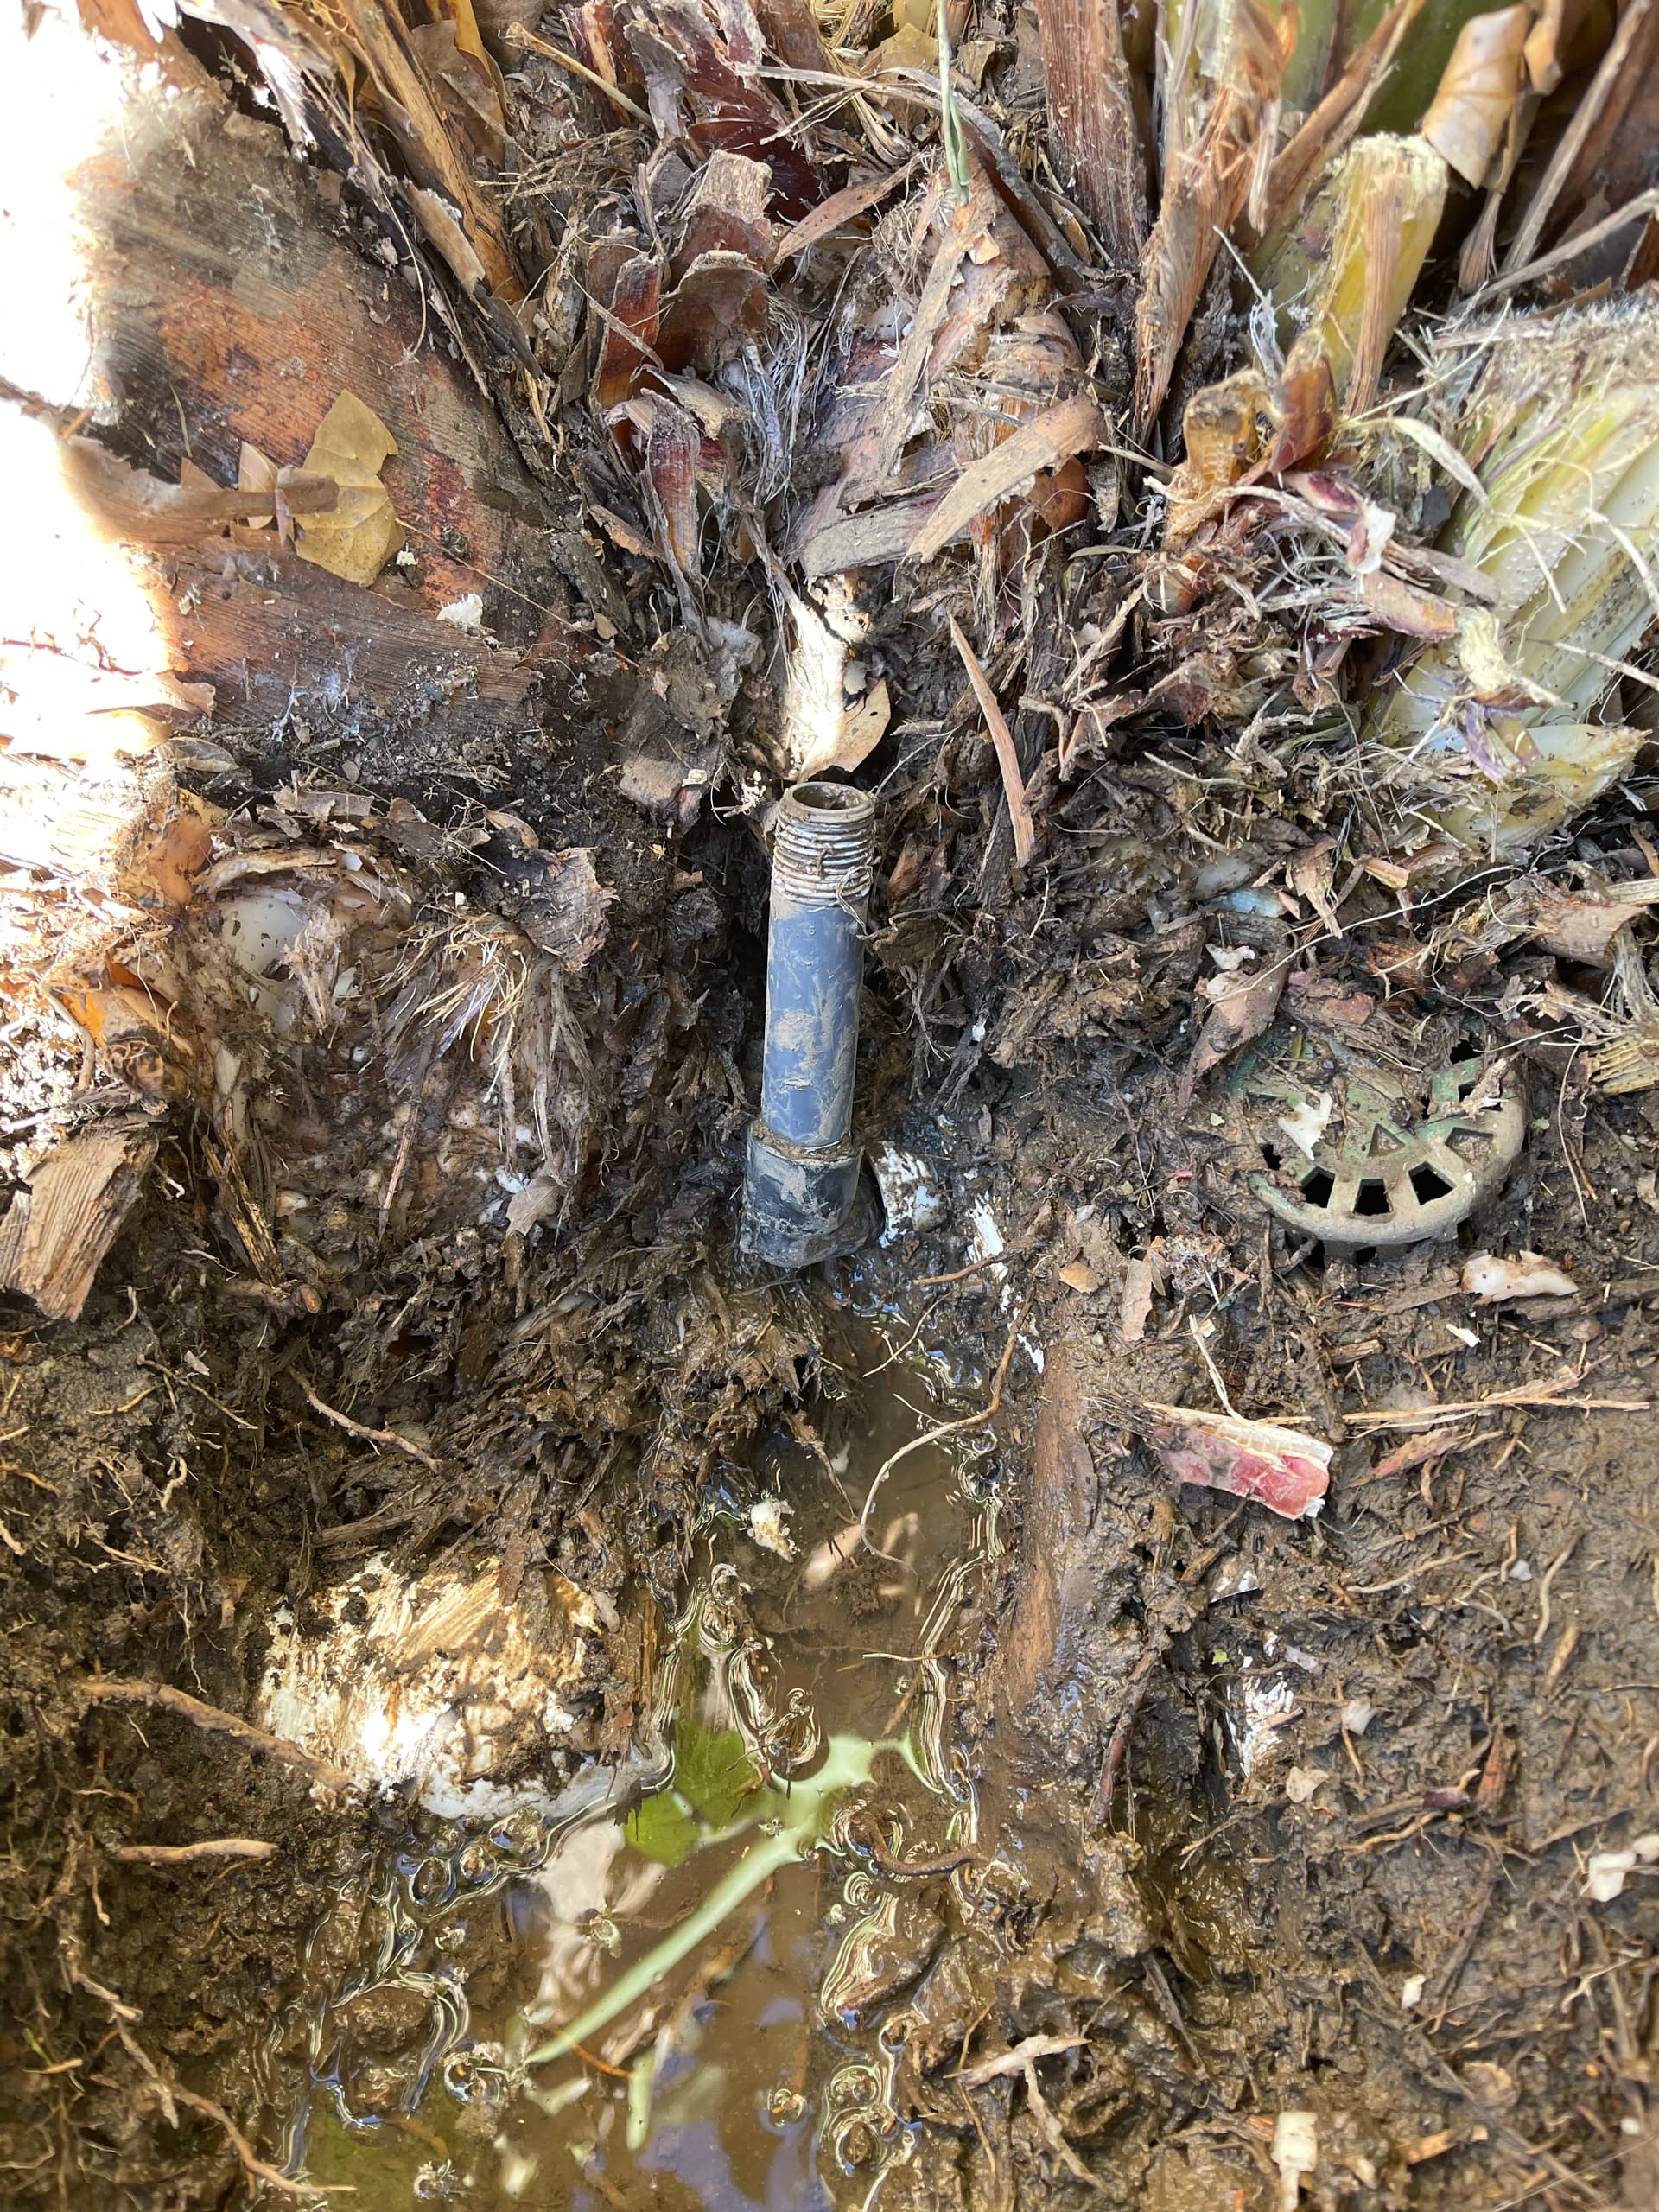
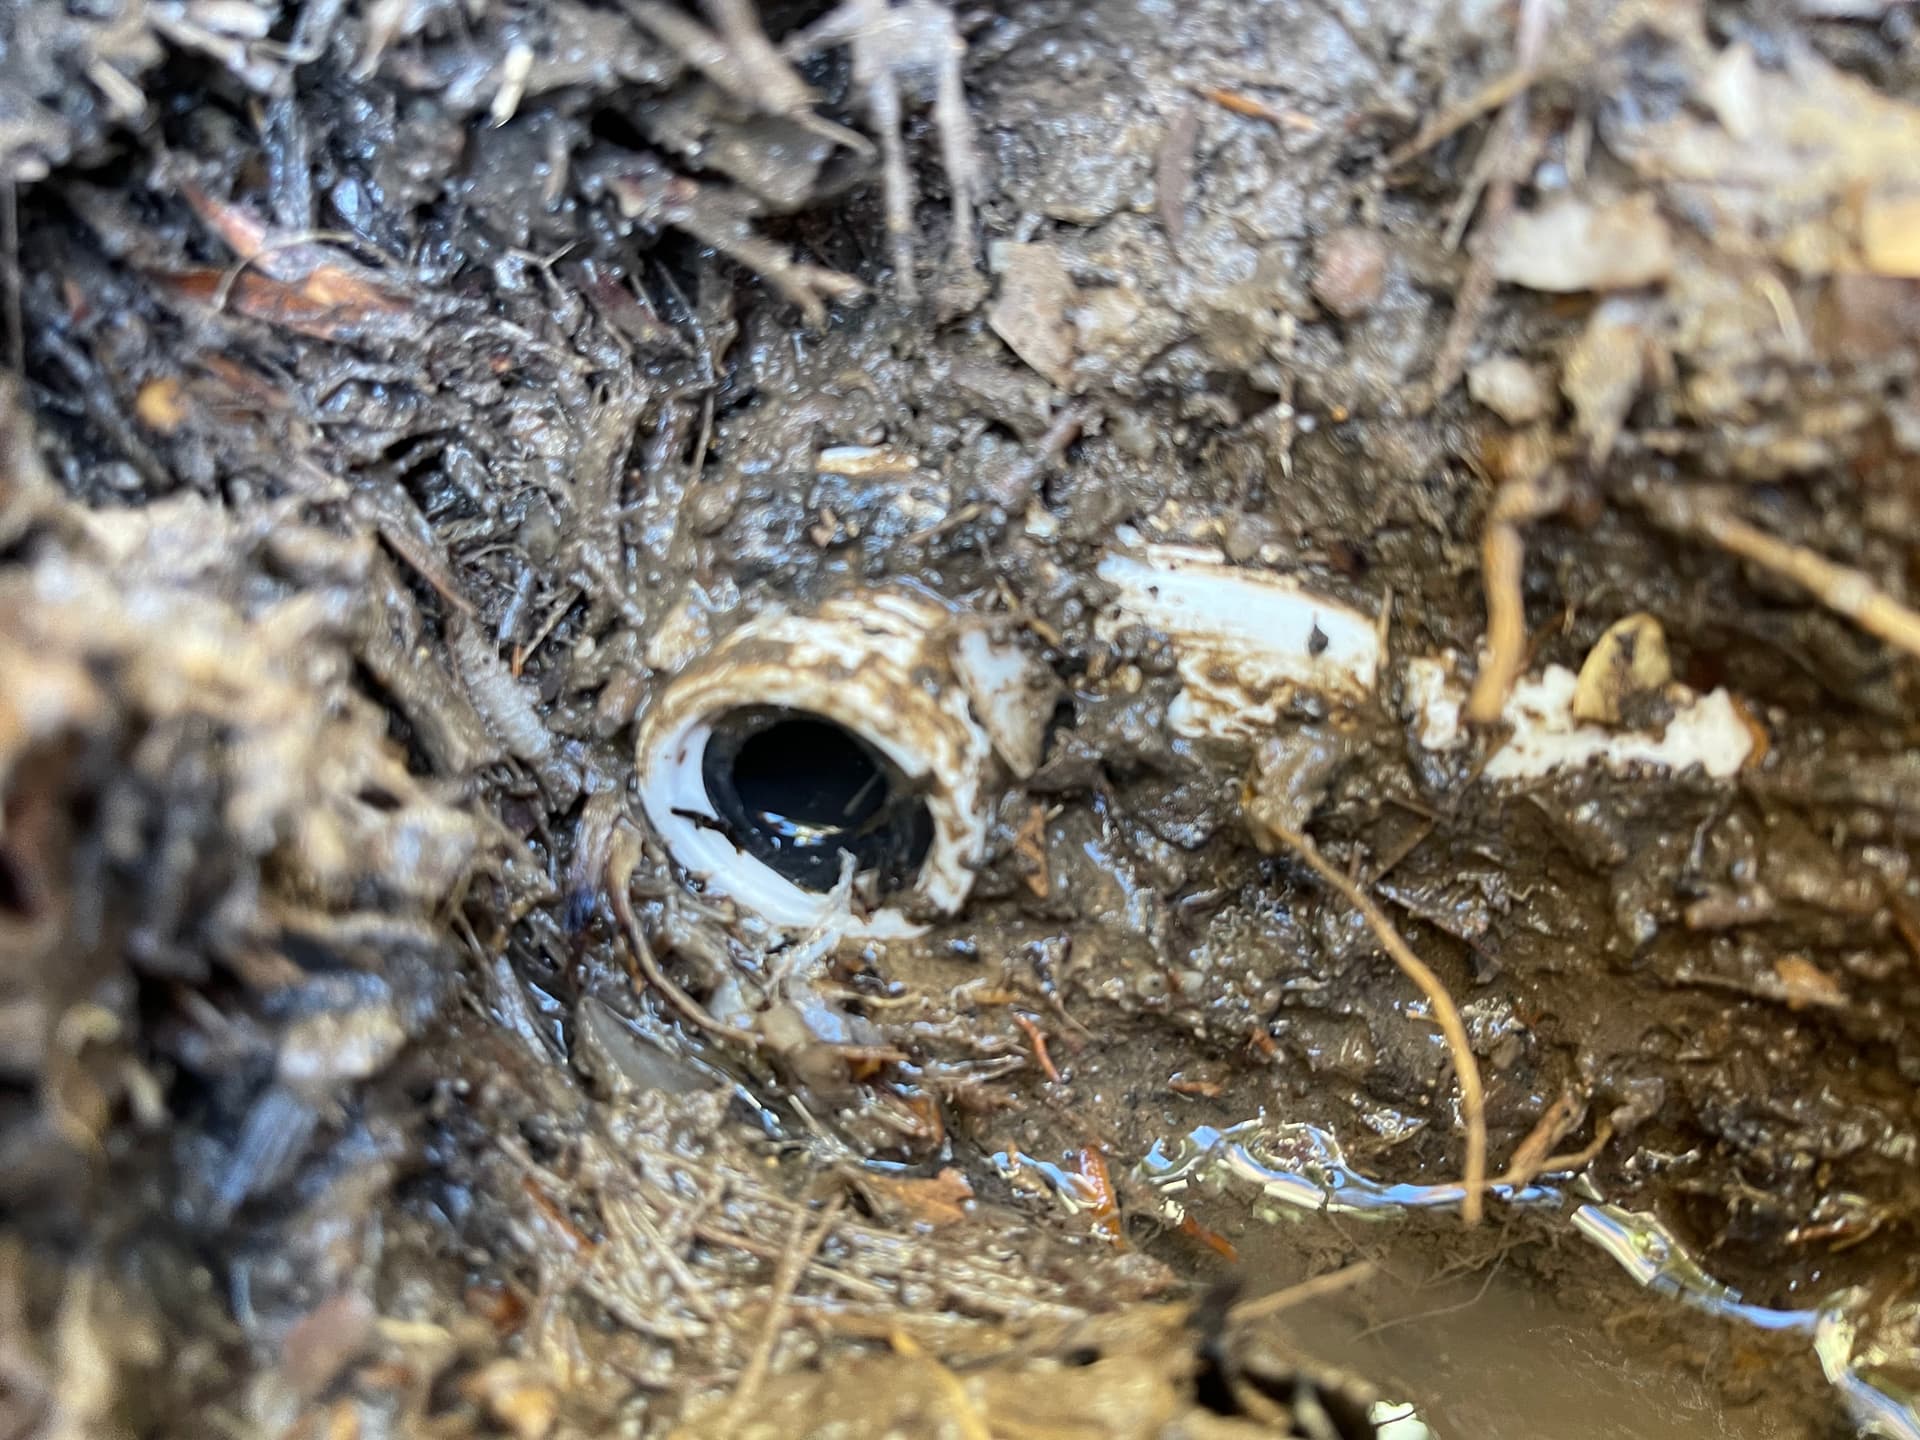
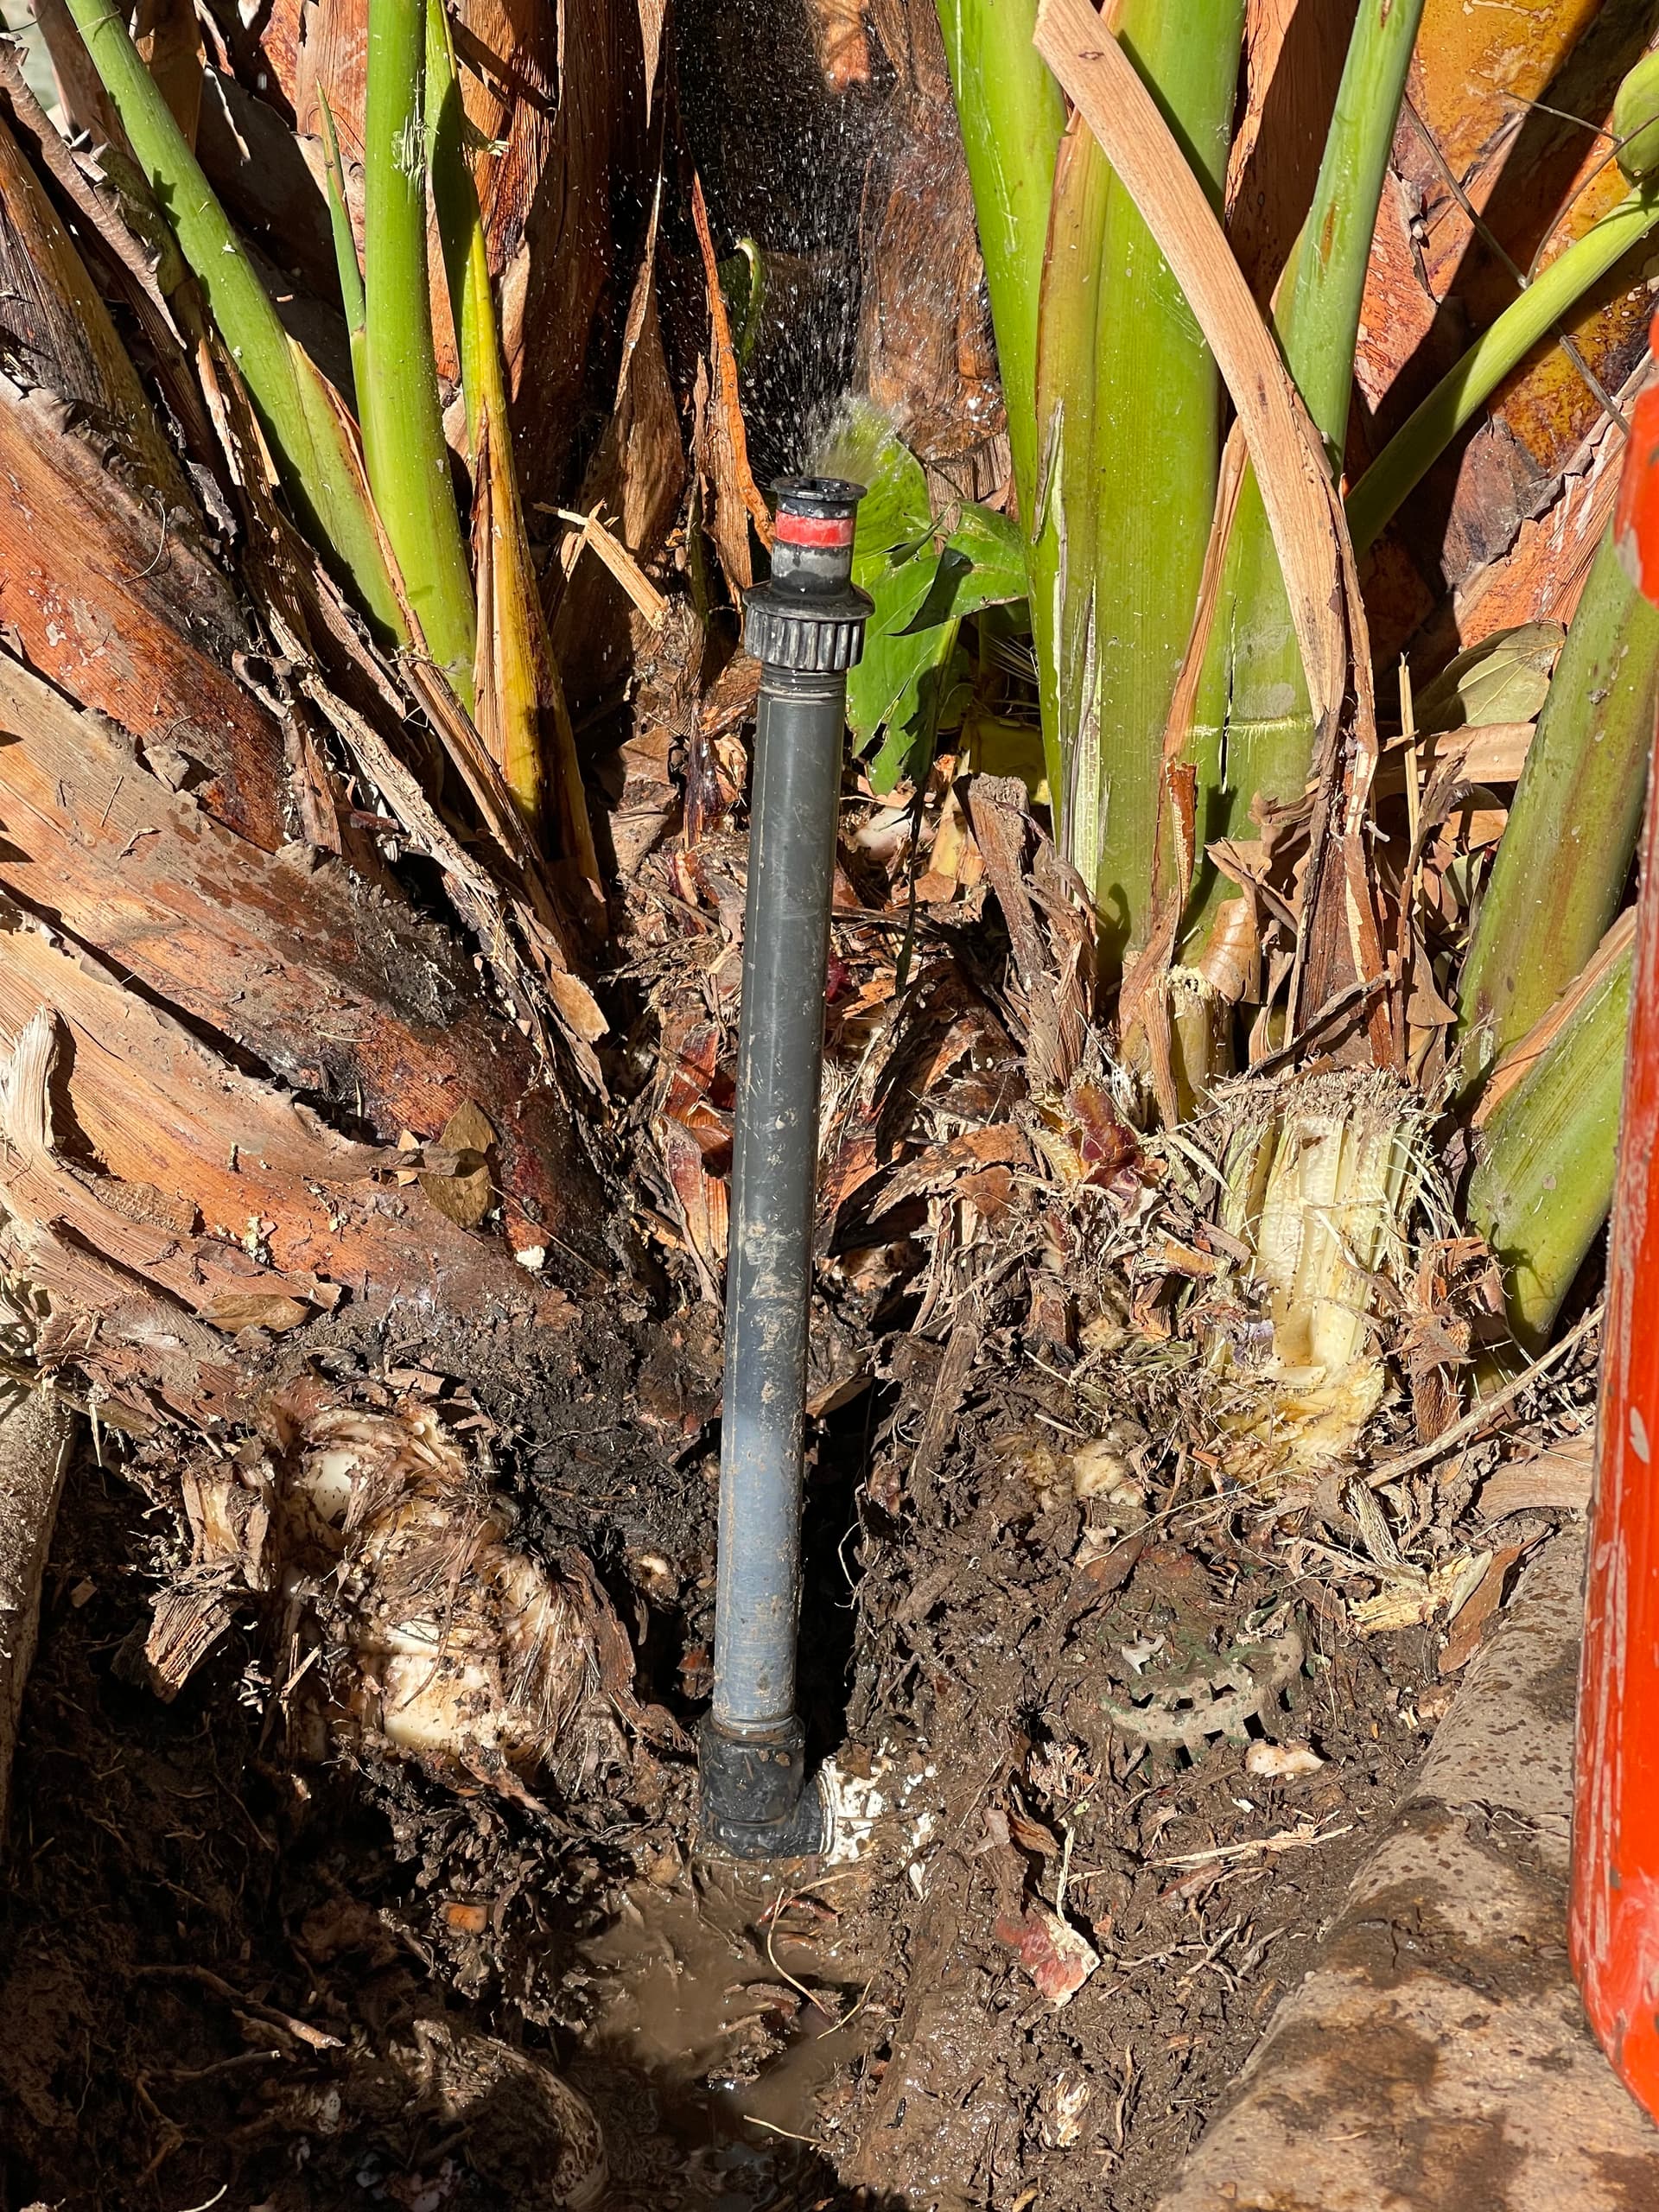
One sprinkler is gushing water from somewhere downstream of the head and pooling like crazy. I’m confused by what’s going on. Pictures aren’t the most helpful so here is a video of it. (Dropbox link).

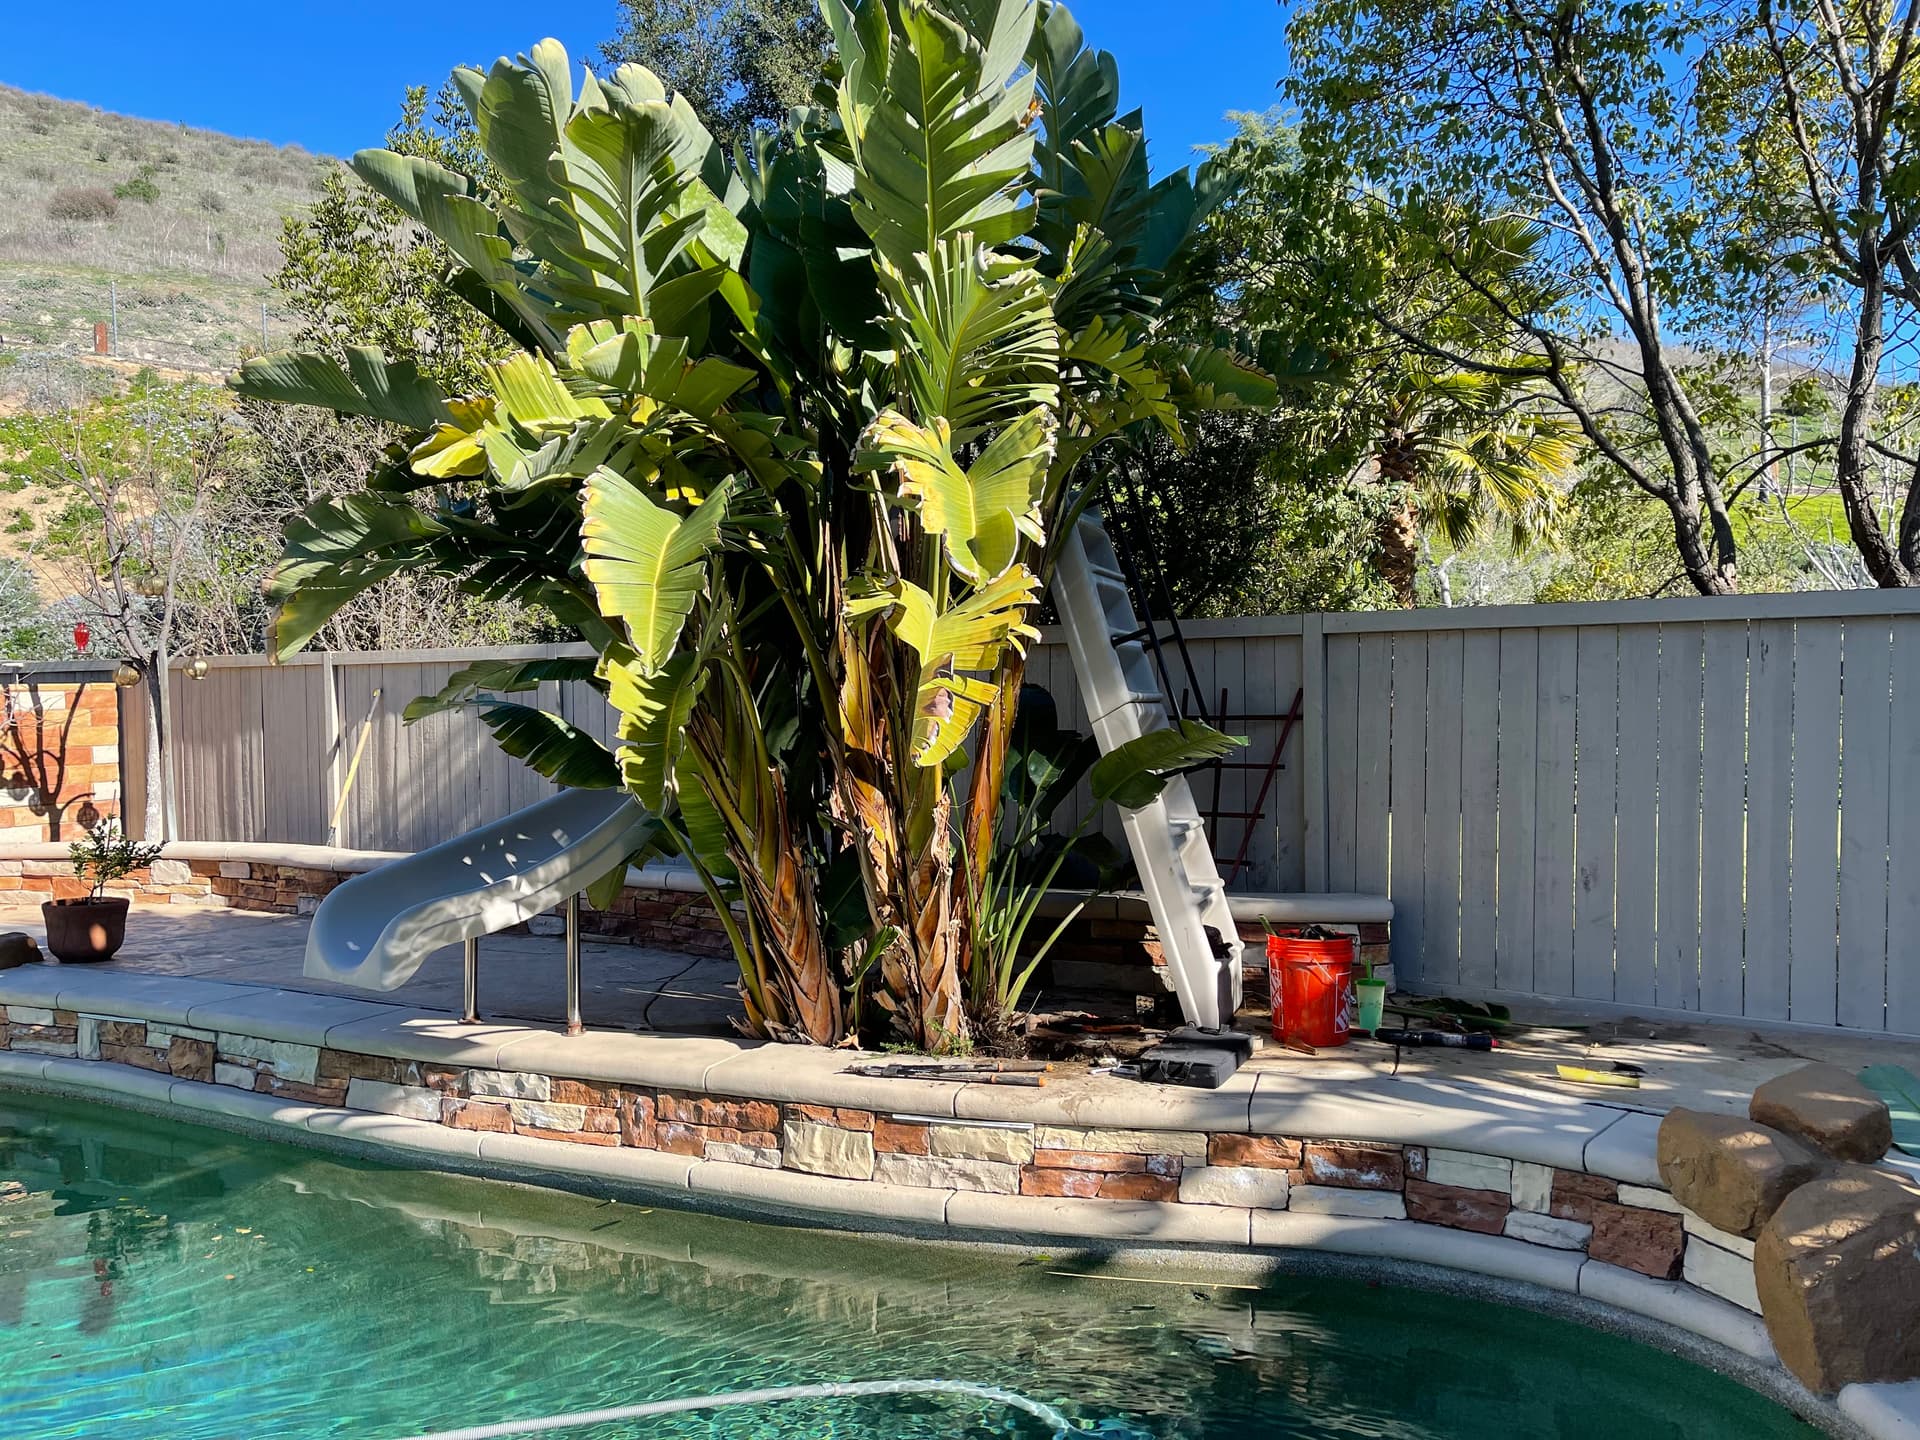
I’m only starting to understand the mechanics of an irrigation system. At first I thought there might be another sprinkler head further back. I chopped away some of those trees and poked around back. It doesn’t’ seem like there’s another head, but it’s possible. My other guess is that some sort of PVC connector is busted back there.

What’s my next step in trouble shooting this? Lucky the water drains fast enough that it doesnt seem to overflow into the pool which is right a foot away (although I fear what it’s draining into since these trees are built into the concrete of the pool area).

Second question - There are two sets of sprinklers that the previous owners stopped using, that I’d like to start using. They are not connected to the three zones that are in use, and I have no idea how they disconnected them.

When setting up my Rachio I noticed a few unused wires.

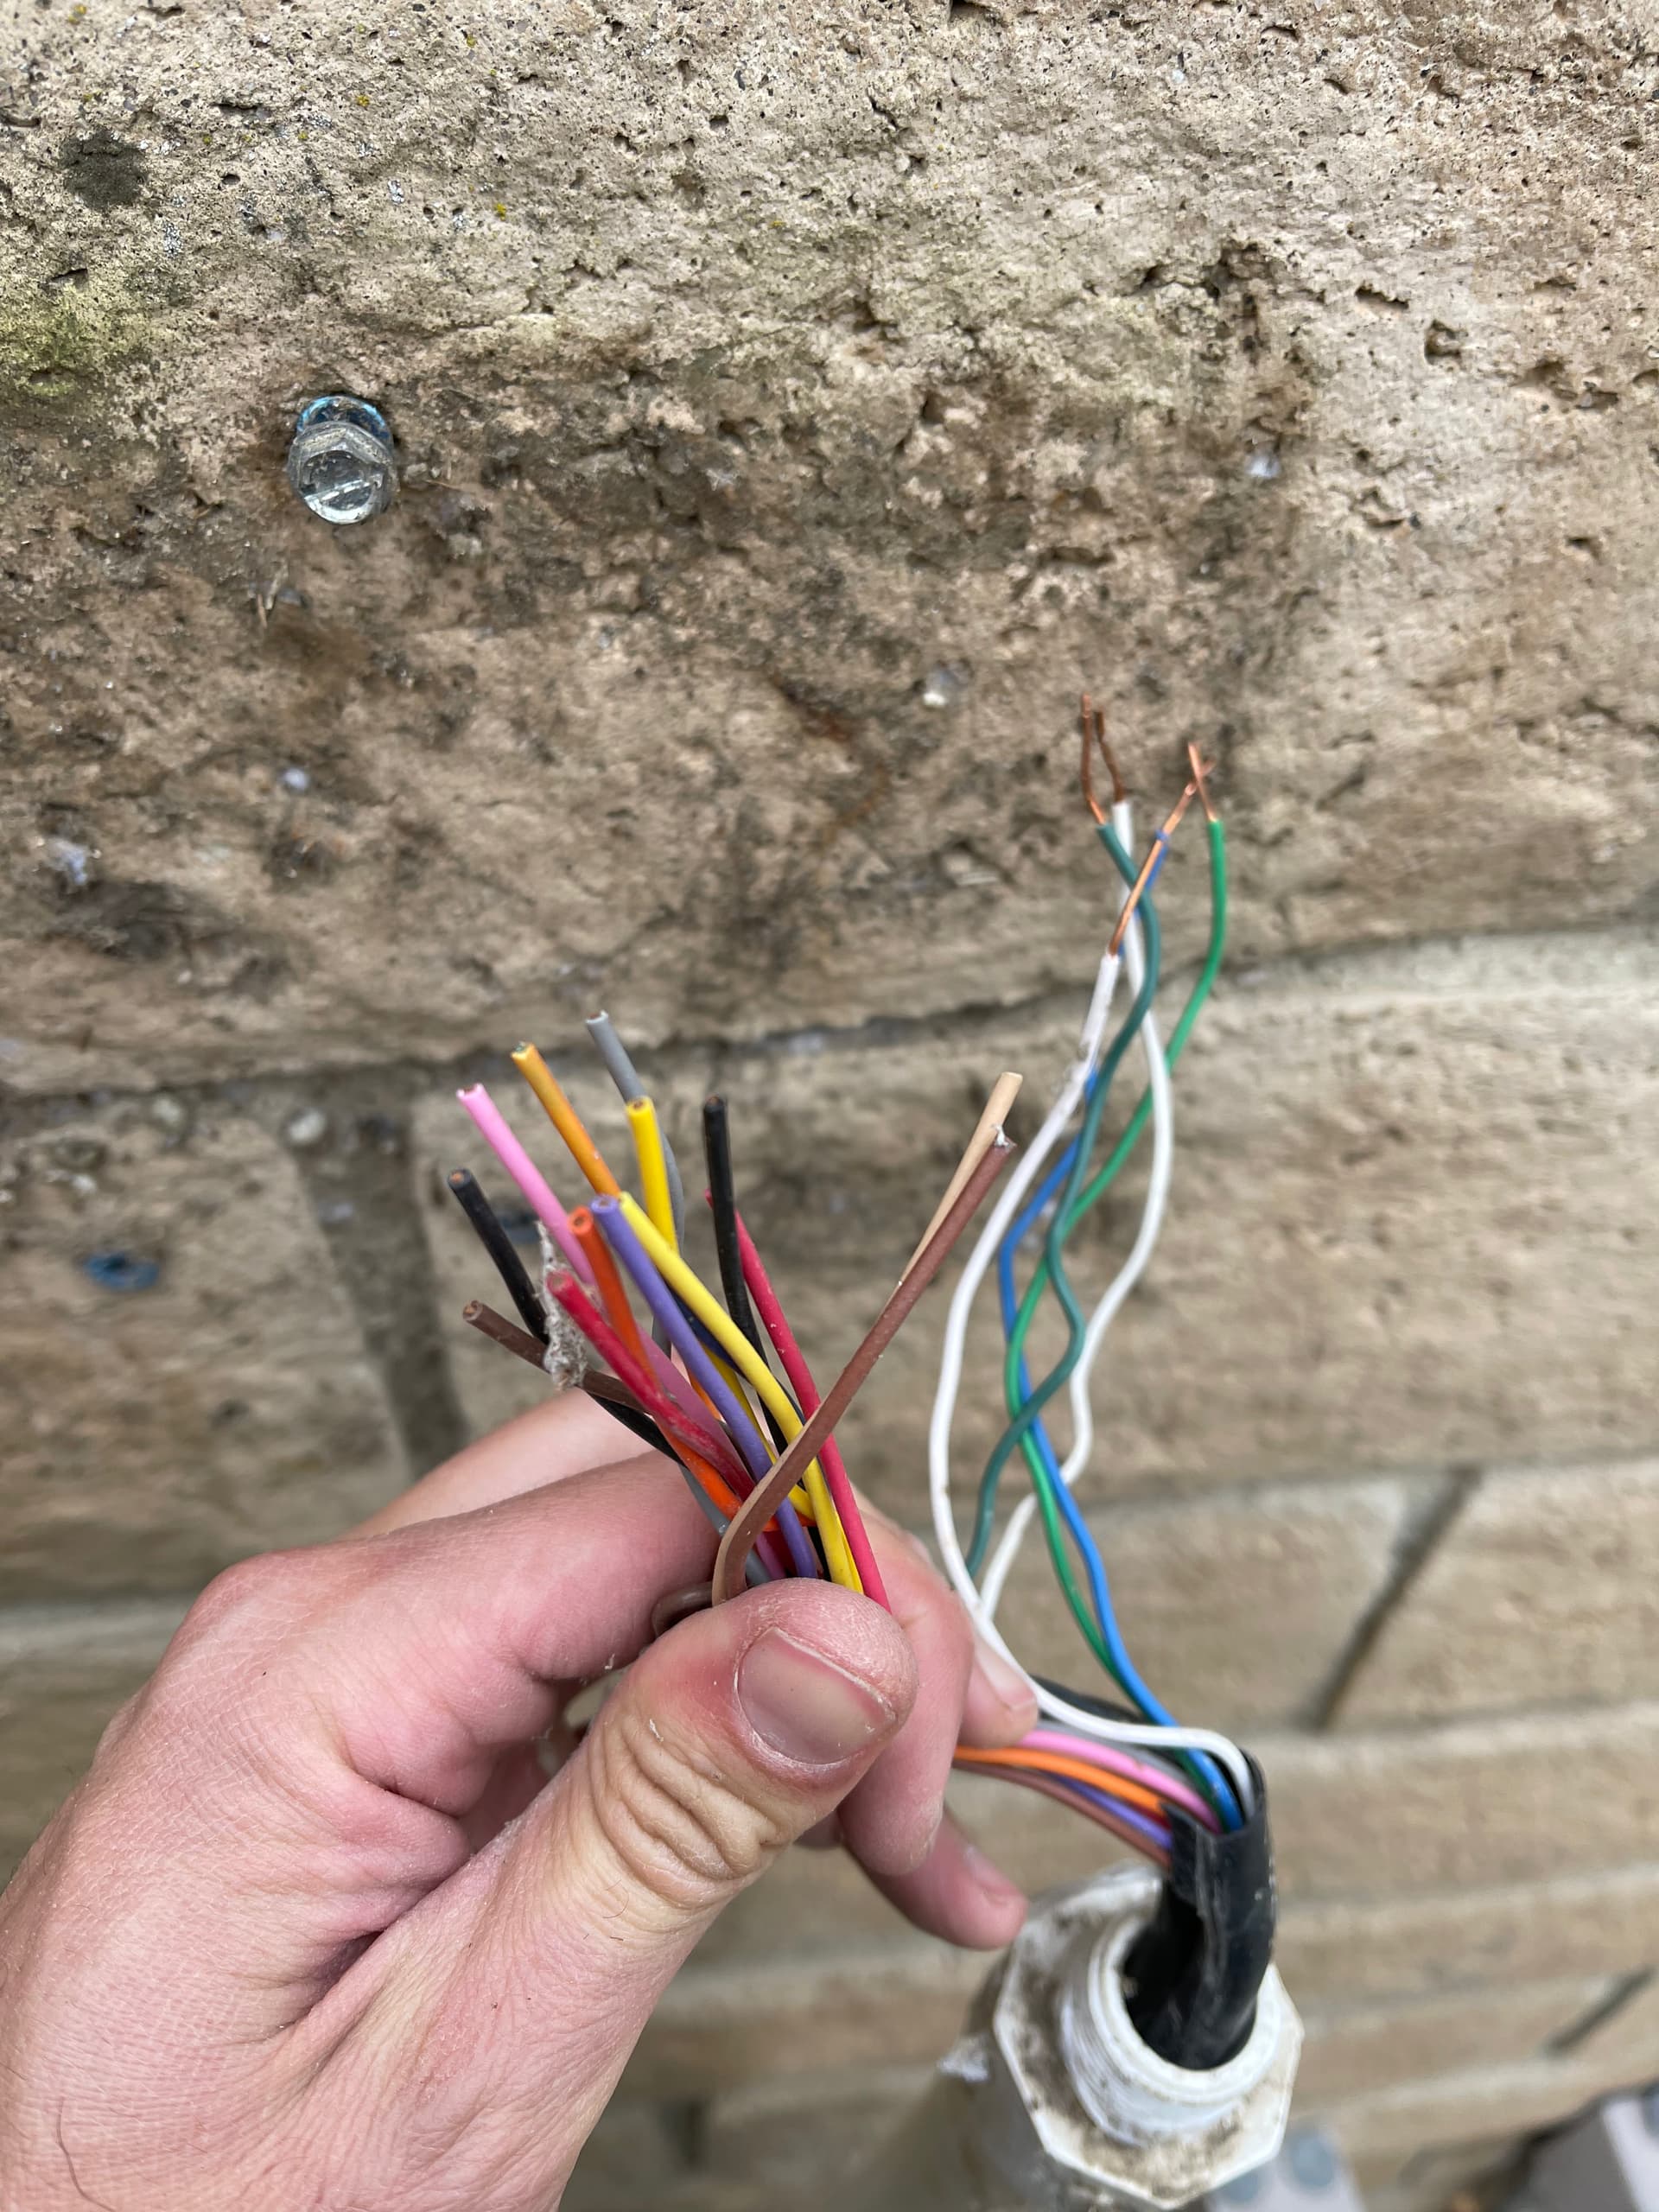
You can see the five wires with exposed copper (two whites, blue, and two greens). Those all work as they should. All of those other wires, without copper exposed, are not in use.

I spliced a handful and plugged them into an unused zone but nothing happened. Is there an easier way to see if any of those wires are actually connected to something? Would an installer string that much extra without a use? My hope is they planned ahead and there’s a way to use these as zones.Speaking of -

I’d really love more than three zones. The current zone setup makes no sense.
Zone 1 is the grass and some fruit trees
Zone 2 is some other fruit trees and the left side of our property
Zone 3 is the right side of our property

There is a far more logical way to zone this. Is that DIY fix, or do I need to call in someone to update?

Thanks, this forum is incredibly helpful!

  1. Water gushing downstream of a head: I probably would start digging to see what is going on. When I turn on sprinklers for the first time (some neighbors & I did the sprinklers and the sod), I had a couple of spots like that. One was a joint that someone forgot to glue. The other was some funny pipe that I could not find, so put in another. With yours, it could be something broke, came loose, or something. It is possible that the water traveled some distance before it surfaced, depending on your soil.
  2. As I understand it, you have five zones and three are currently in use. It sounds like you do not have any idea where the valves are for the two zones, is that correct? It seems unusual to run that many wires. I ran extra, but definitely not that much (and wish that I ran more). Are yours all in one bundle? If it is one bundle, I would first go to the sprinkler box(es) that you know about to see what happens to all the other wires.

There’s no short cutting hard work sometimes. But while digging in the short term will pay dividends long-term. You’ll get to know the whole layout and how it works.

It certainly is worth investing time in knowing the layout, not only for finding the electrically operated zone valves, but also for possibly redesigning the zones (for maybe lawn only zones)

The gushing is most likely the riser nipple for the sprinkler. It goes between the fitting on the piping system and the sprinkler body. You will need to dig it up and replace. They make them in a number of lengths, so measure the length and run to Home Depot or Lowes and pick up a new one. While you are at it, I would replace the whole sprinkler body. It looks like the body of the sprinkler might be cracked as well.

image

As for the wires, sprinkler wire can come in bundles anywhere from 3 to 10 plus wires per bundle. Yours looks like there might be 2 bundles of 10 wires (2 white common wires tell me two bundles). Usually you will see multiple bundles if there are multiple valve boxes on the property. Since non of the other wires are stripped, it makes me question whether they were all in use or not…

Hey all - just getting back to this project. I dug out the first area - which of course is in a tight space in clay soil. Low and behold the connector that goes from the main pipe to the J connector (which connects to the sprinkler head) has a crack. Turning on the system confirms that’s where the leak is coming from.

The J connector (what’s its official name?) twists off no problem. I fear I know the answer to this, but the broken piece that connects to the main pipe has to be twisted off as well it seems. That means I have to somehow dig under it deep enough (another 2 inches or so) to twist off? That’s going to be a lot harder than it looks. Am I missing an easier way?

Unlike the diagram posted above, the T connection off the main PVC is horizontal instead of vertical thus requiring the black two-piece connection.

This is how it looks in actual operation for what it’s worth.

I could be wrong, but it looks like in the second picture that the part screws into the tee. I personally would dig a little deeper to check that. It sure would be much easier if it does.

@thenjr - The “J” connector is called an elbow. If the bottom elbow is rotated to the upright position in the top picture and the top elbow is the unscrewed, I don’t think 2" of clearance will be needed to unscrew the bottom elbow. I think that you’re almost there. One will need the clearance anyway to screw on the replacement elbow.

1 Like

You guys were right, it wasn’t much further to get that one out.

But the next one is not so friendly. This is the leak from the video I posted above.

I spent the afternoon digging and unfortunately chopping out a bunch of the palms. Here is the space we are working with.

Super tight area that is going to be an ongoing problem as the tree roots push at the concrete.

After multiple elbow connectors I finally got to the T pipe from the main PVC. As soon as I exposed it the problem was clear - the elbow wasn’t fully tight to the T pipe!

Oh but wait. The elbow has actually degraded. As I dug around it to expose more I knew what was going to happen next - the elbow will certainly break off at the T pipe.

And sure enough -

One step closer, two steps back.

How do I get the remains of the elbow thread out of the T Pipe?

And equally difficult, I’m not sure how I’m going to dig up enough to thread on a new elbow. Well, I guess I do know the answer to that, I just don’t like how many ferns I’m going to have to sacrifice to do it.

Victory!

Well that feels freaking amazing.

3 Likes

Great job! I forgot to mention this earlier, sorry . . . If any of those tend to break from equipment, feet, or whatever (it does not really sound like it), you might consider using “funny pipe” which is much more flexible.

2 Likes