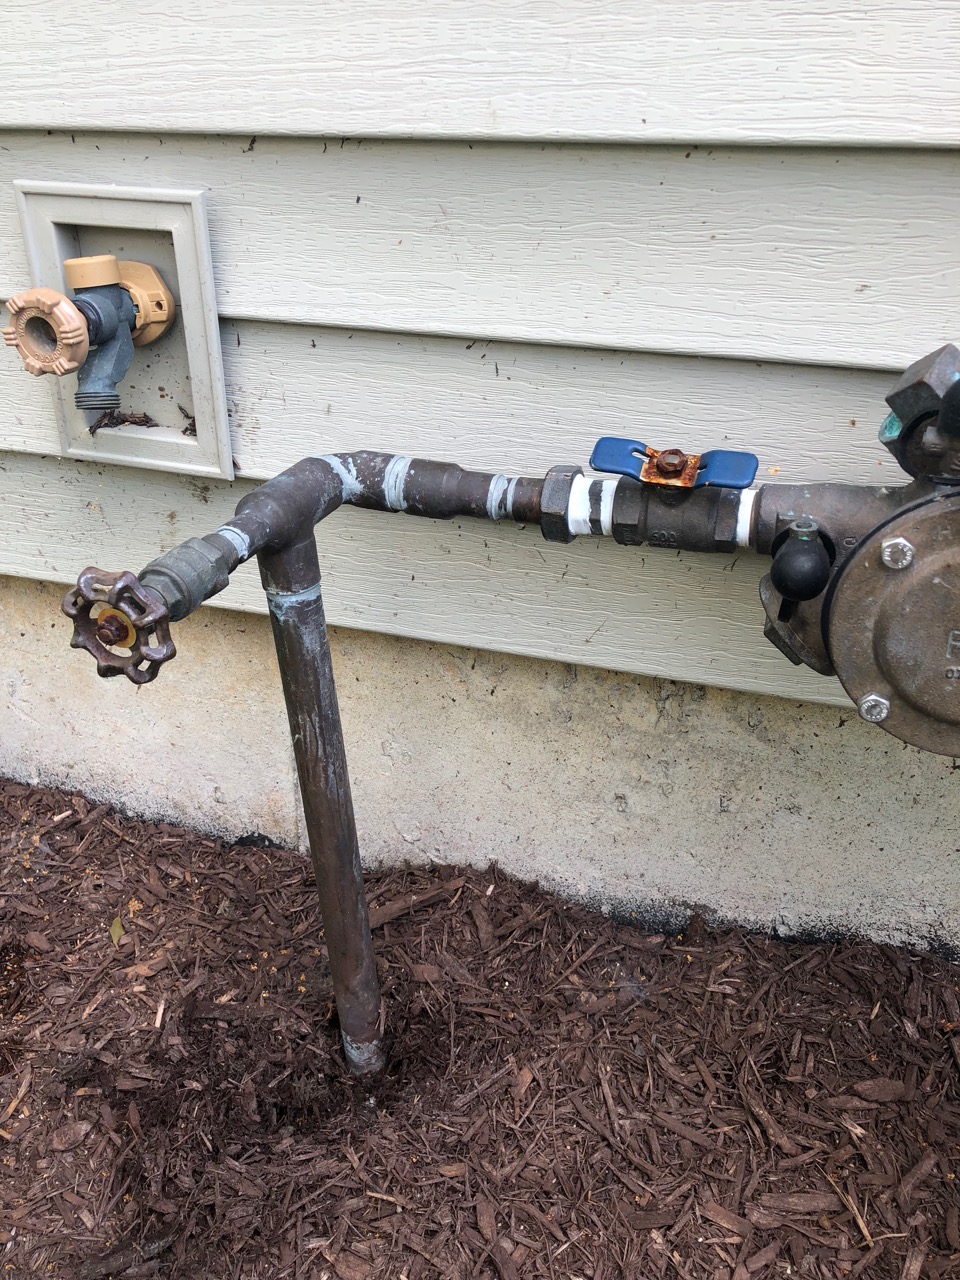
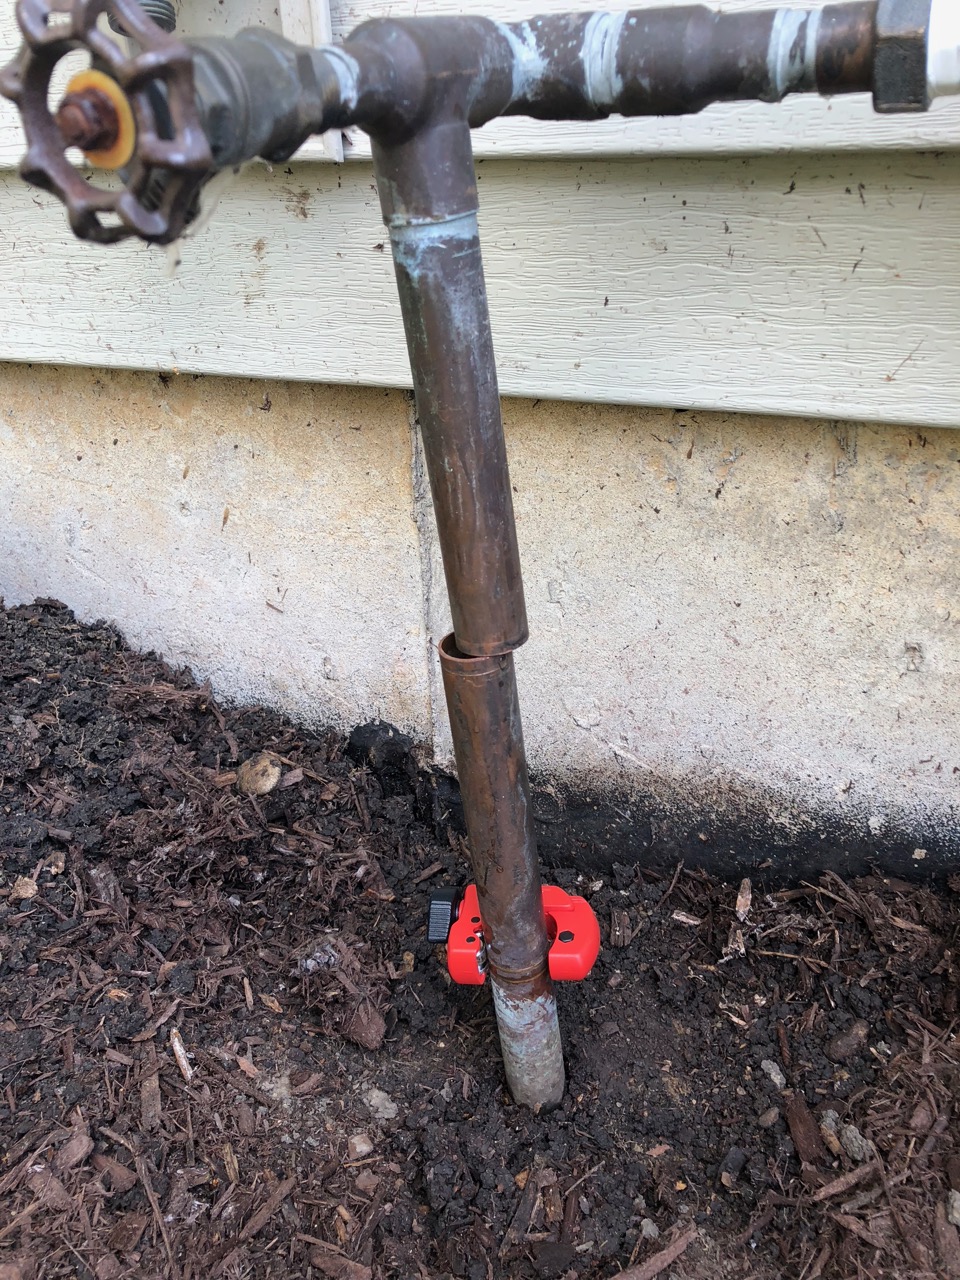
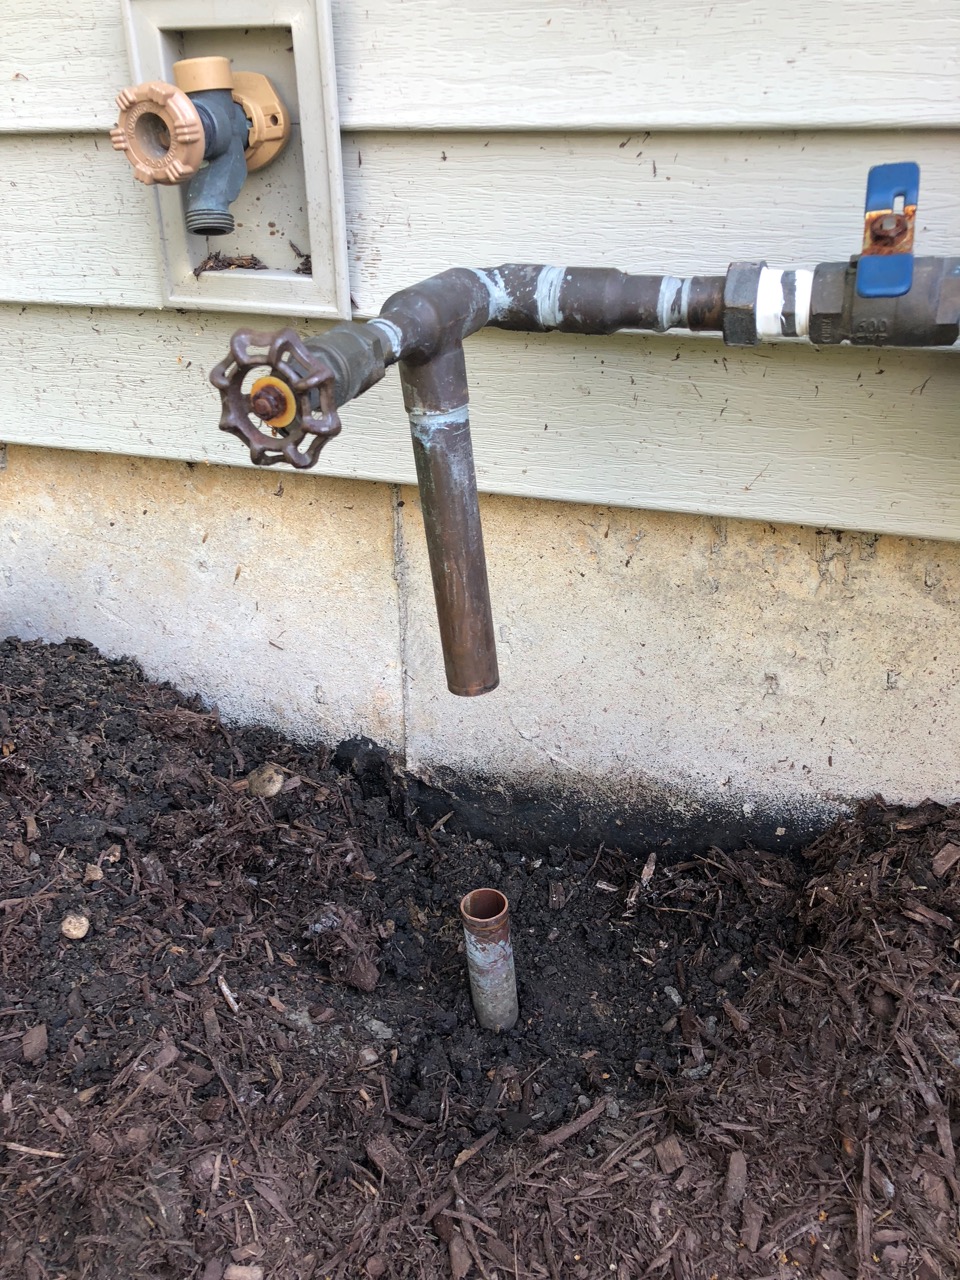
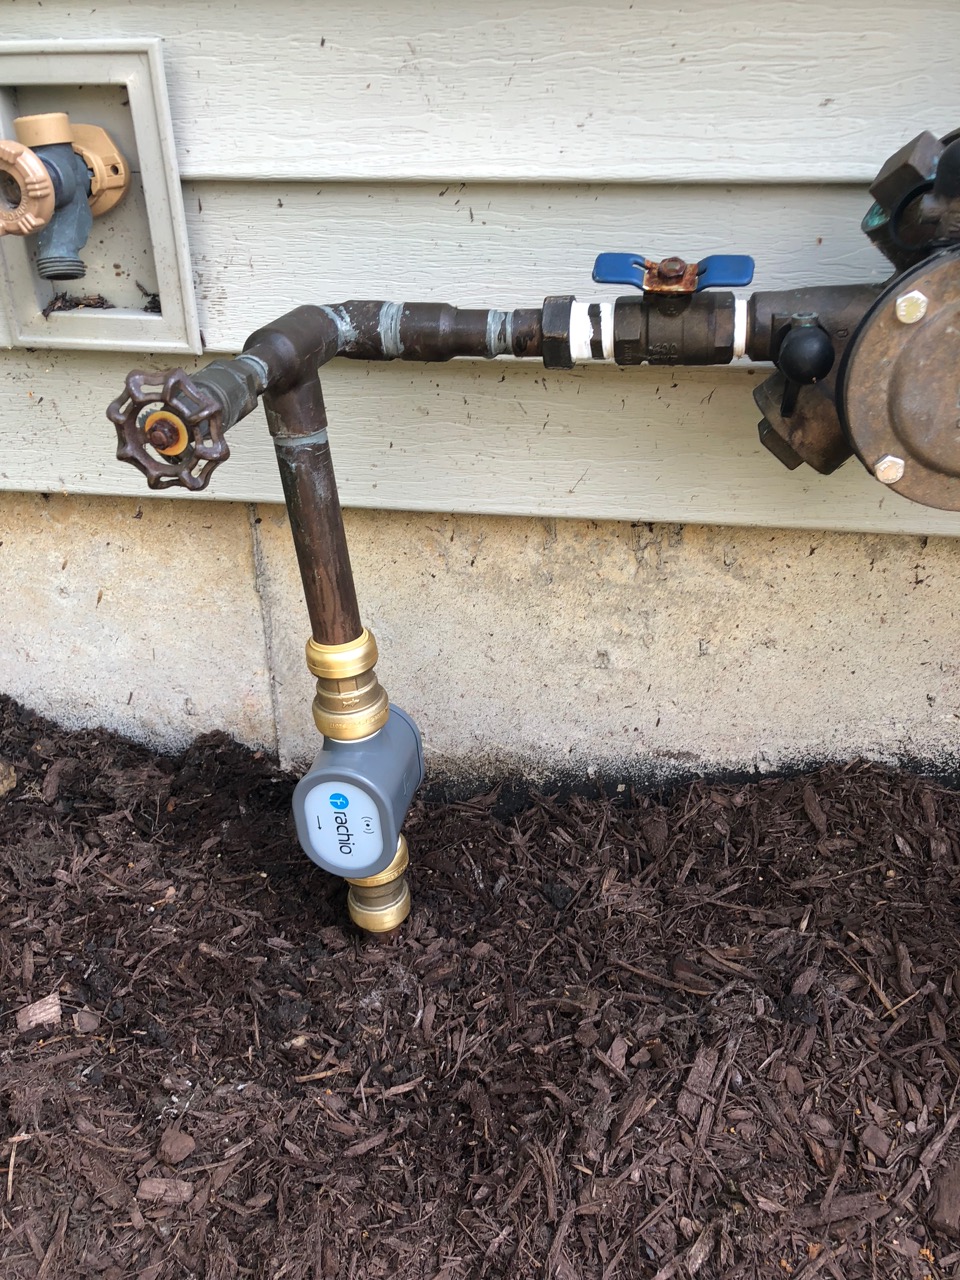
For once with my house I got lucky and what I had made the install of something easy. I’m fortunate that my 12 year old house and sprinkler system used 1 inch copper tubing and my install matched the Rachio video nearly exactly as I see many others have mixes of either PVC or 3/4 inch copper which adds complications. I did it exactly like Rachio suggested and used the Sharkbite adapters which could not have been easier to use and cutting the copper with a proper cutter was also very straight forward and I’ve never worked with plumbing other than maybe changing a leaky faucet or the internals of a toilet, certainly never cutting pipe. It took maybe 45-60 minutes but that was going slow and stopping to rewatch the video and read the instructions, if I had to do it again under 30 minutes would be easy with my install.
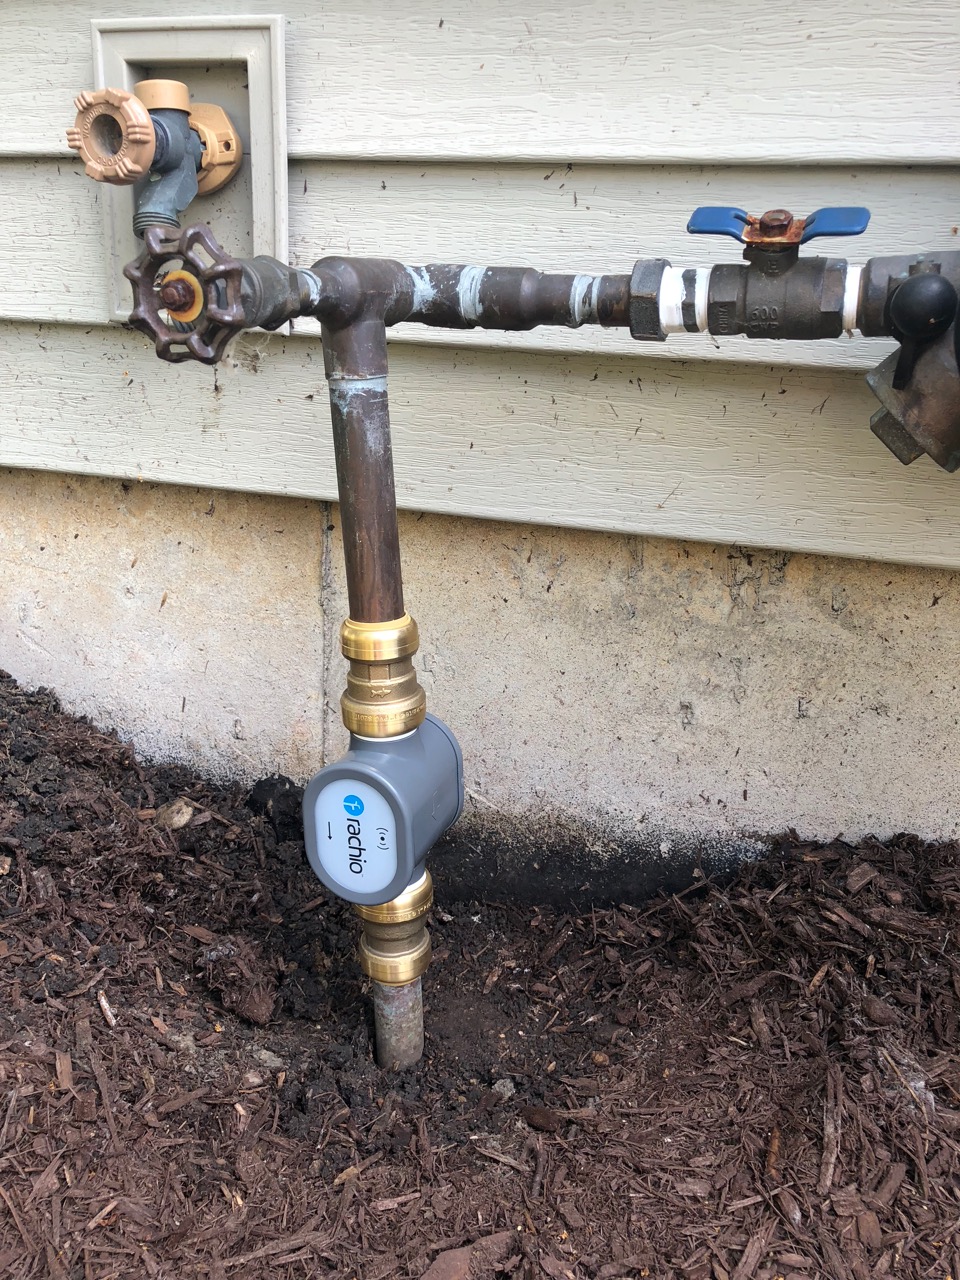
I had no issues with signal strength with the Rachio 3 being on the other side of the house, perhaps 125 ft. away, it reports excellent. Once everything was together I had no leaks and calibration was straight forward with most of my zones between 5-8.5 gal per minute which is a bit on the low side vs. many of you reporting 10-11 gal per minute IMHO for the size of the square footage each zone covers, I have no doubt the Rachio is accurate as I’ve always felt the designer of my sprinkler system spread out and reduced the number of heads too low to save money so some of my zones are less than even or have to run long periods of time to put down the proper amount of water.
The real test here will be how the flow meter holds up over time, will the Sharkbite adapters that some say aren’t the best hold up, and how will the Rachio do when the Chicago snows bury it for a few months at a time? As for now… I love it!