I chose the Iro for a new install since I love anything that falls into the category of “smart home.” After looking at a few other weather-aware controllers, I thought the Iro was the one with the most potential and I like startup companies that do rapid iterations based on user feedback. After lurking a bit in the community forum, it was clear joining the Iro family would be a fun ride.
I’m in the midst of a complete redo of my front yard with new plantings and a completely new irrigation setup.
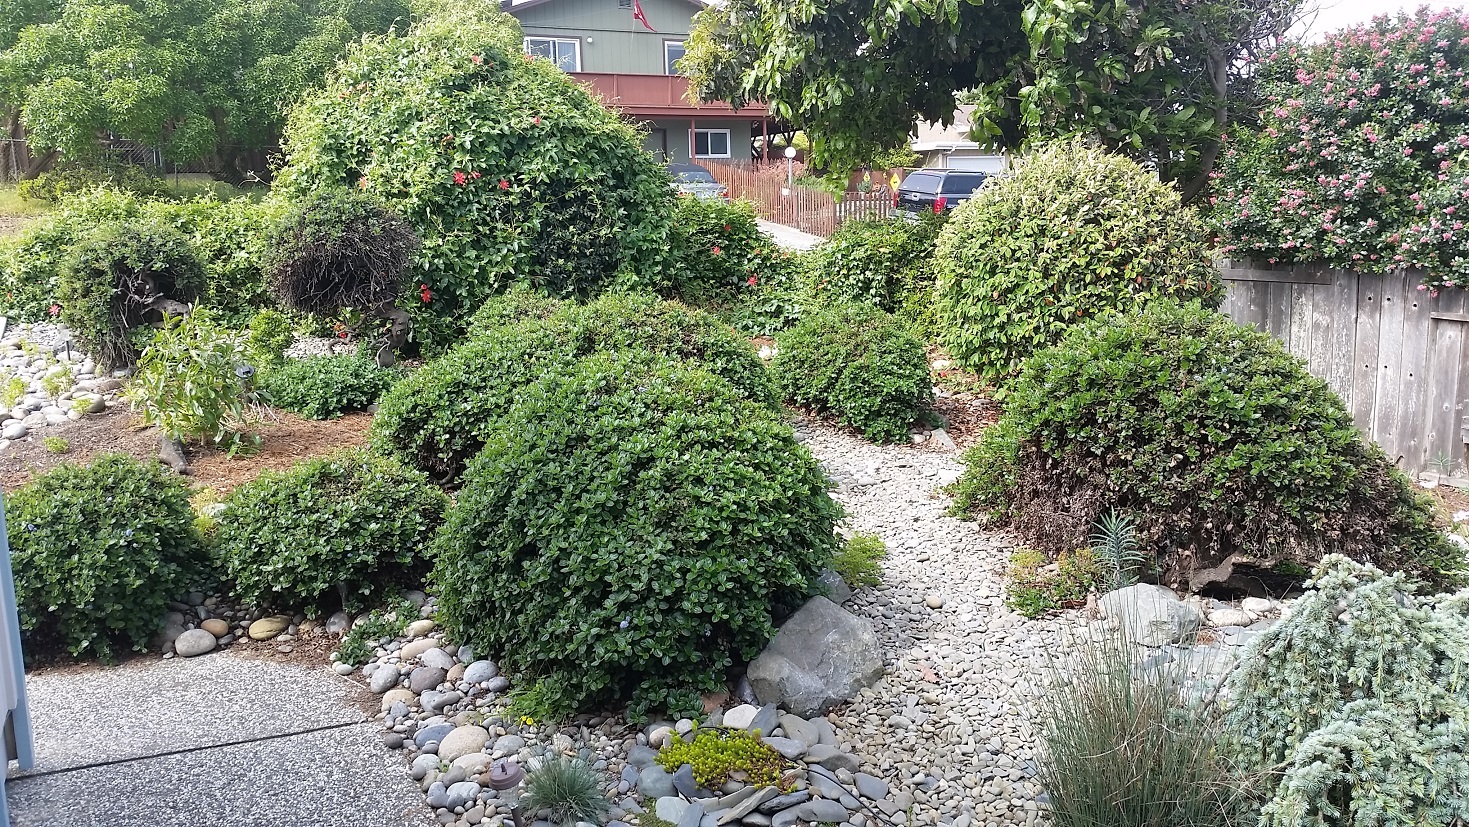
BEFORE
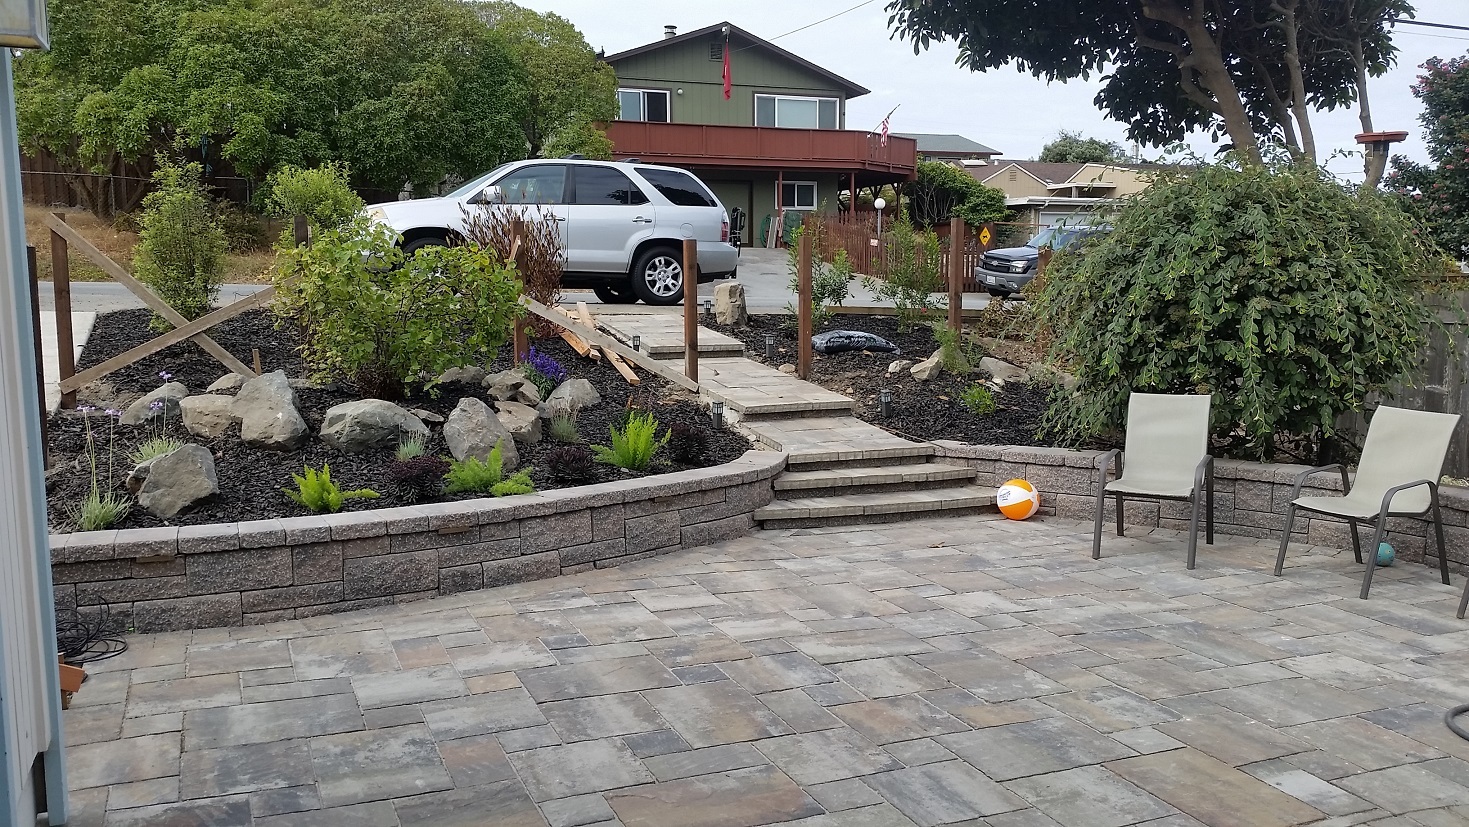
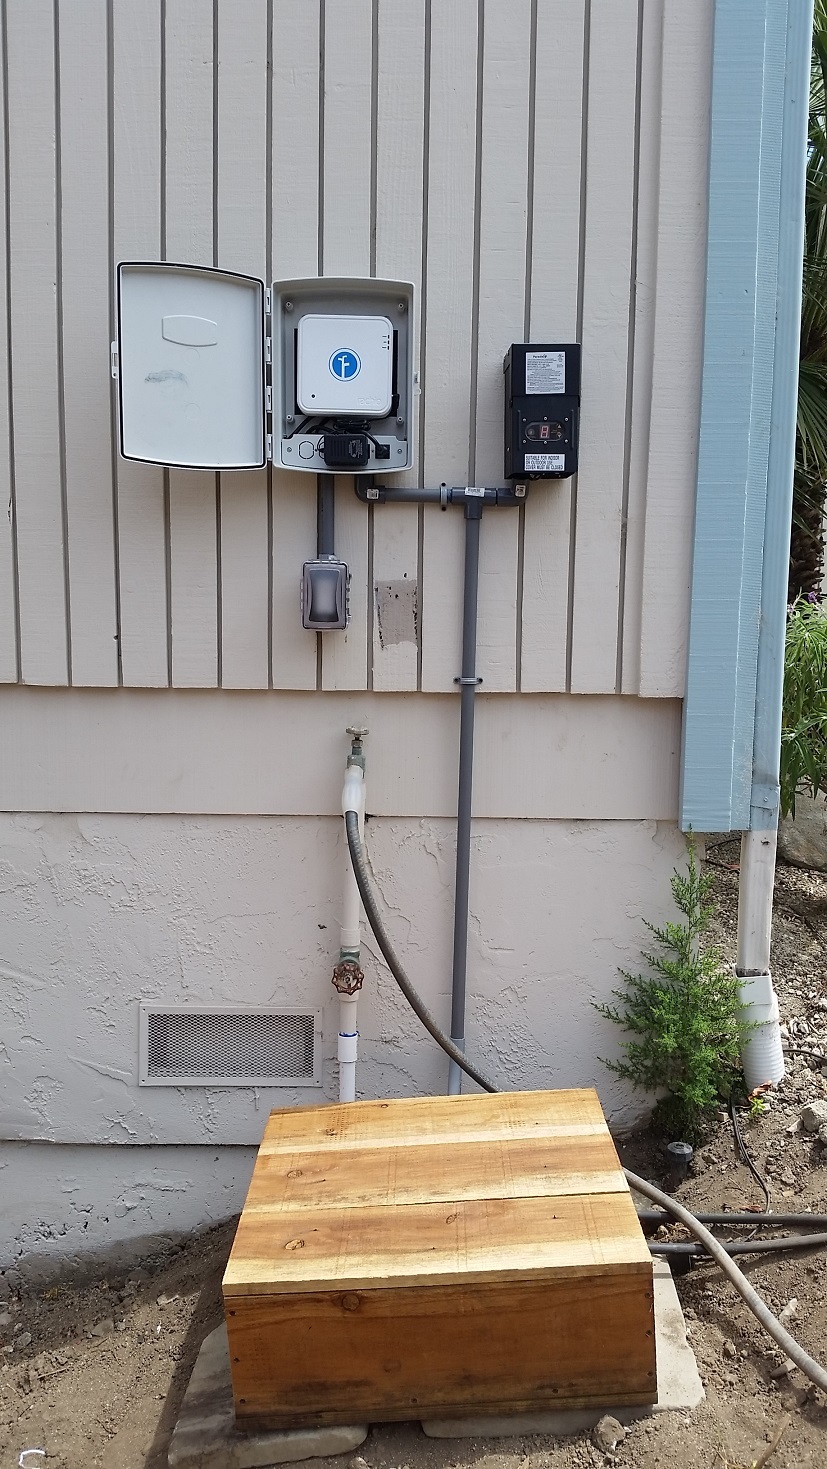
CURRENT
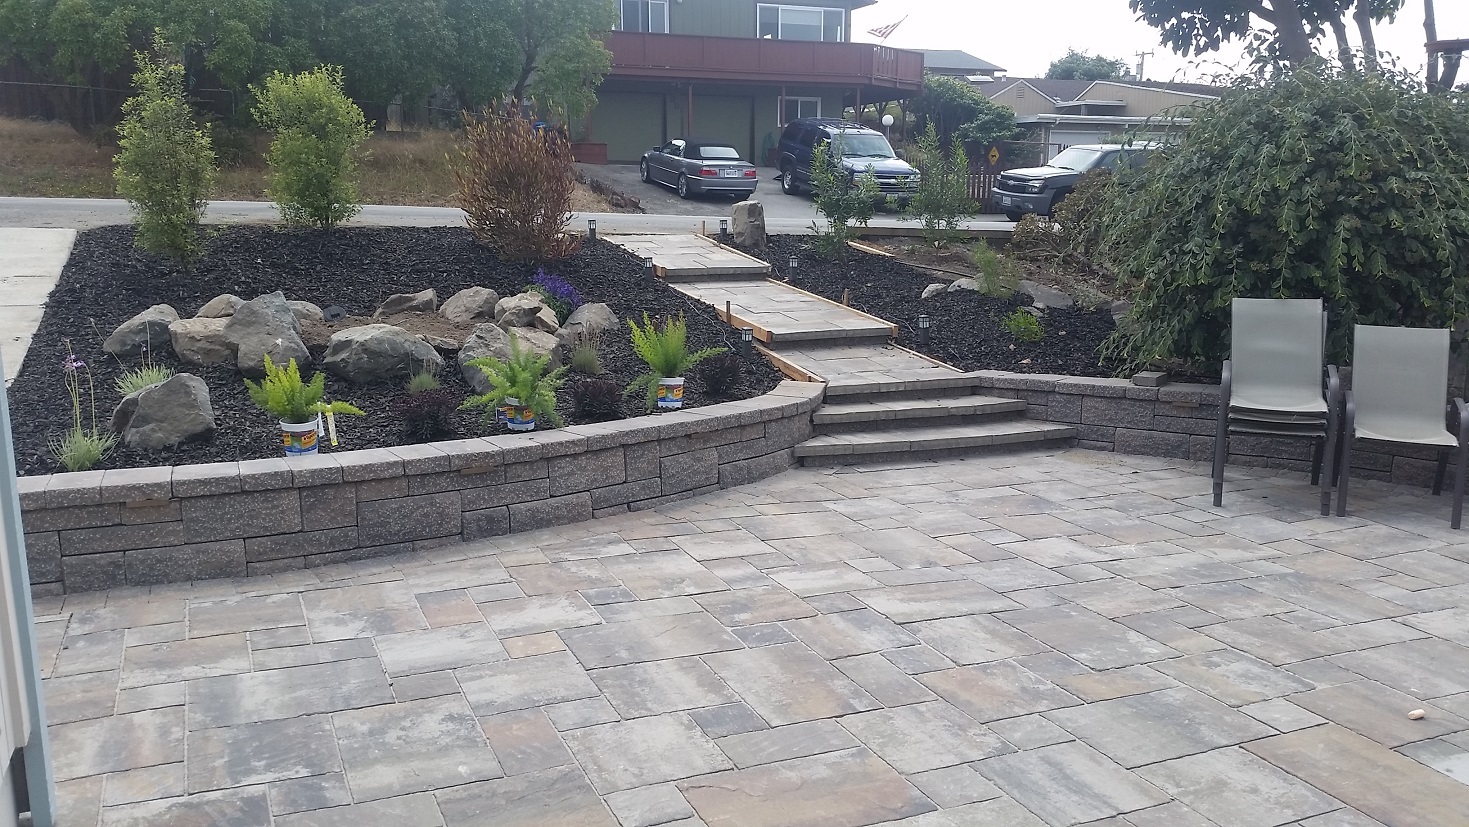
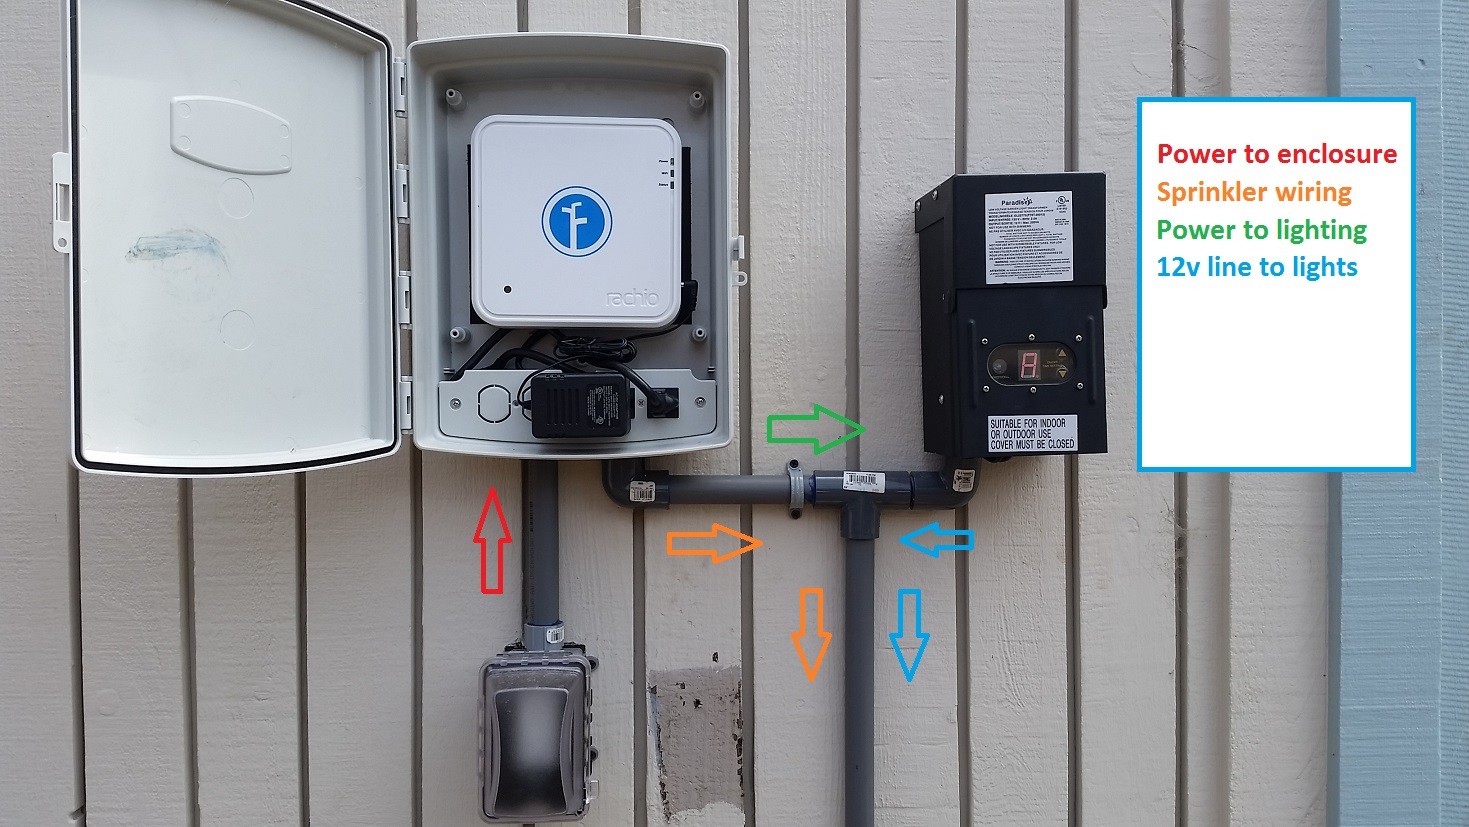
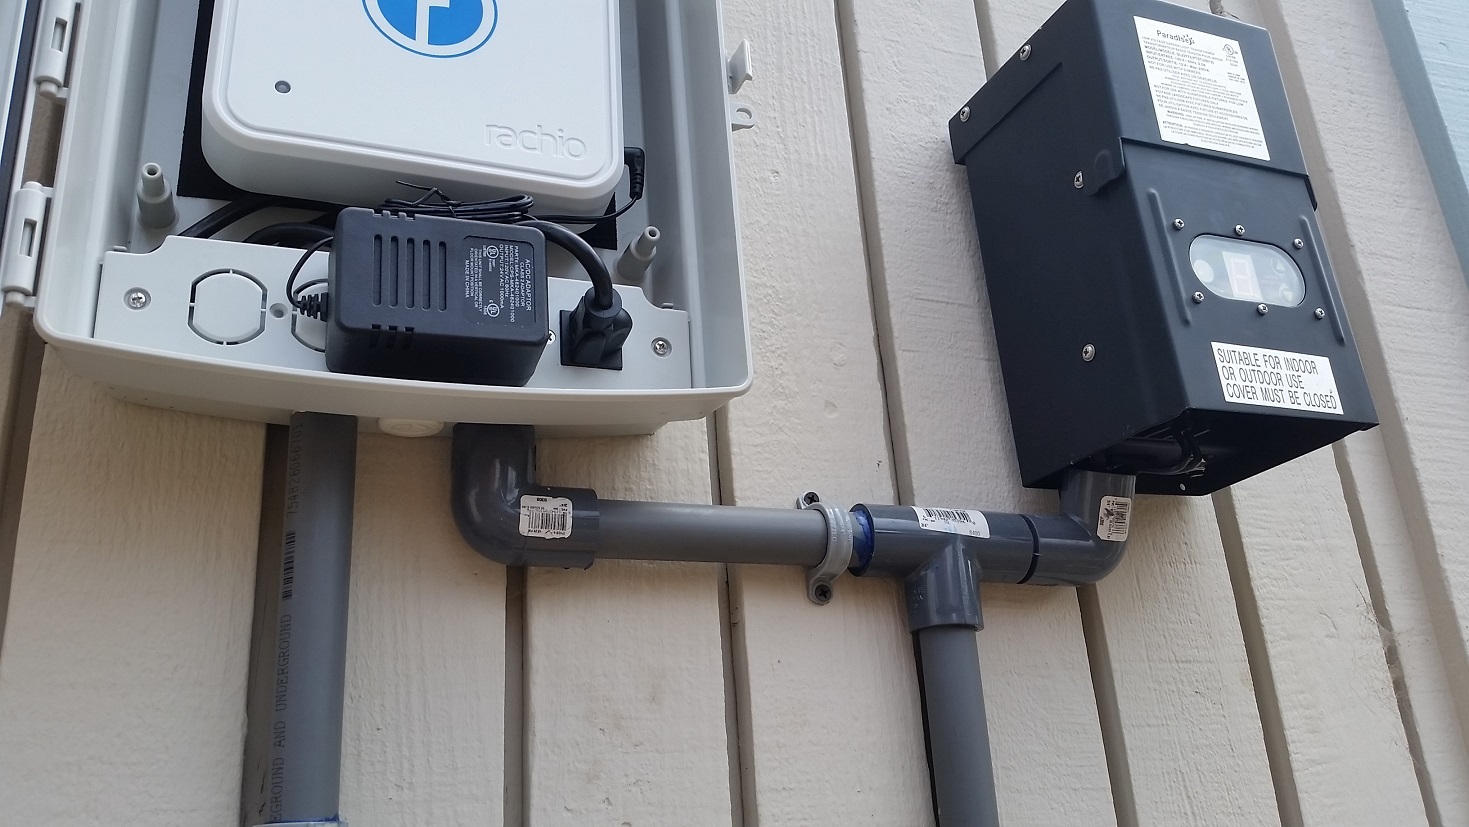
New plants means all new irrigation which is a lot more fun to install than laying pavers. I decided to order the Iro with Rachio’s recommended enclosure. The last thing I wanted was to deal with some universal box that wouldn’t fit the Iro very well. Another bonus with this enclosure is you’ll end up with a spare outlet. I really like clean wiring setups so I decided to run the power for the landscape lighting transformer to the same enclosure.
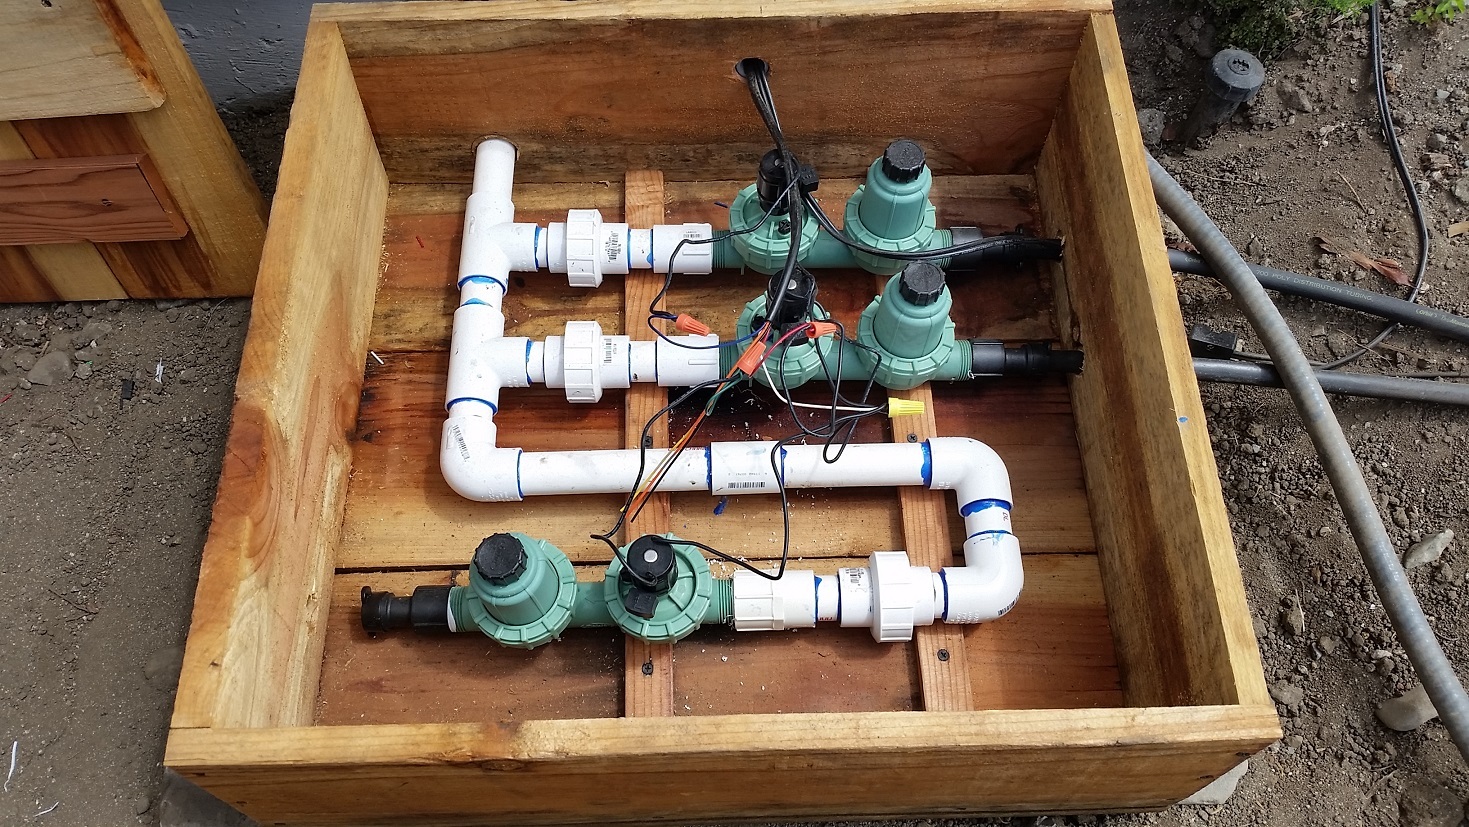
For the valves, I knew I was going to be running drip for everything and decided to use these 4-1 valves by Orbit. Since I anticipate needing to replace one at some point, I used some slip unions to make removing them easy. This also lets you place them closer together since you don’t need to worry about having clearance to unscrew a whole valve. Now they can be swapped out without cutting any pvc and with almost no effort.
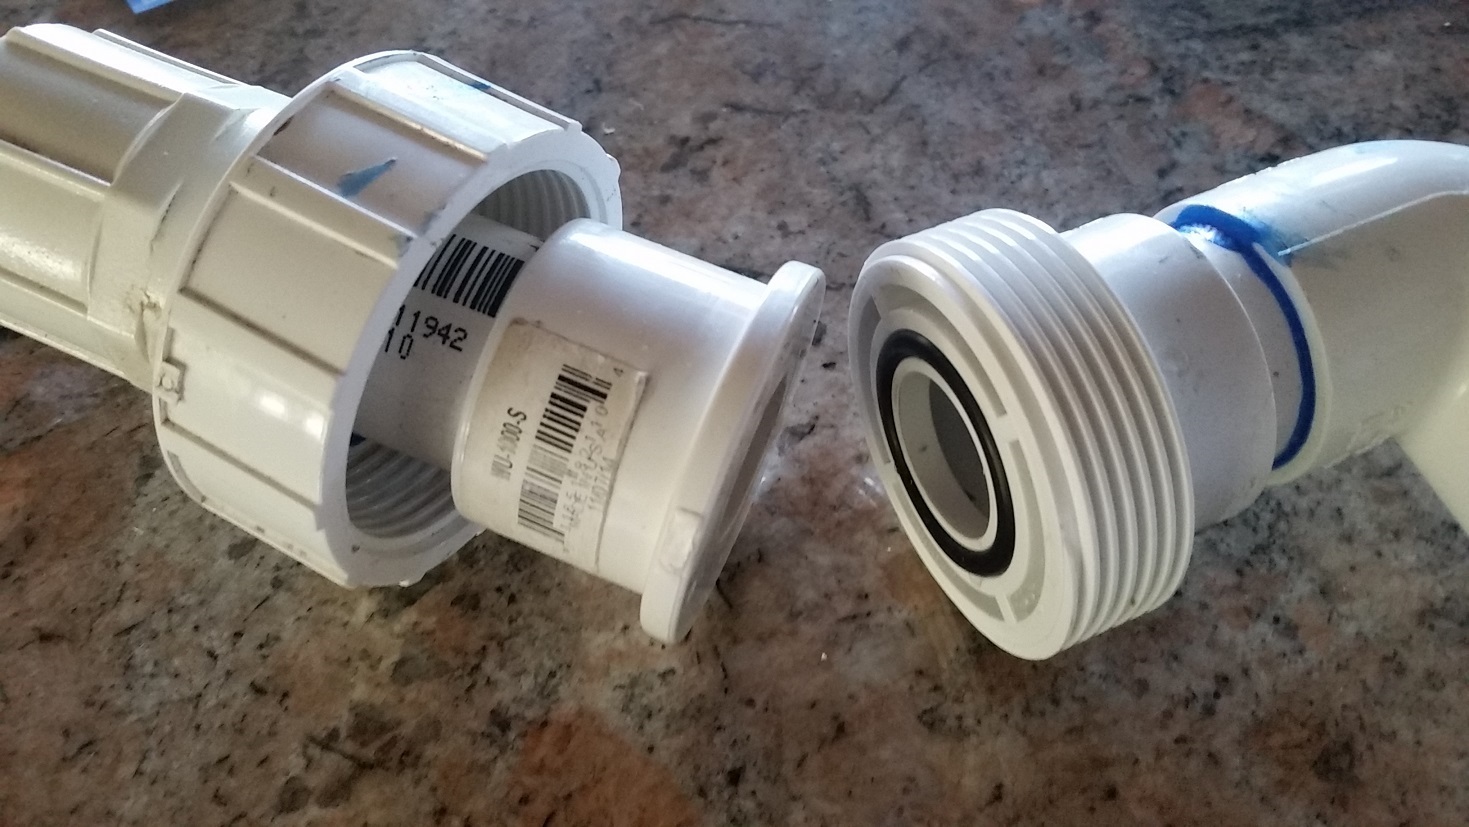
Here’s a closer look at one of the slip unions.
ZONE SETTINGS
I’m currently using fixed schedules until the ability to adjust moisture balance is released
Zone 1 This drip line is meant for the larger shrubs and anything that is going to be using larger flow nozzles. In this case, adjustable bubblers set to around 4 gph. Each of the privacy shrubs in the front of the yard has two of them. I had to make a custom nozzle for this and with much tweaking, is currently setup as 6.00 in/hr.
Settings: Shrubs, Clay Loam, Lots of Sun, Custom Nozzle, Slight Slope
Advanced: 20 sq ft, Allowed depletion 20%
Zone 2 This drip line is meant for the smaller perennials which each have a 2 gph emitter. The emitters were from an old supply I had and I thought they were actually 0.5 gph only to discover they were 2 after installing them all. I created a custom 3.0 in/hr nozzle but haven’t been happy with the run tiems it comes up with.
Settings: Perennials, Clay Loam, Lots of Sun, Custom Nozzle, Slight Slope
Advanced: 11 sq ft, Allowed depletion 20%
Zone 3 Not hooked up yet. It will be for a raised bed vegetable garden which is yet to be built
Personal Weather Station
Living 1,000 ft from the ocean tends to create a lot of micro-climates here in Northern California. Despite the small Half Moon Bay airport being a couple miles away, its weather station readings can differ as much as 10 degrees from my house. Fog gets trapped in areas and really affects things. I’d considered getting a rain gauge but a PWS sounded like more fun. So, I decided the Acurite 5-1 weather station looked good for the price so up onto the roof it went. I used the methods outlined in this Rachio support article to get setup with CWOP. Now, if it would only rain in CA I’d actually be able to see if rainfall is as different as I suspect between my place and the airport. Here’s a live look at the difference (as I’m writing this, there’s a 7.4 degree difference!)

Thanks Rachio for making such a fun product to tinker with!
 Lol
Lol