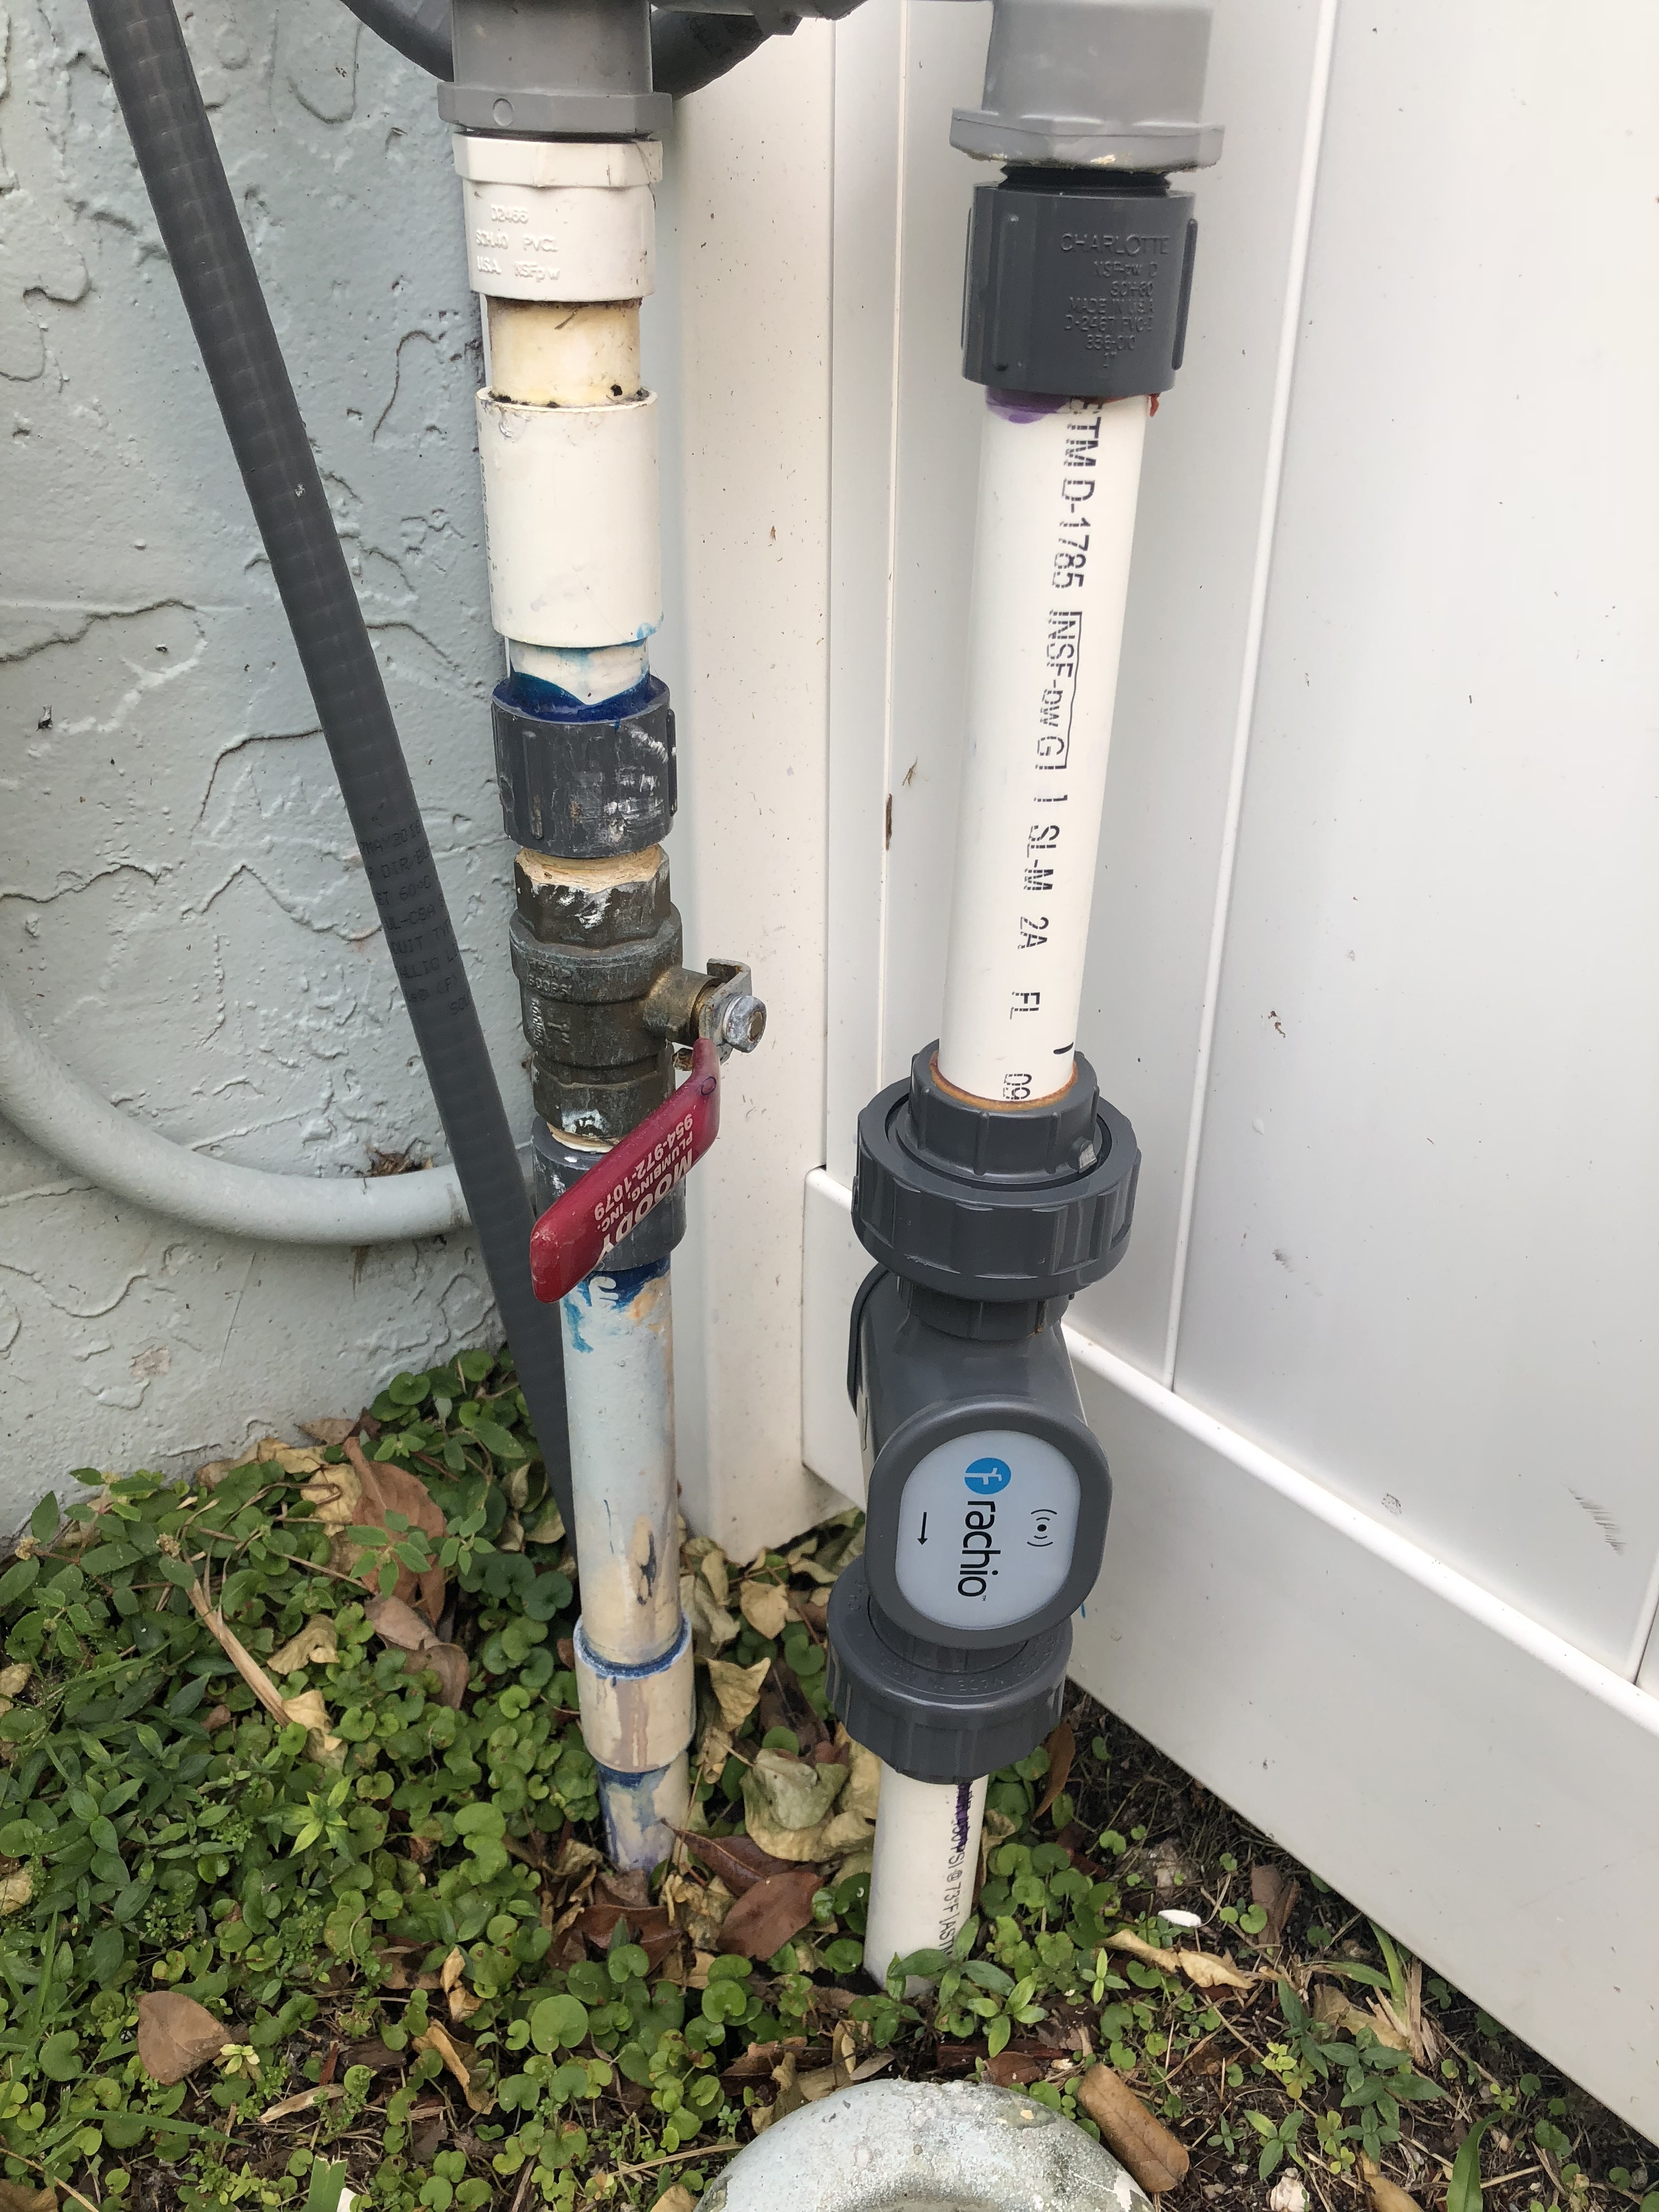
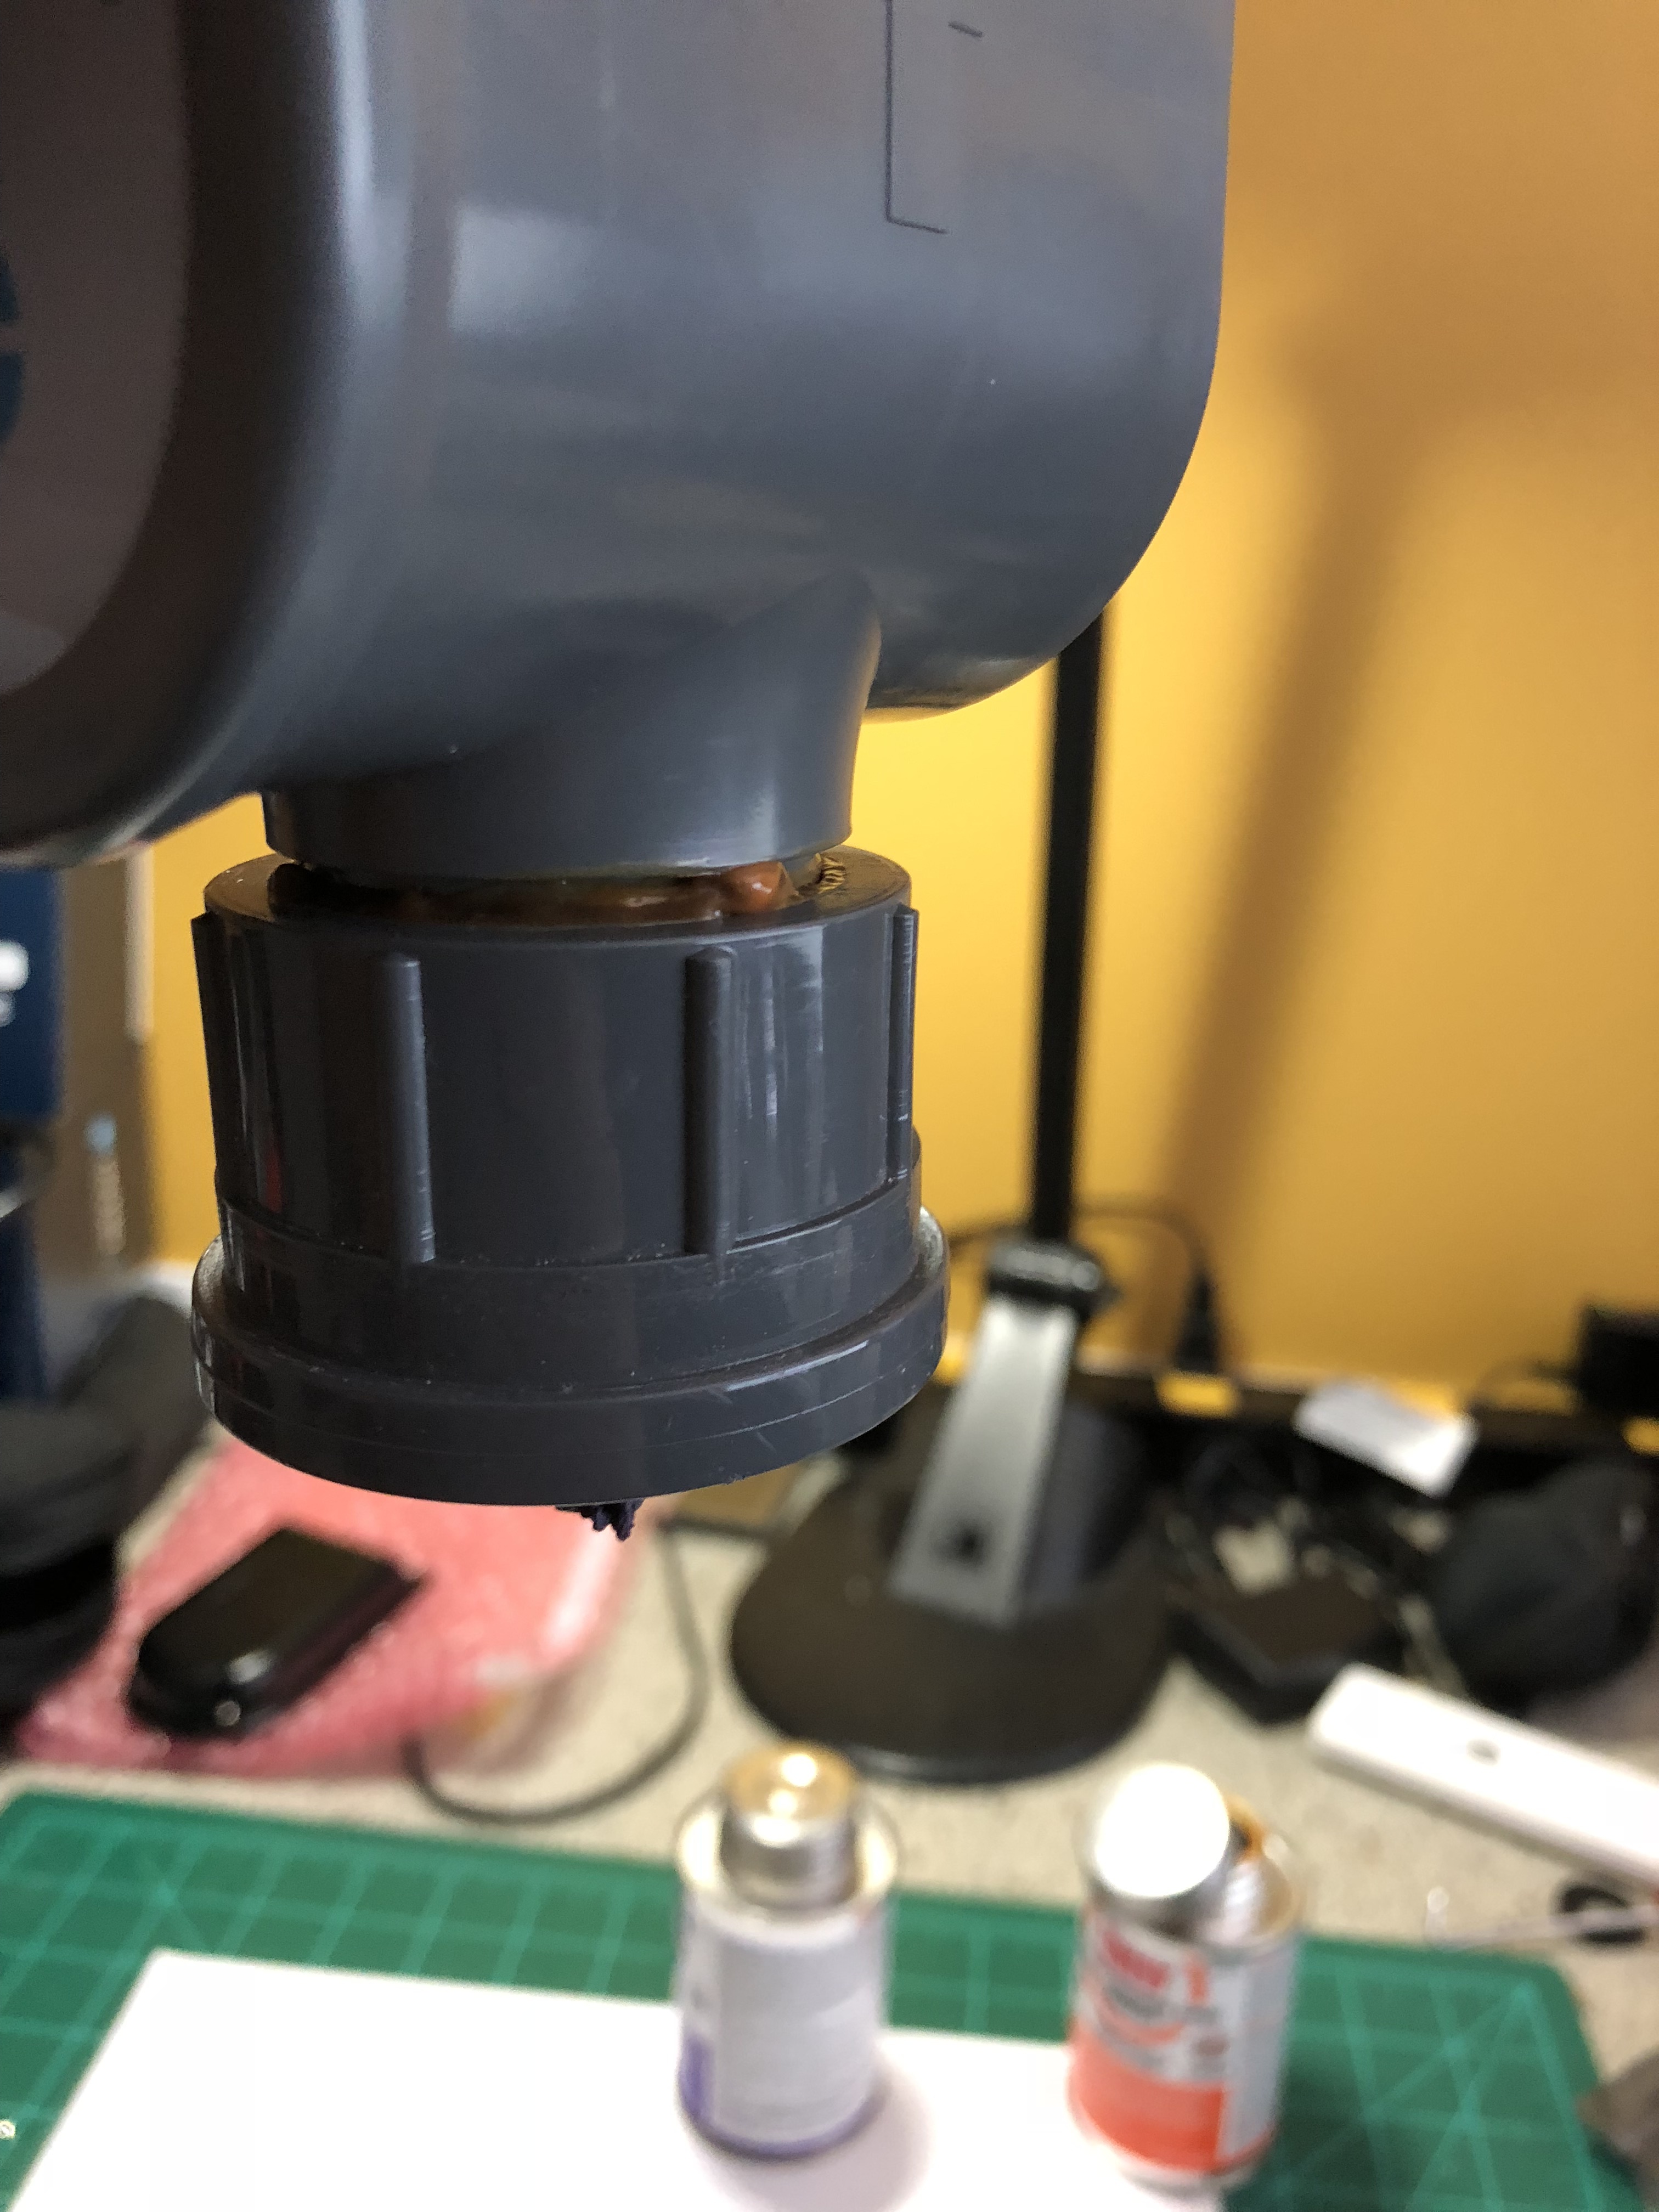
Obligatory “installed” picture first, here is how I’ve ended up installing my flow meter using about $10 worth of parts from my local home improvement store: !!! Please consider the risk carefully, using a primer and cement near the meter may damage it and additional risk may not be worth the cost savings if you are not comfortable with PVC work.
After I got my flow meter, my original thought was to install it underground (and dig everything back up) or raise the master valve way up in order to provide enough upstream pipe in order to ensure good readings, but after visiting a home improvement store, I came up with a different approach: two unions and some straws 
The reason for the straws, is that I don’t have much room after my master valve and I’ve decided to employ a laminar flow (video) “filter” in order to reduce the turbulence of water flowing through the meter.
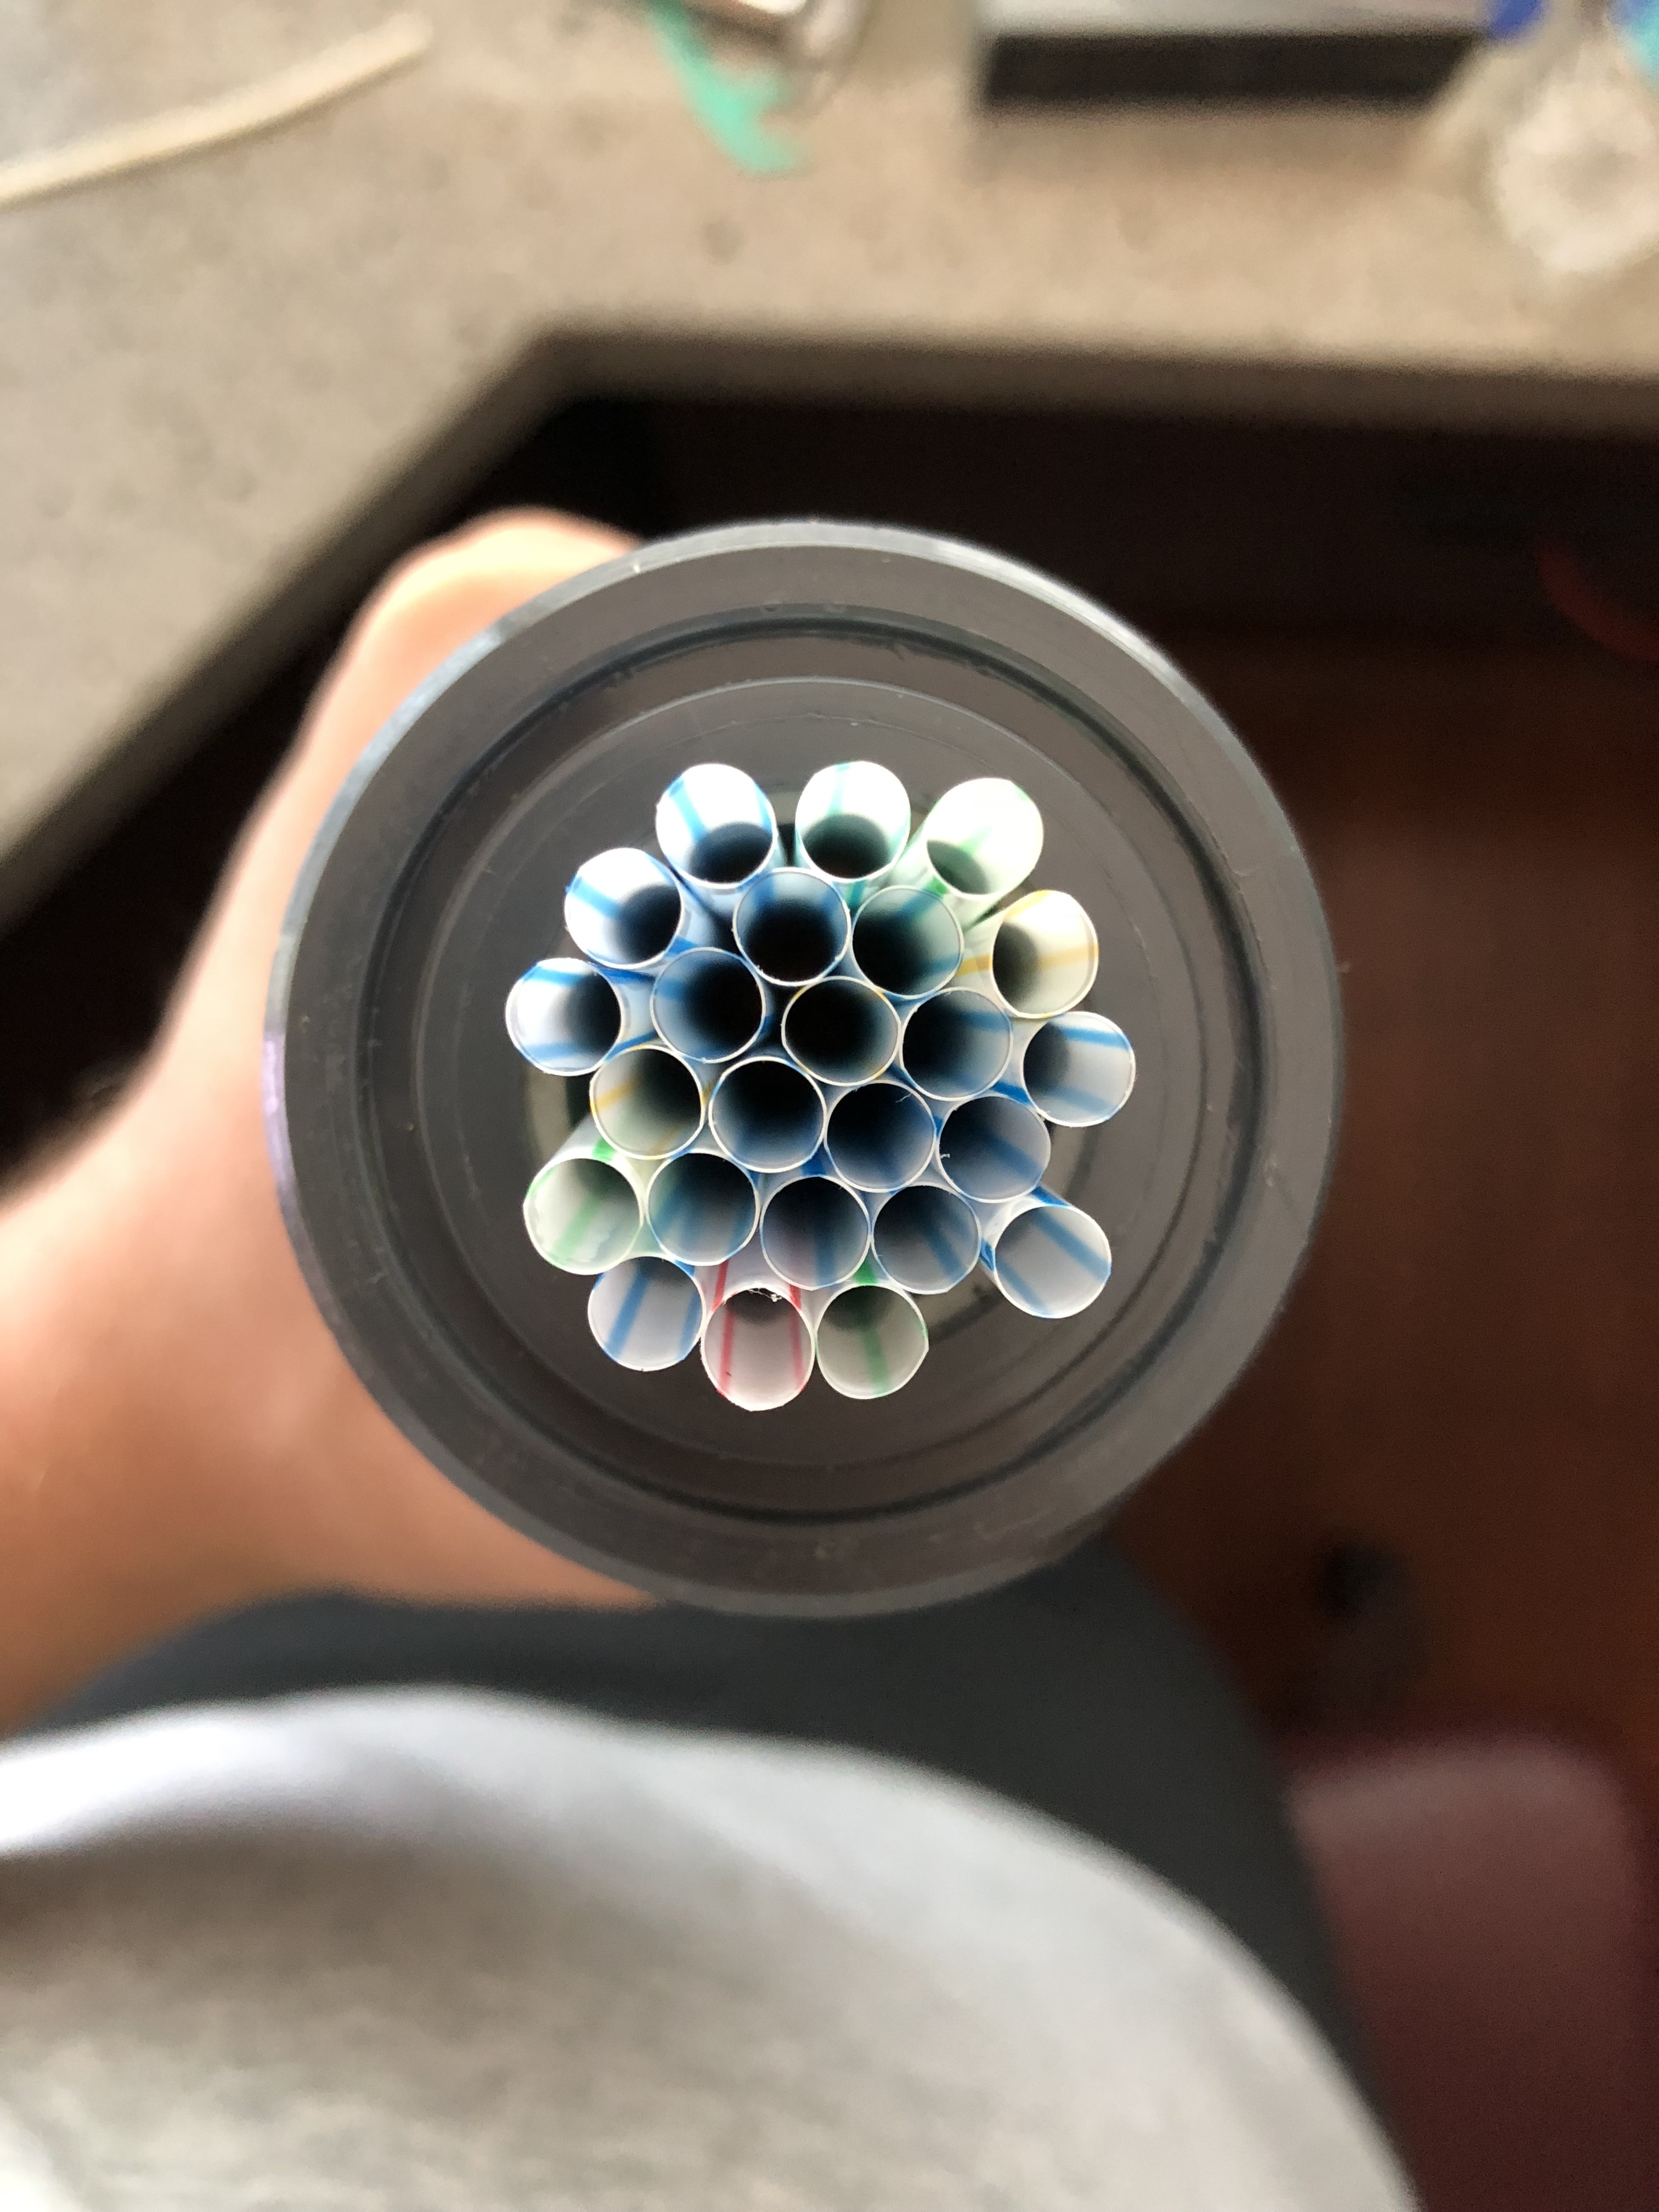
Yep, I’ve ended up simply stuffing the straws in the section of the pipe just upstream of the meter. As you can see I could get about 24 straws (theoretical max) during testing, though after I’ve removed them, I noticed some where damaged at the far edge, so I’ve used just 22 straws in the end, they seemed to be sitting well secure and the exposed cross section should not normally educe enough force to move them, short of some sort of dirt clogging things up.
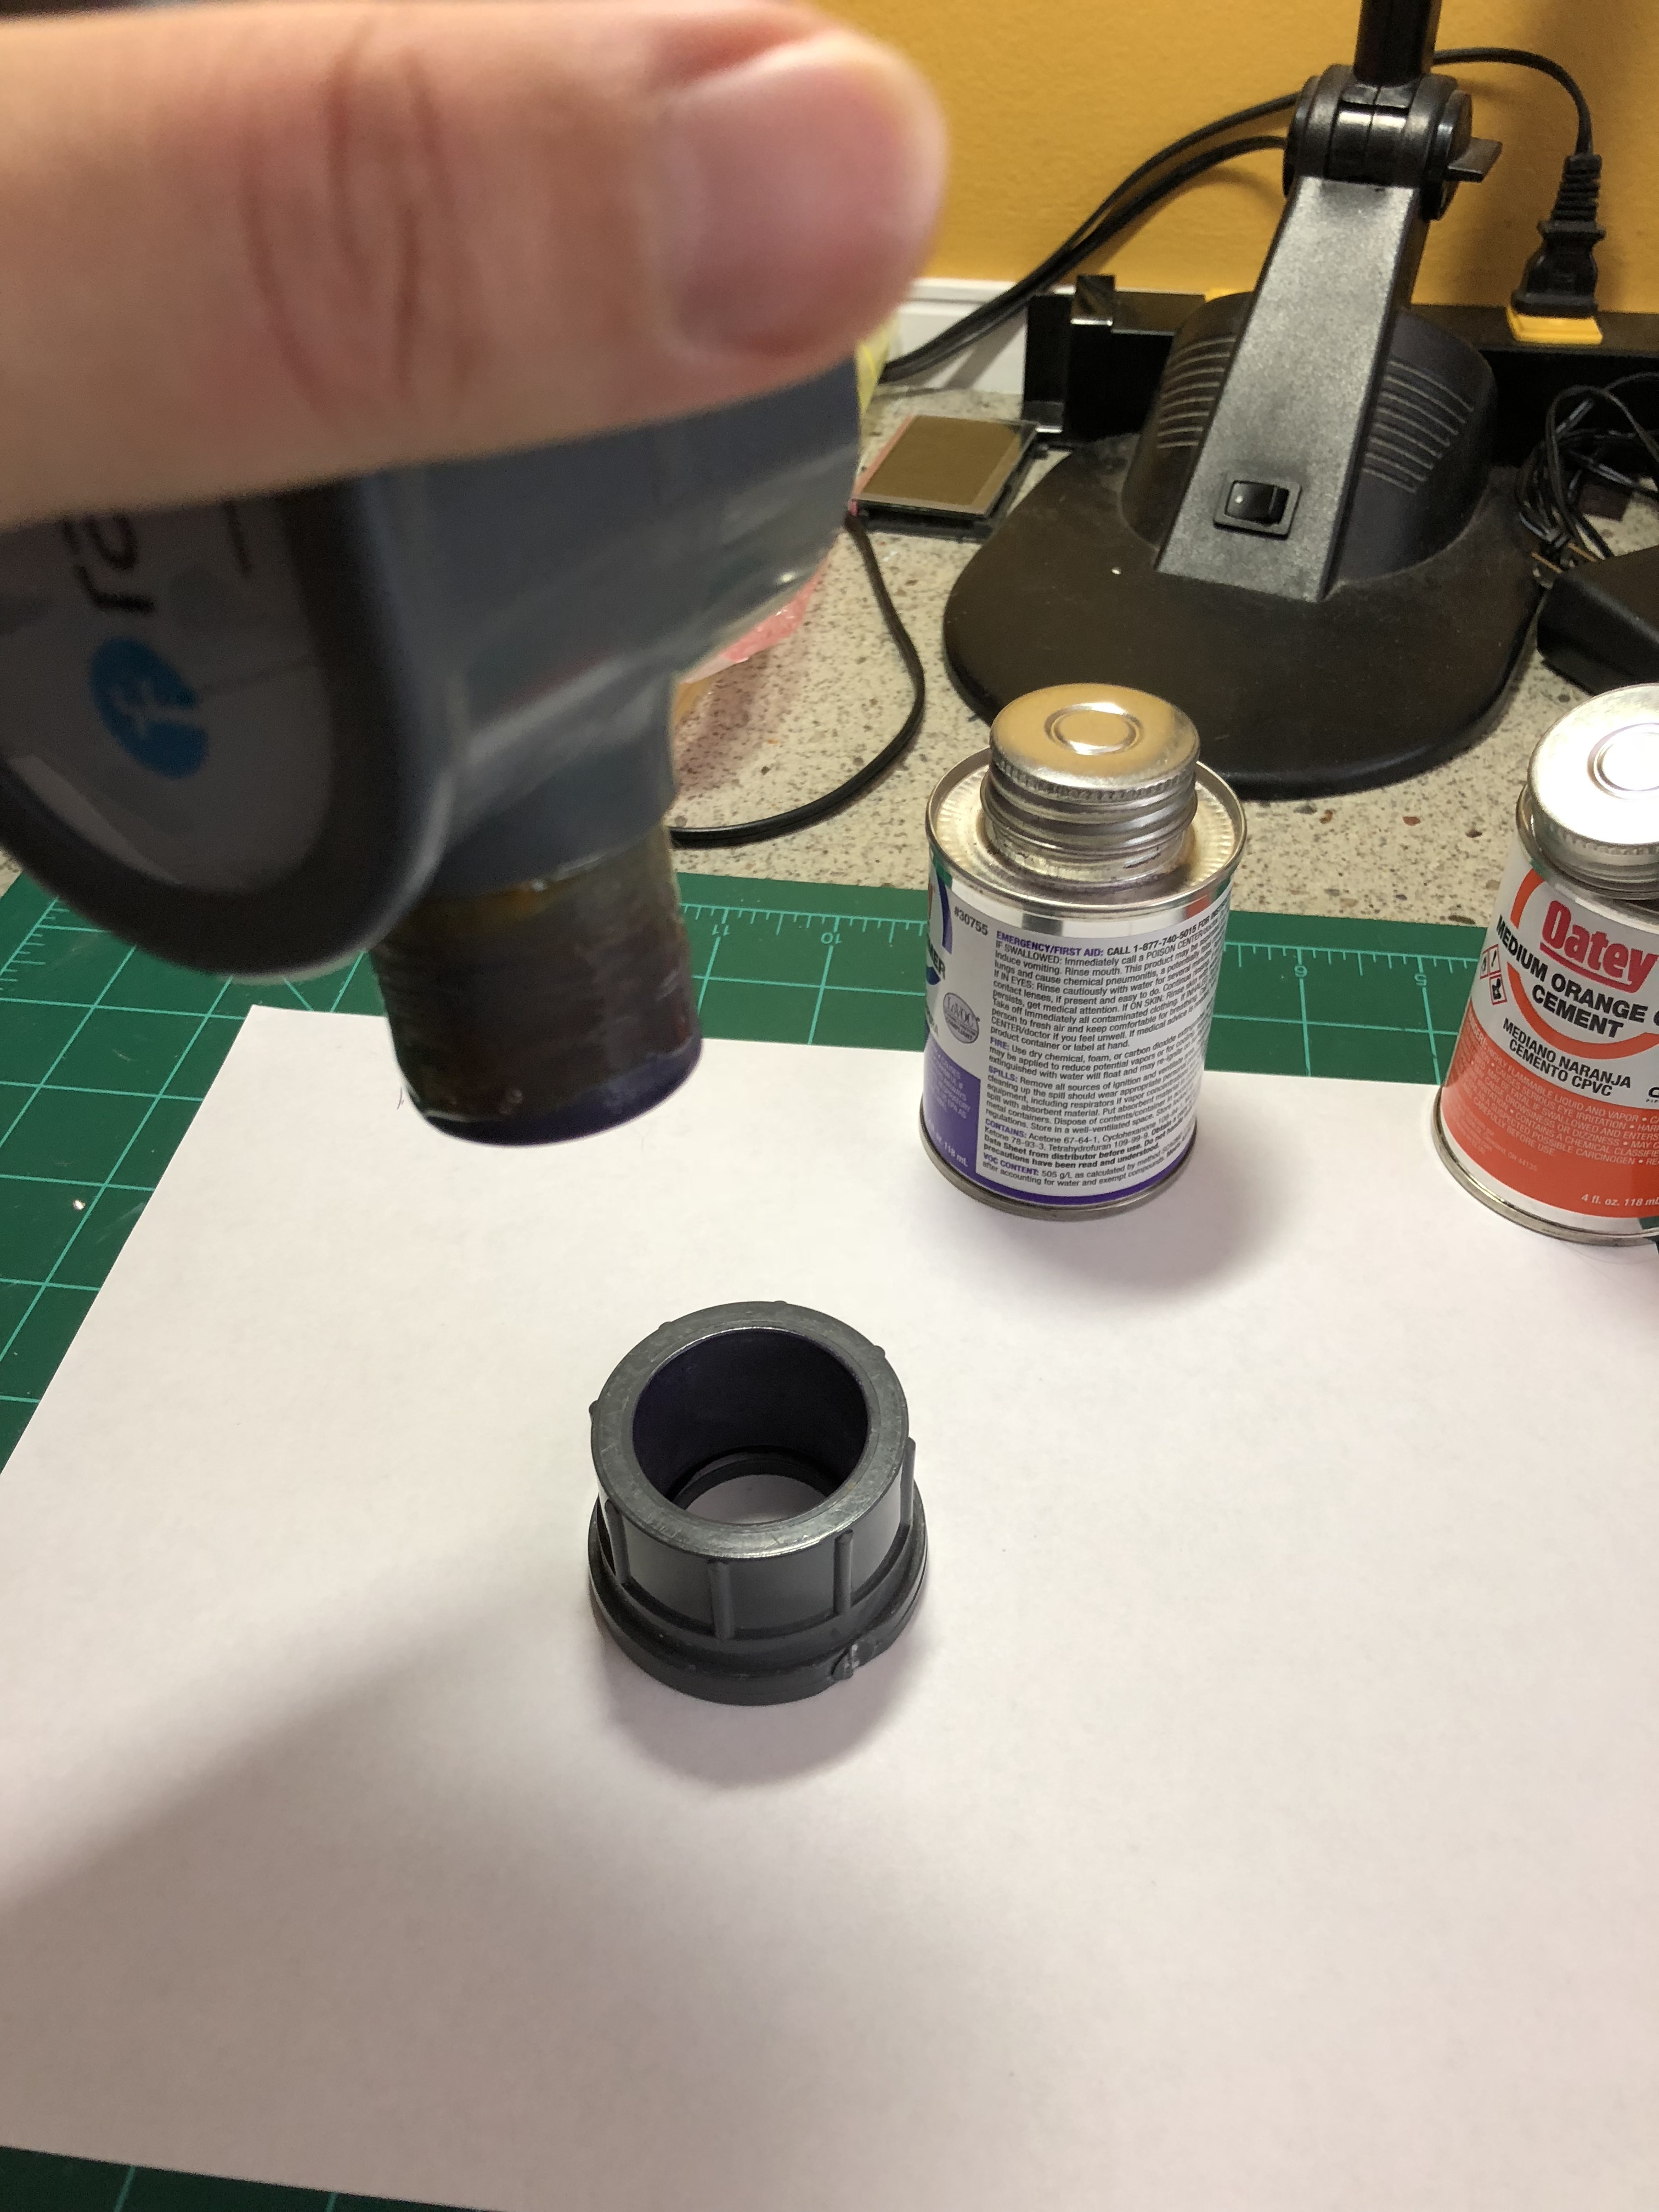
If you end up using a PVC union, $3.63 (from lowes) at the time I’ve bought it (you would need two), make sure to always keep the flow sensor higher than the union you are gluing to, do this indoors and don’t rush. Prime (purple stuff) inside of the union and outside of the flow sensor, apply a bit of cement (I’ve used medium Orange variety) to the outside of the flow meter and slowly insert the flow meter into the union, rotating the connection all the while. Again, keep the flow meter higher so any drips go away from the delicate meter insides.
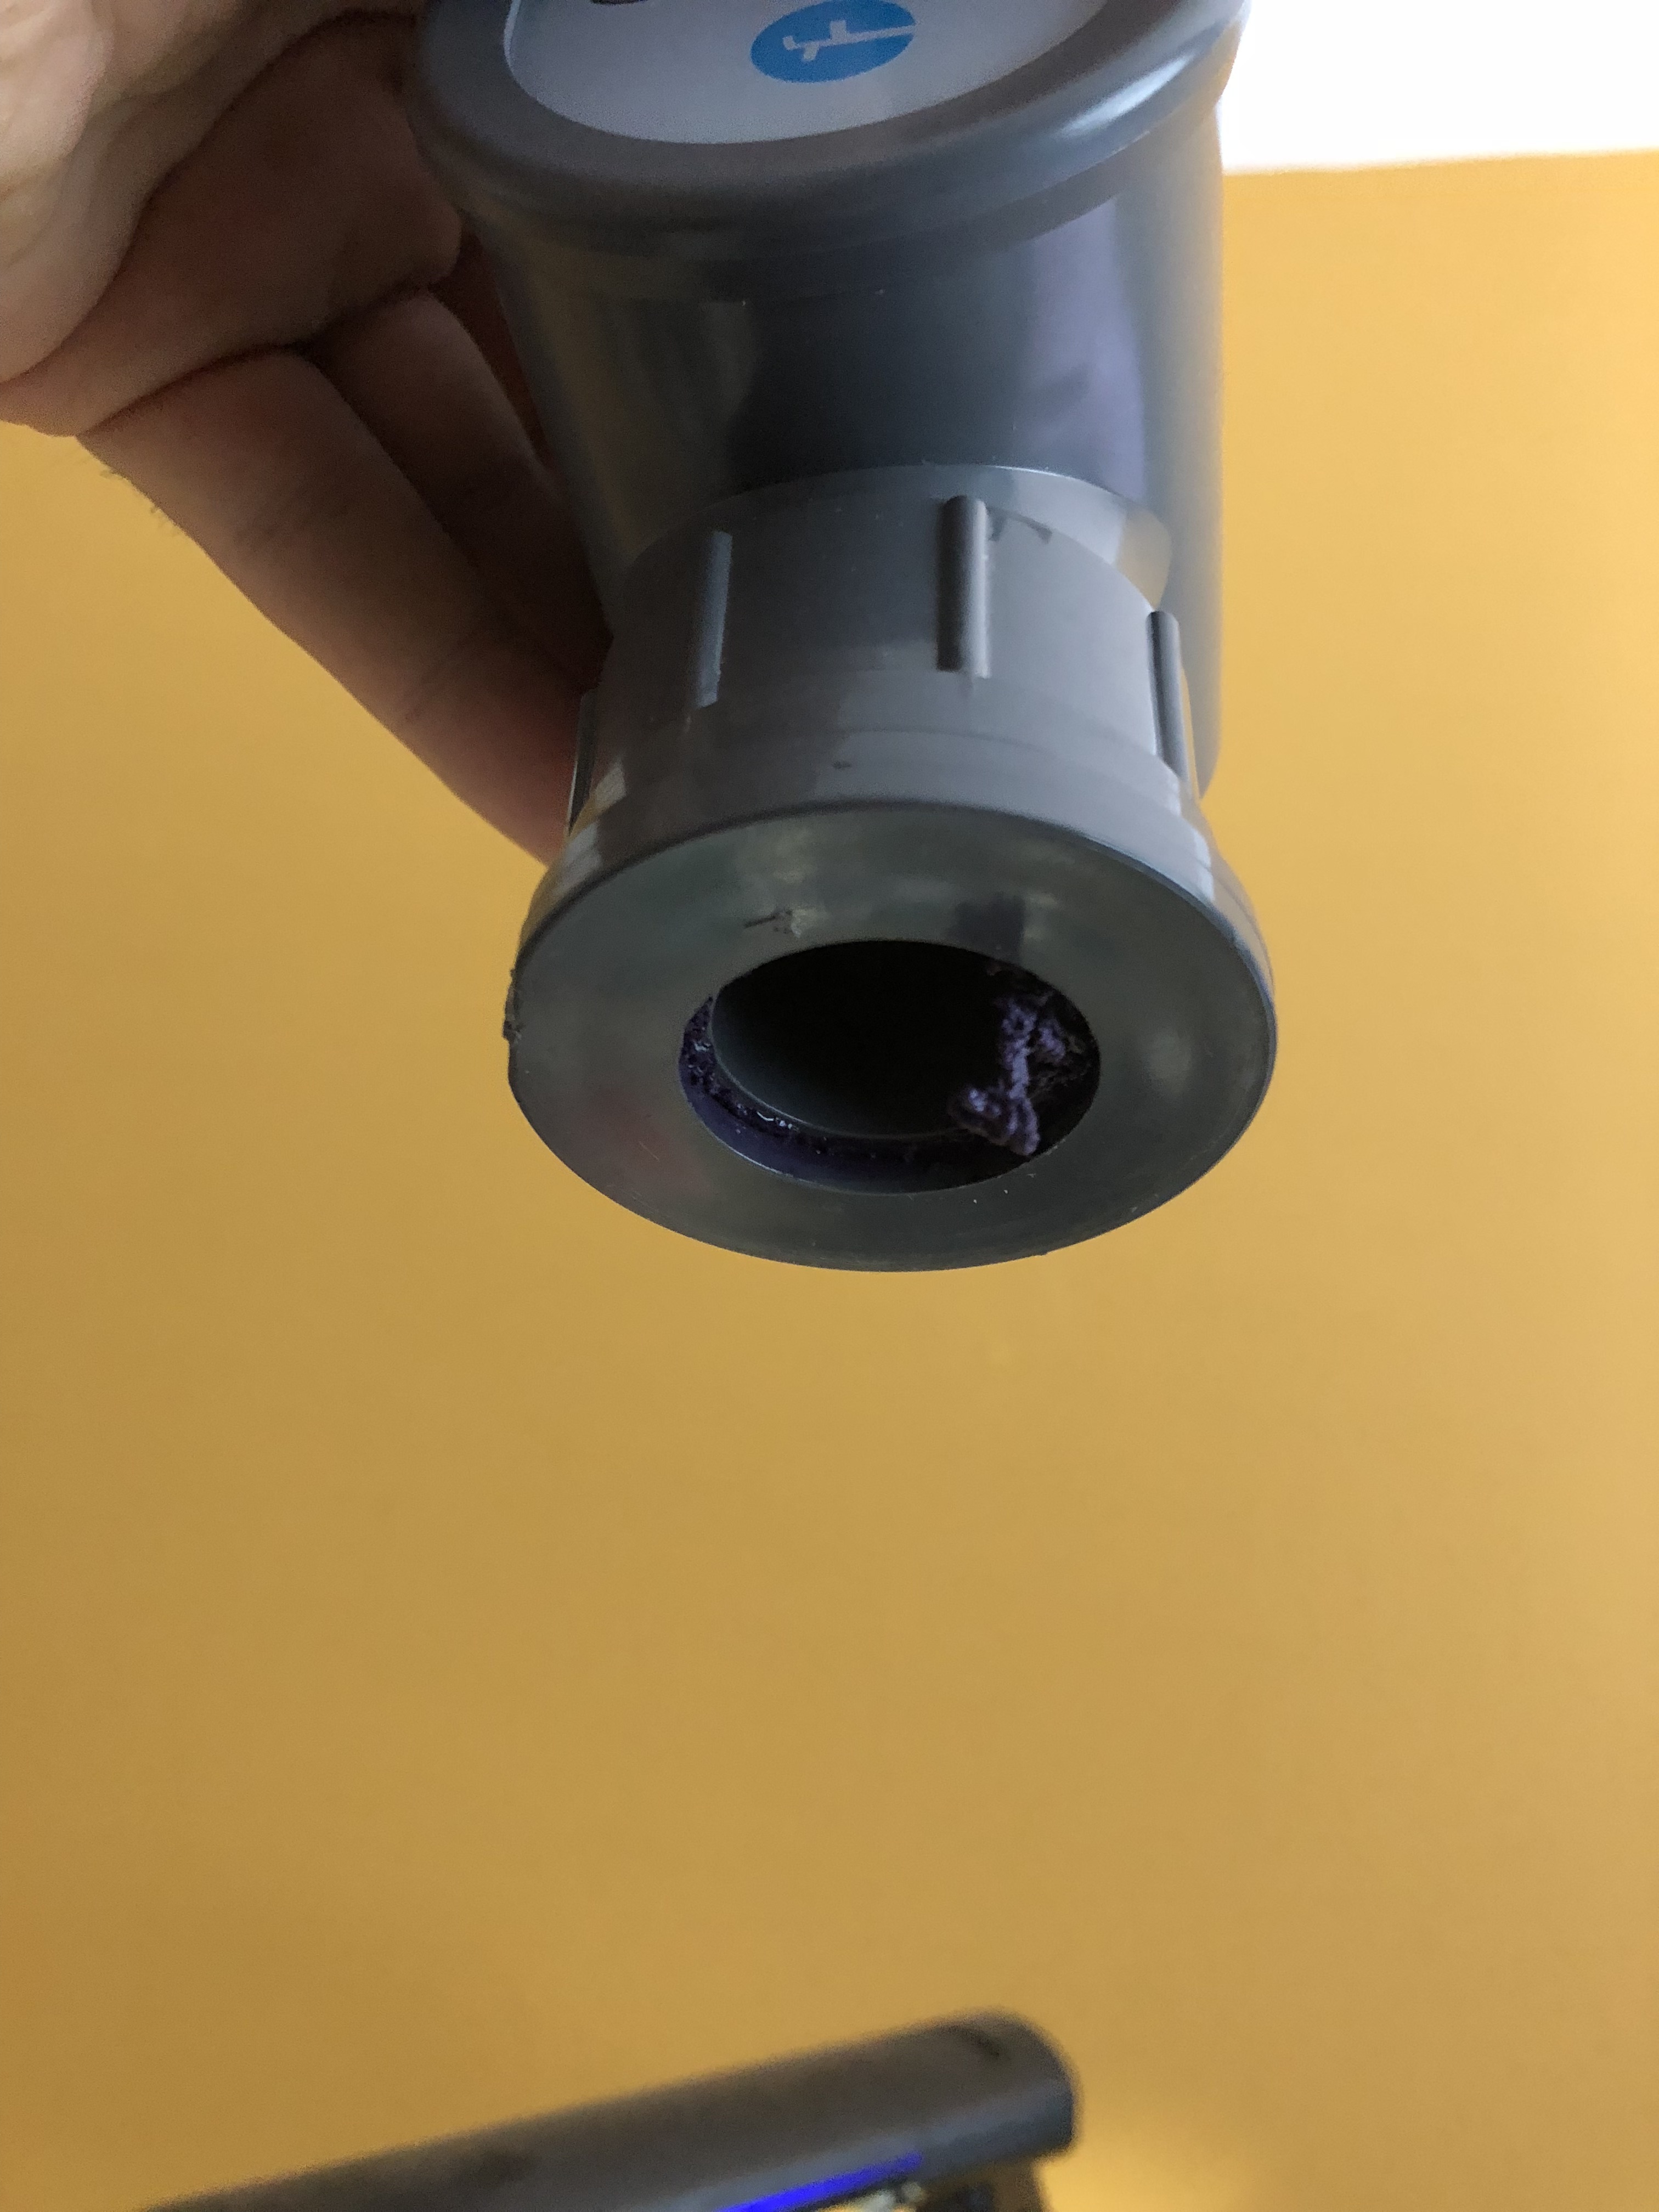
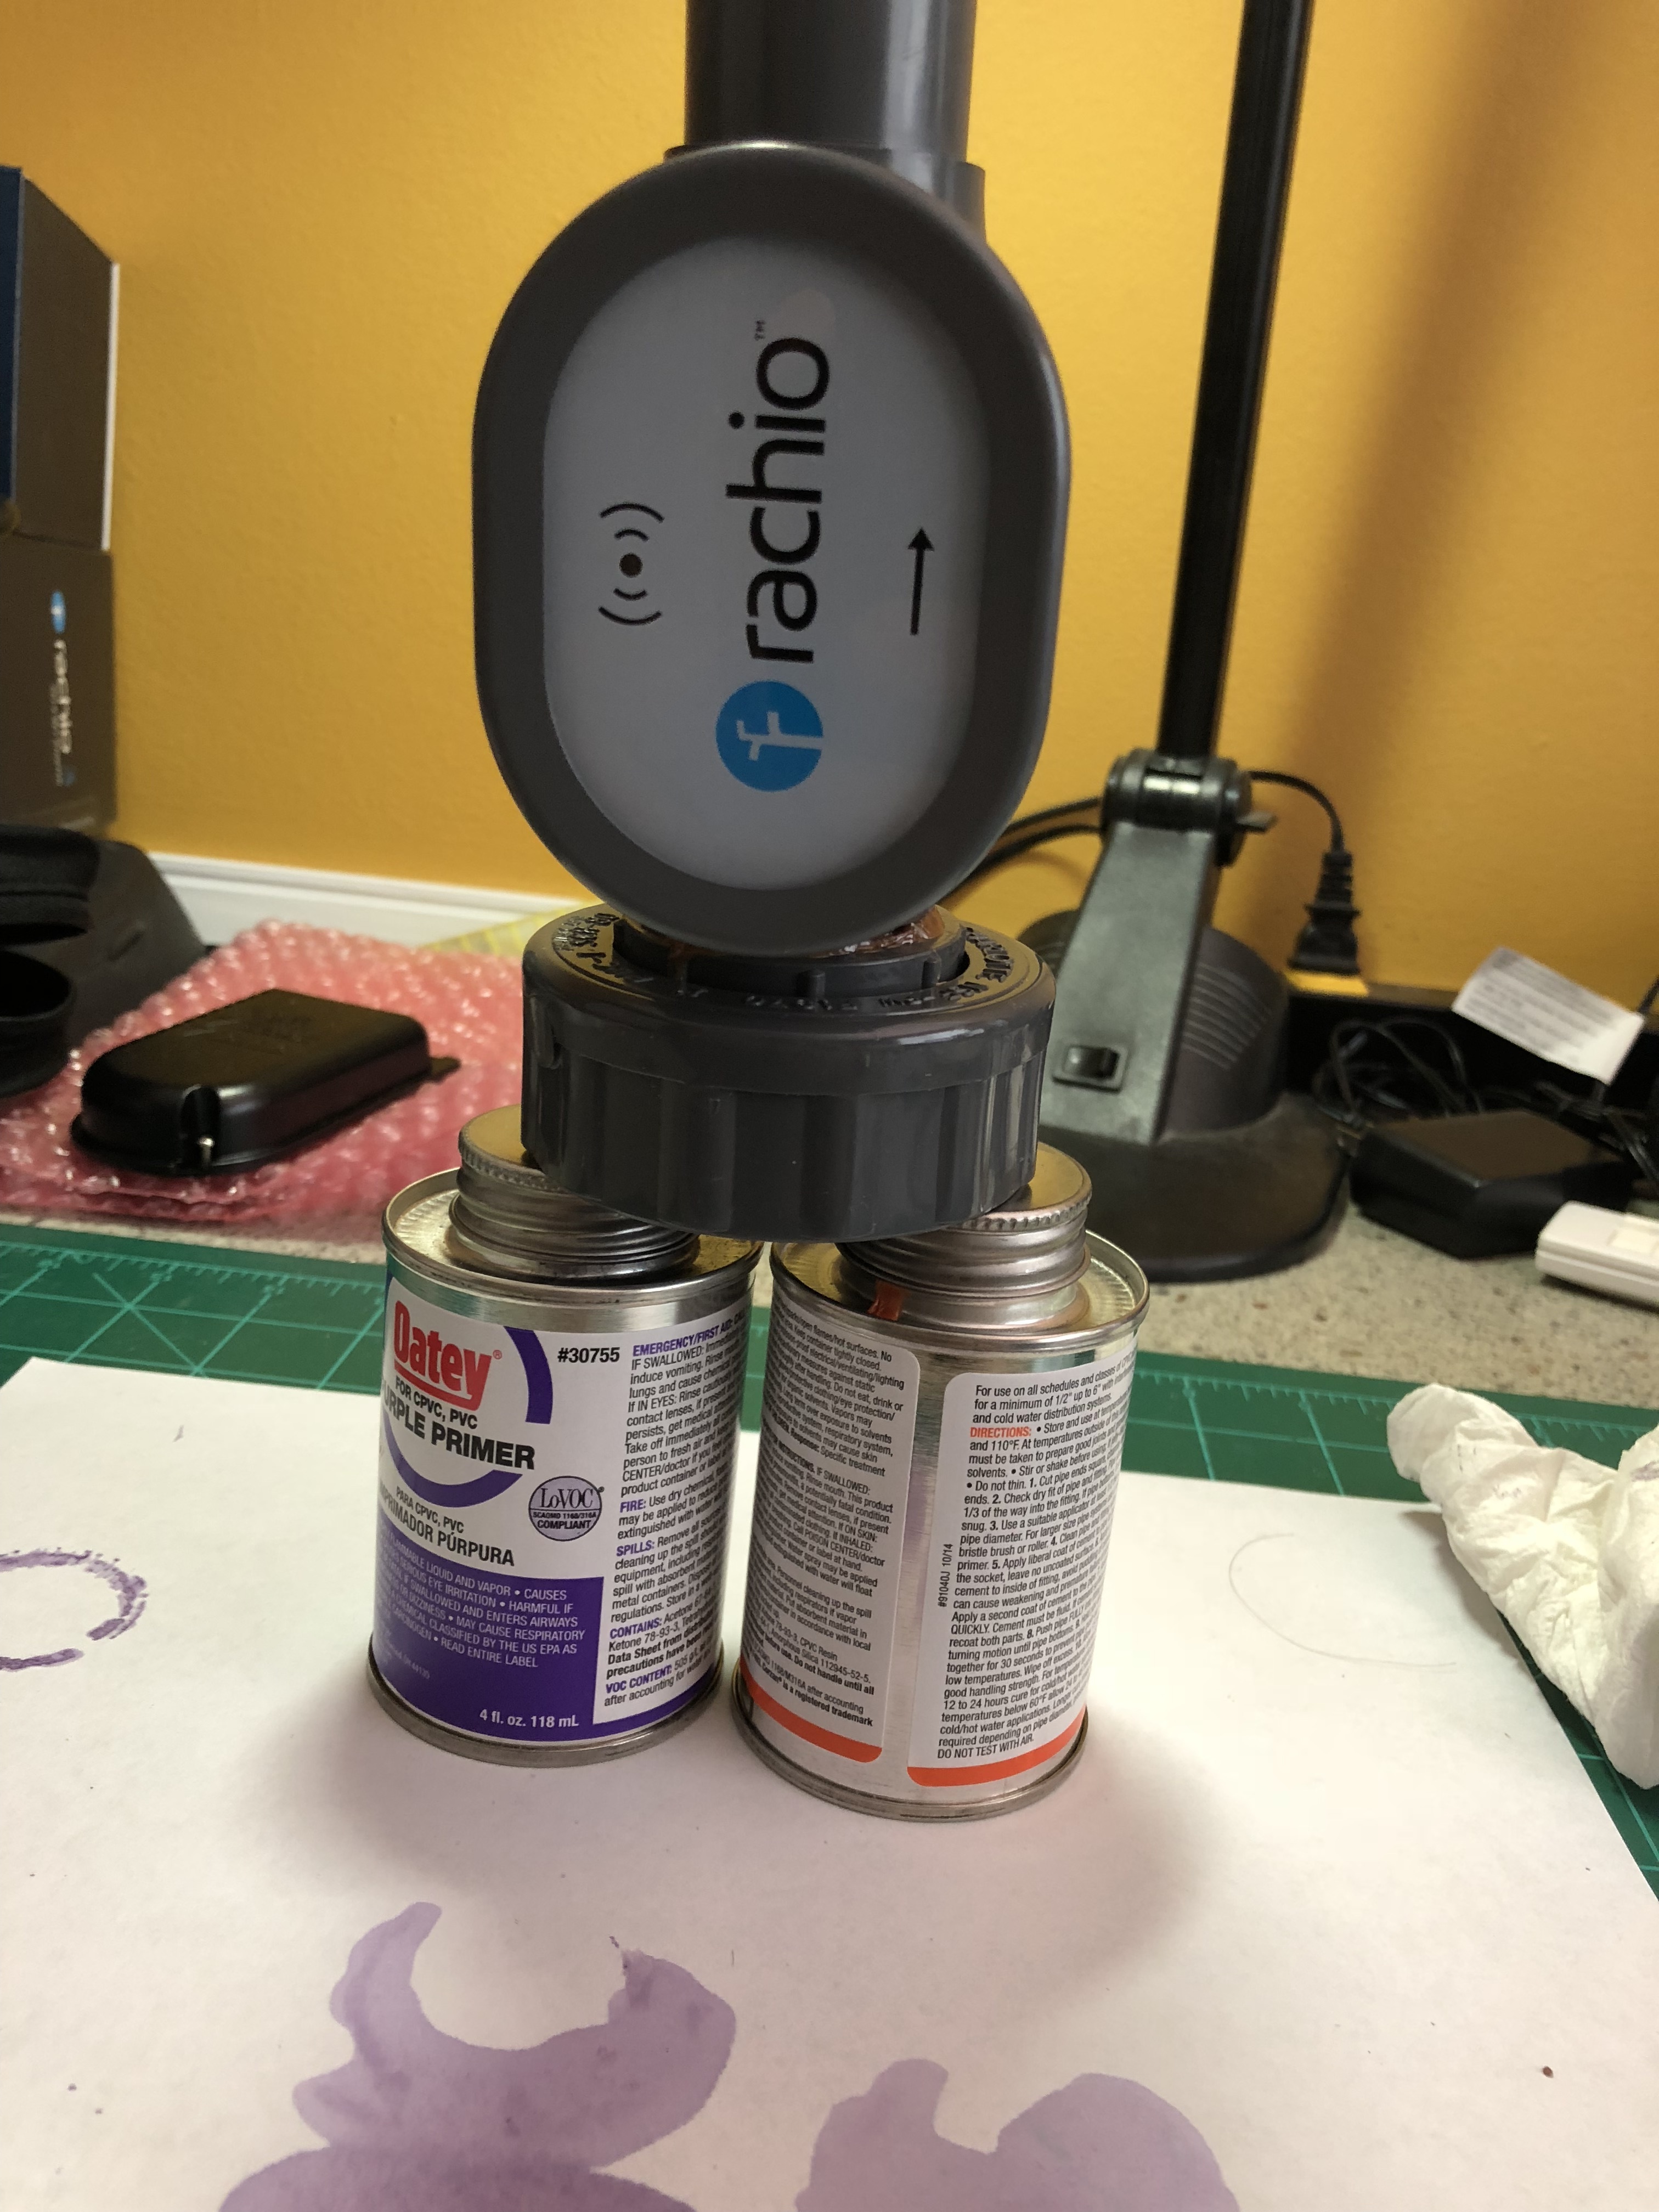
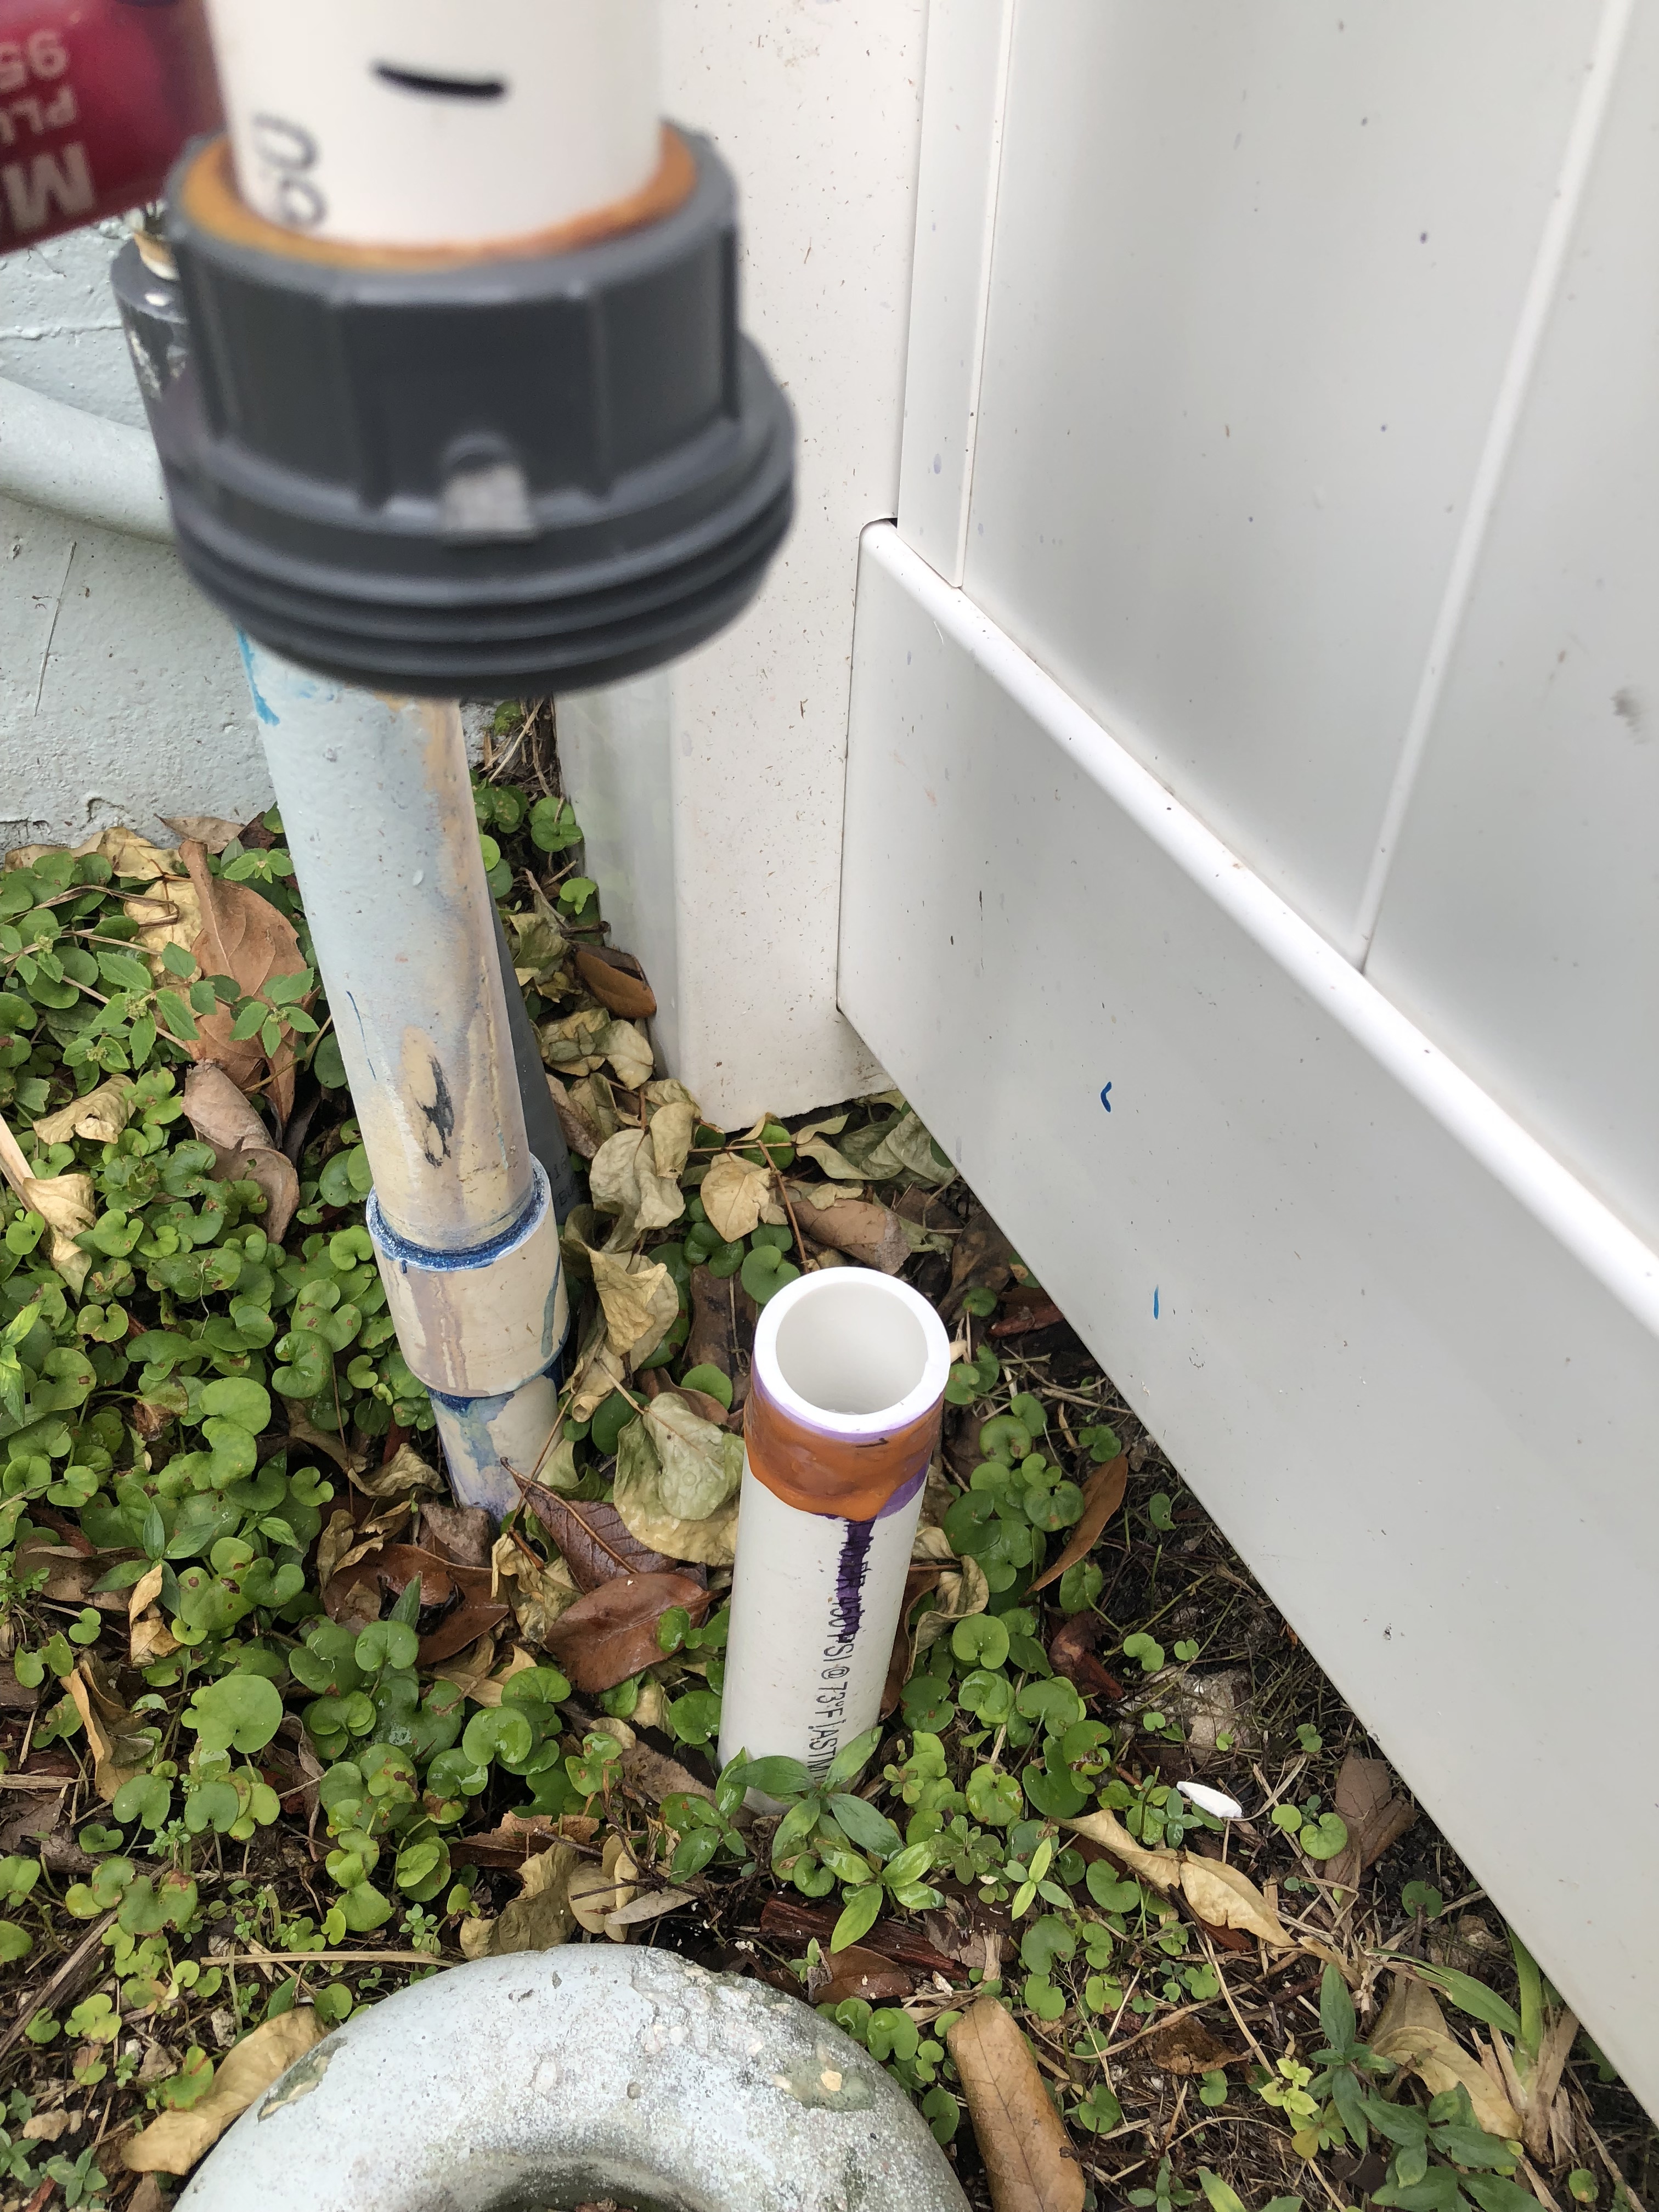
!!! Pop quiz !!! Do you see a mistake I’ve made on the following photo?
If you don’t, please find someone who is comfortable with PVC glue and plumbing, leaving things as is would have been… difficult…
Do not put a lot of primer, if you wish clean the surfaces with alcohol, primer is not a cleaner. Gently scrape away anything left over on the inside, after you let it dry off a bit.
Ideally you will have just a little cement peeking out from the outside, you don’t want this stuff on the inside
Let everything dry for at least 5 minutes prior to starting with another side. I prefer to keep the assembly elevated while drying to ensure adequate air flow.
Pop quiz answer: Some of you may have noticed I had to redo this whole step as I’ve forgotten to sandwich the .screw head and would not have anyway to do it later. I recommend you install the parts with the threads onto the flow meter, so that you don’t have to worry about screw head at this time.
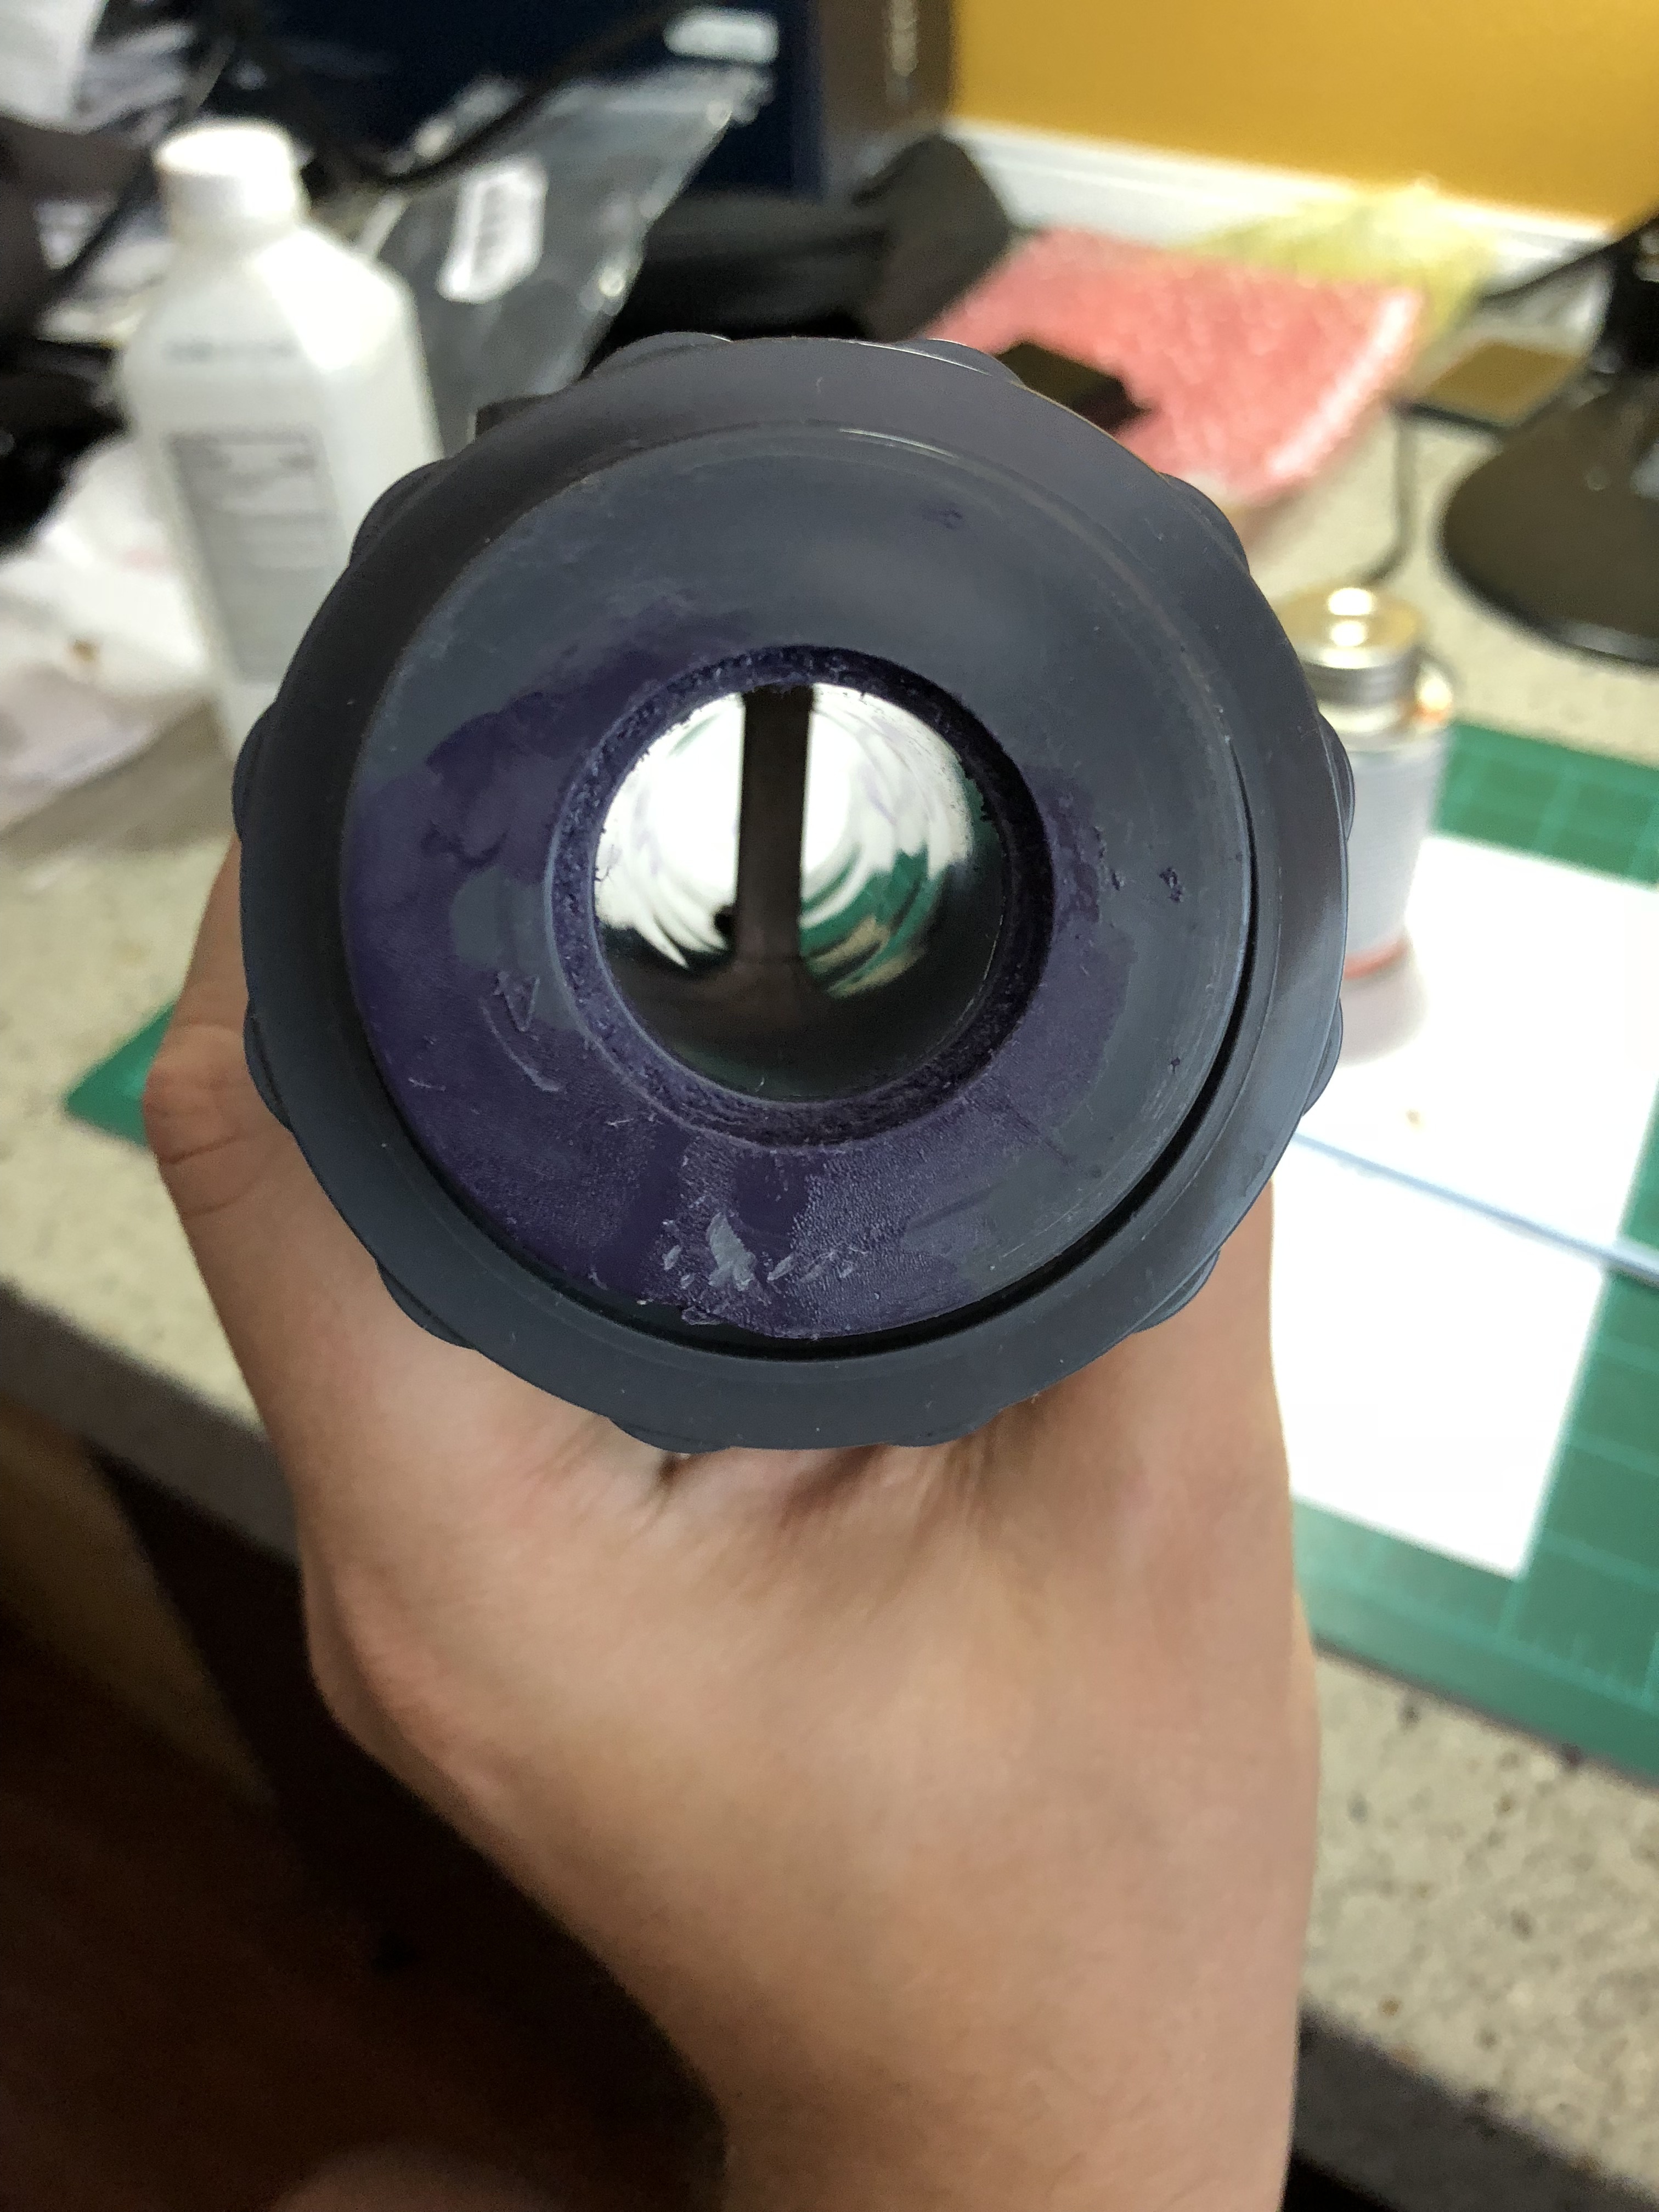
As you can see, I was not as good at using reasonable amount of primer as I should have been, but keeping the flow sensor always higher than the part I was gluing to, means that none of the primer or cement got inside. !!! Again, you would be doing this at your own risk, if you are not comfortable, please use official methods !!!

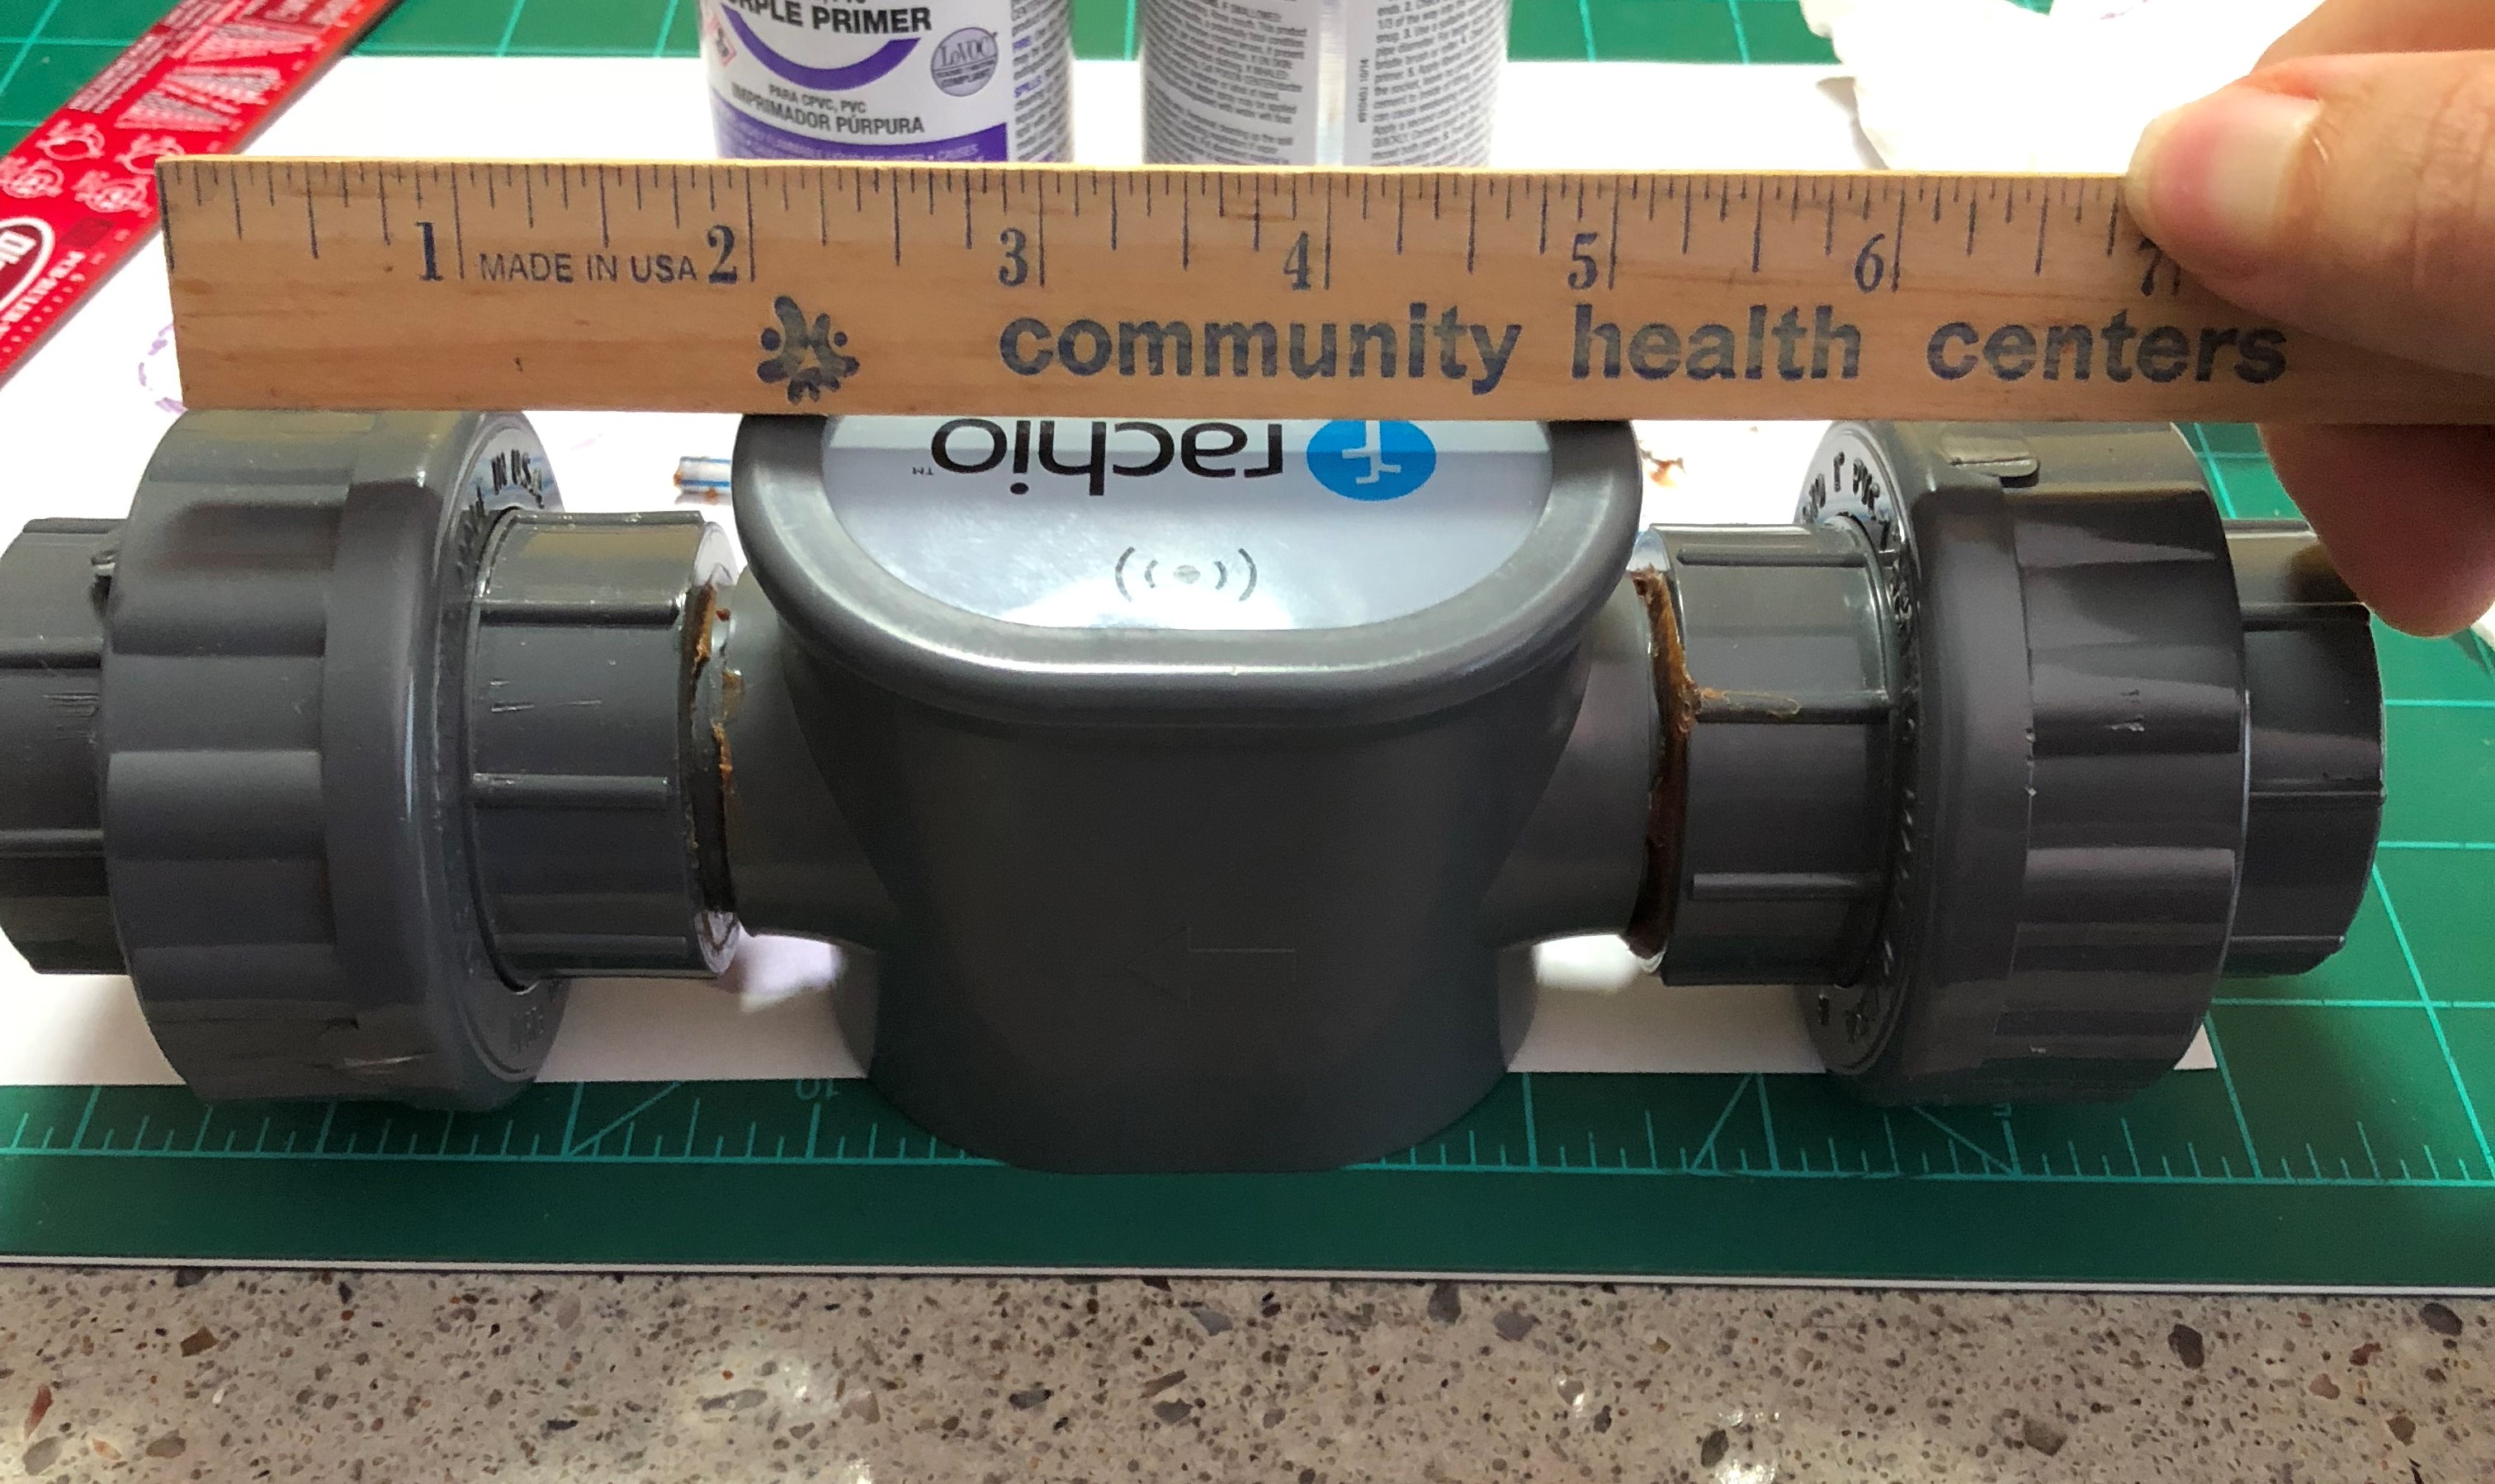
Total assembly turned out to be about 9 inches. of those PVC pipe would go in about 1 and 1/8th of an inch from either side, meaning that you would need to cut about ( 9 - ( 9/8 x 2 ) ) = 6 and 3/4 of an inch of pipe.
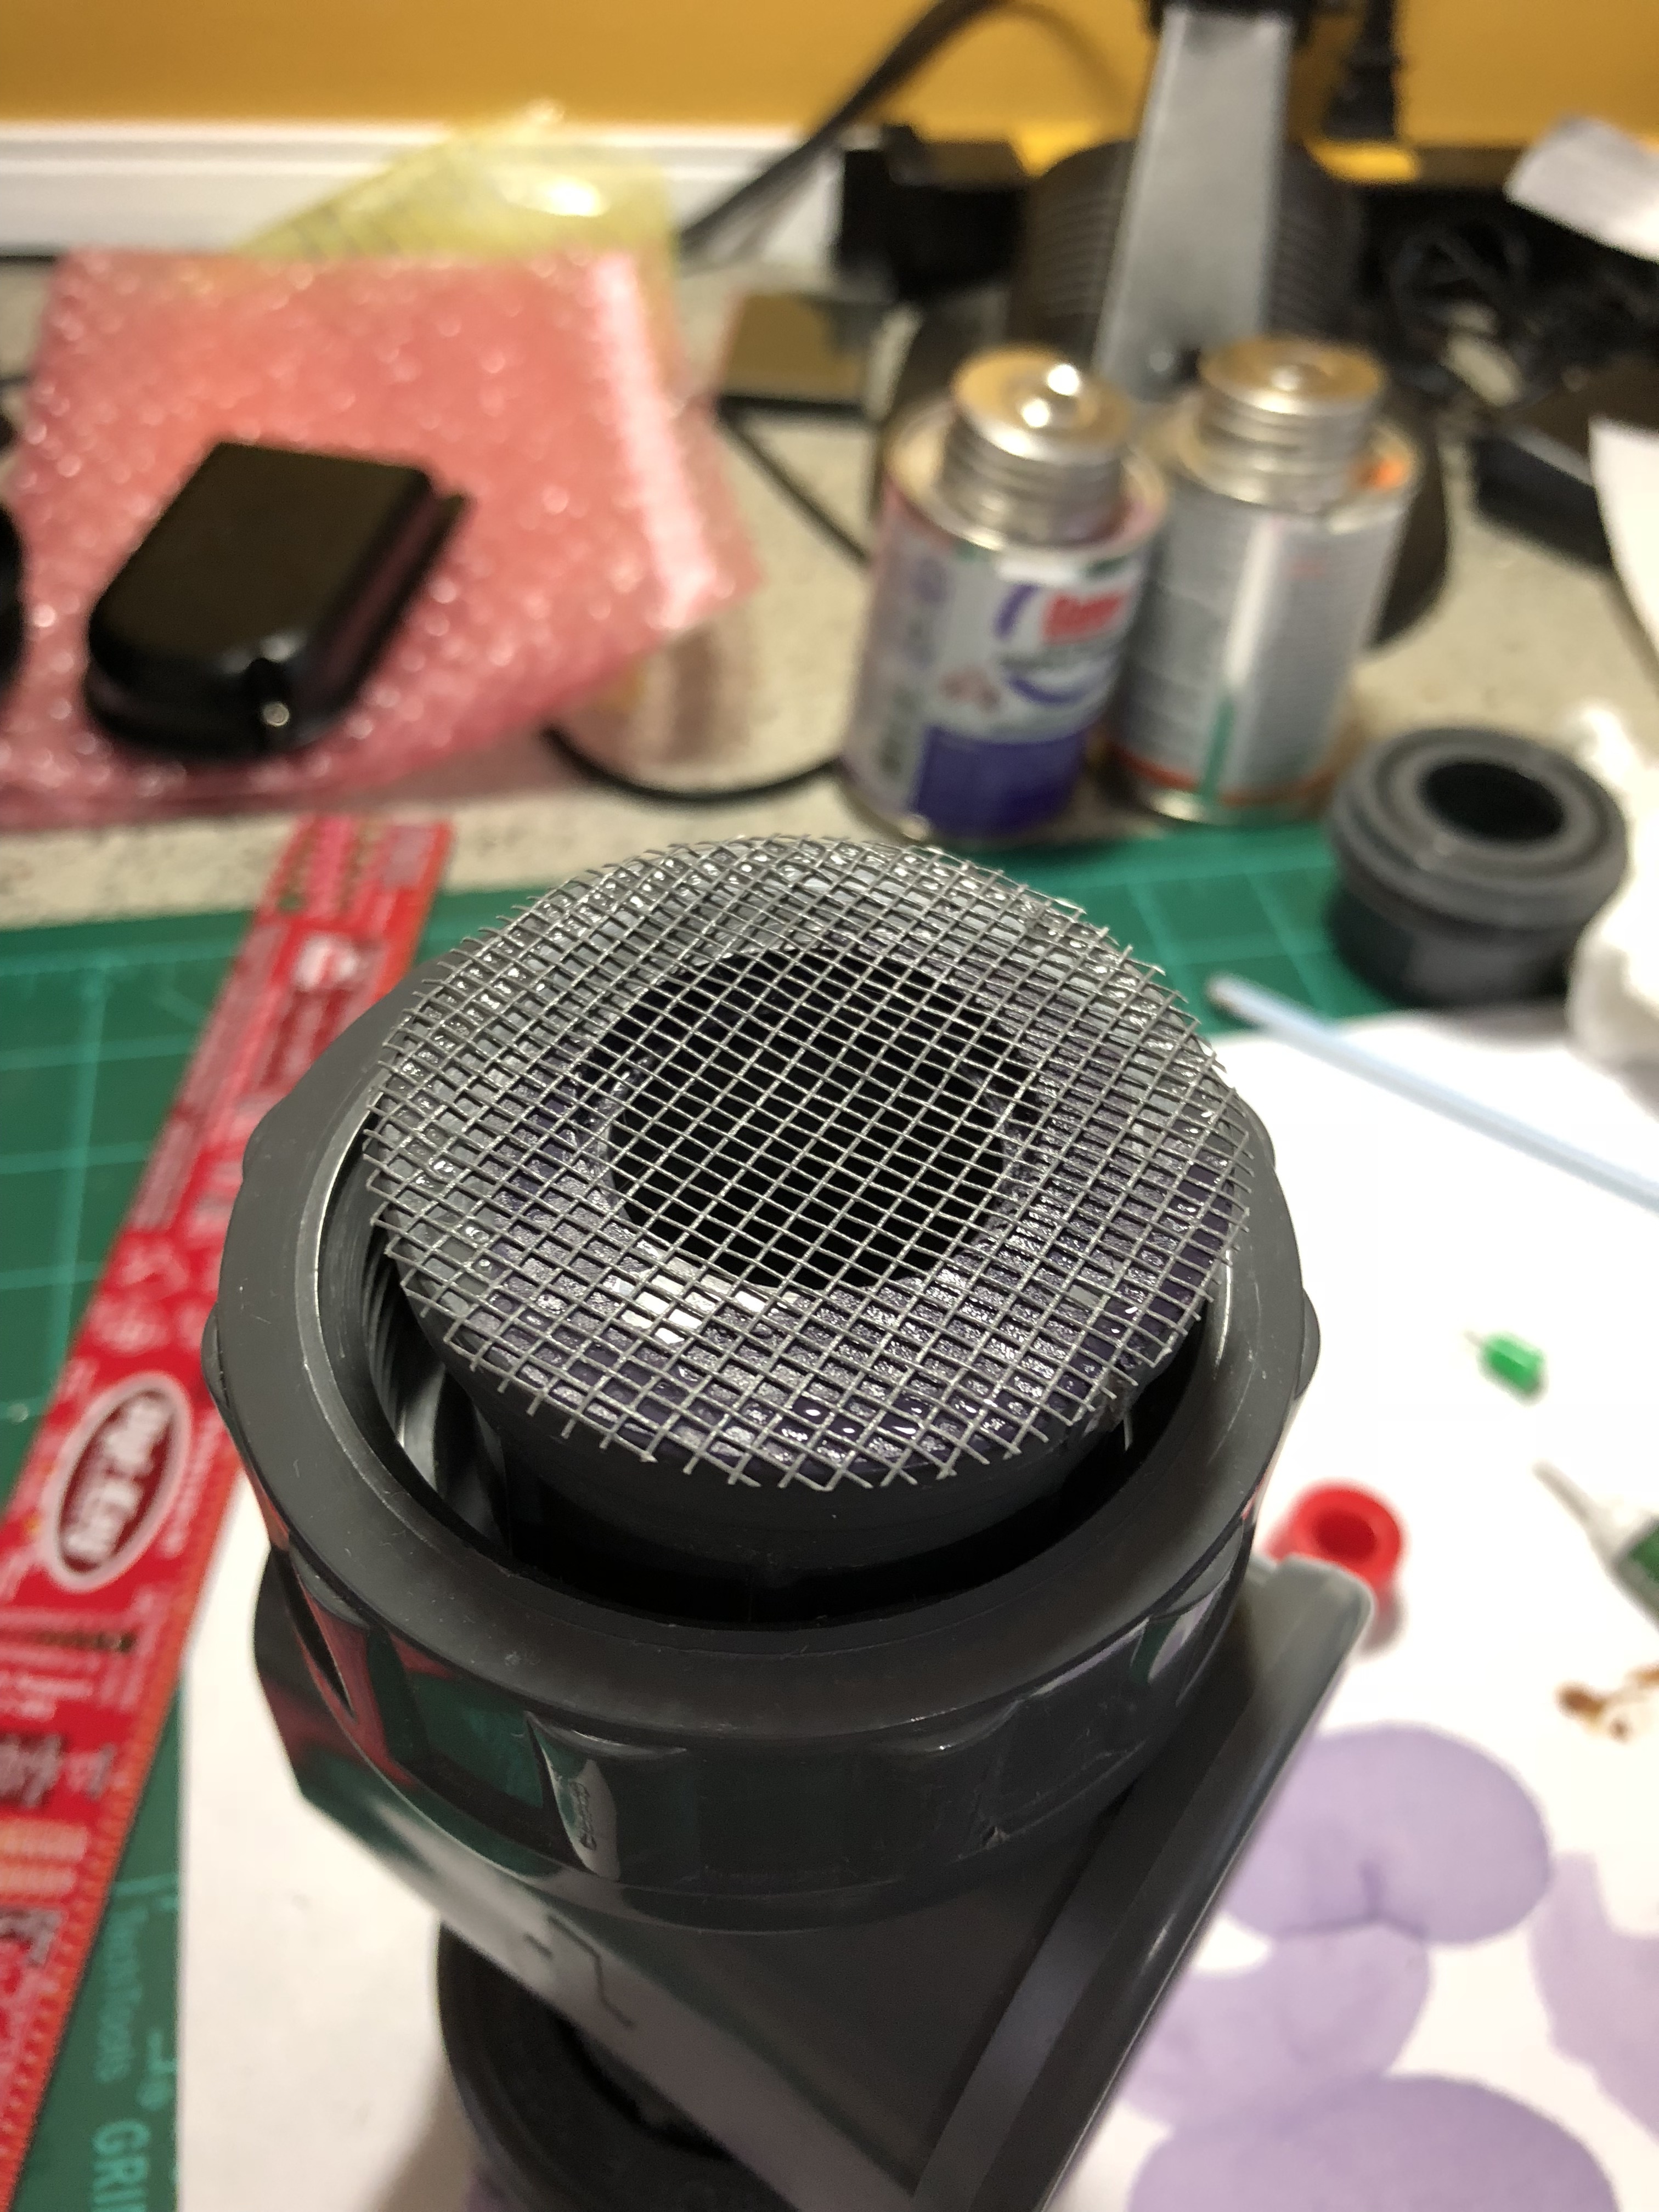
Because I was using straws to smooth out the water flow into the meter and improve the readings, I’ve deiced to gently glue the (mosquito) screen and prevent the straws from getting to the filter in case any of the straws ever get loose. After experiencing how much leaking this caused later on, I would skip this and just use full 24 straws if you can. I’ll update this topic later on in case I ever see that the screen came in handy.
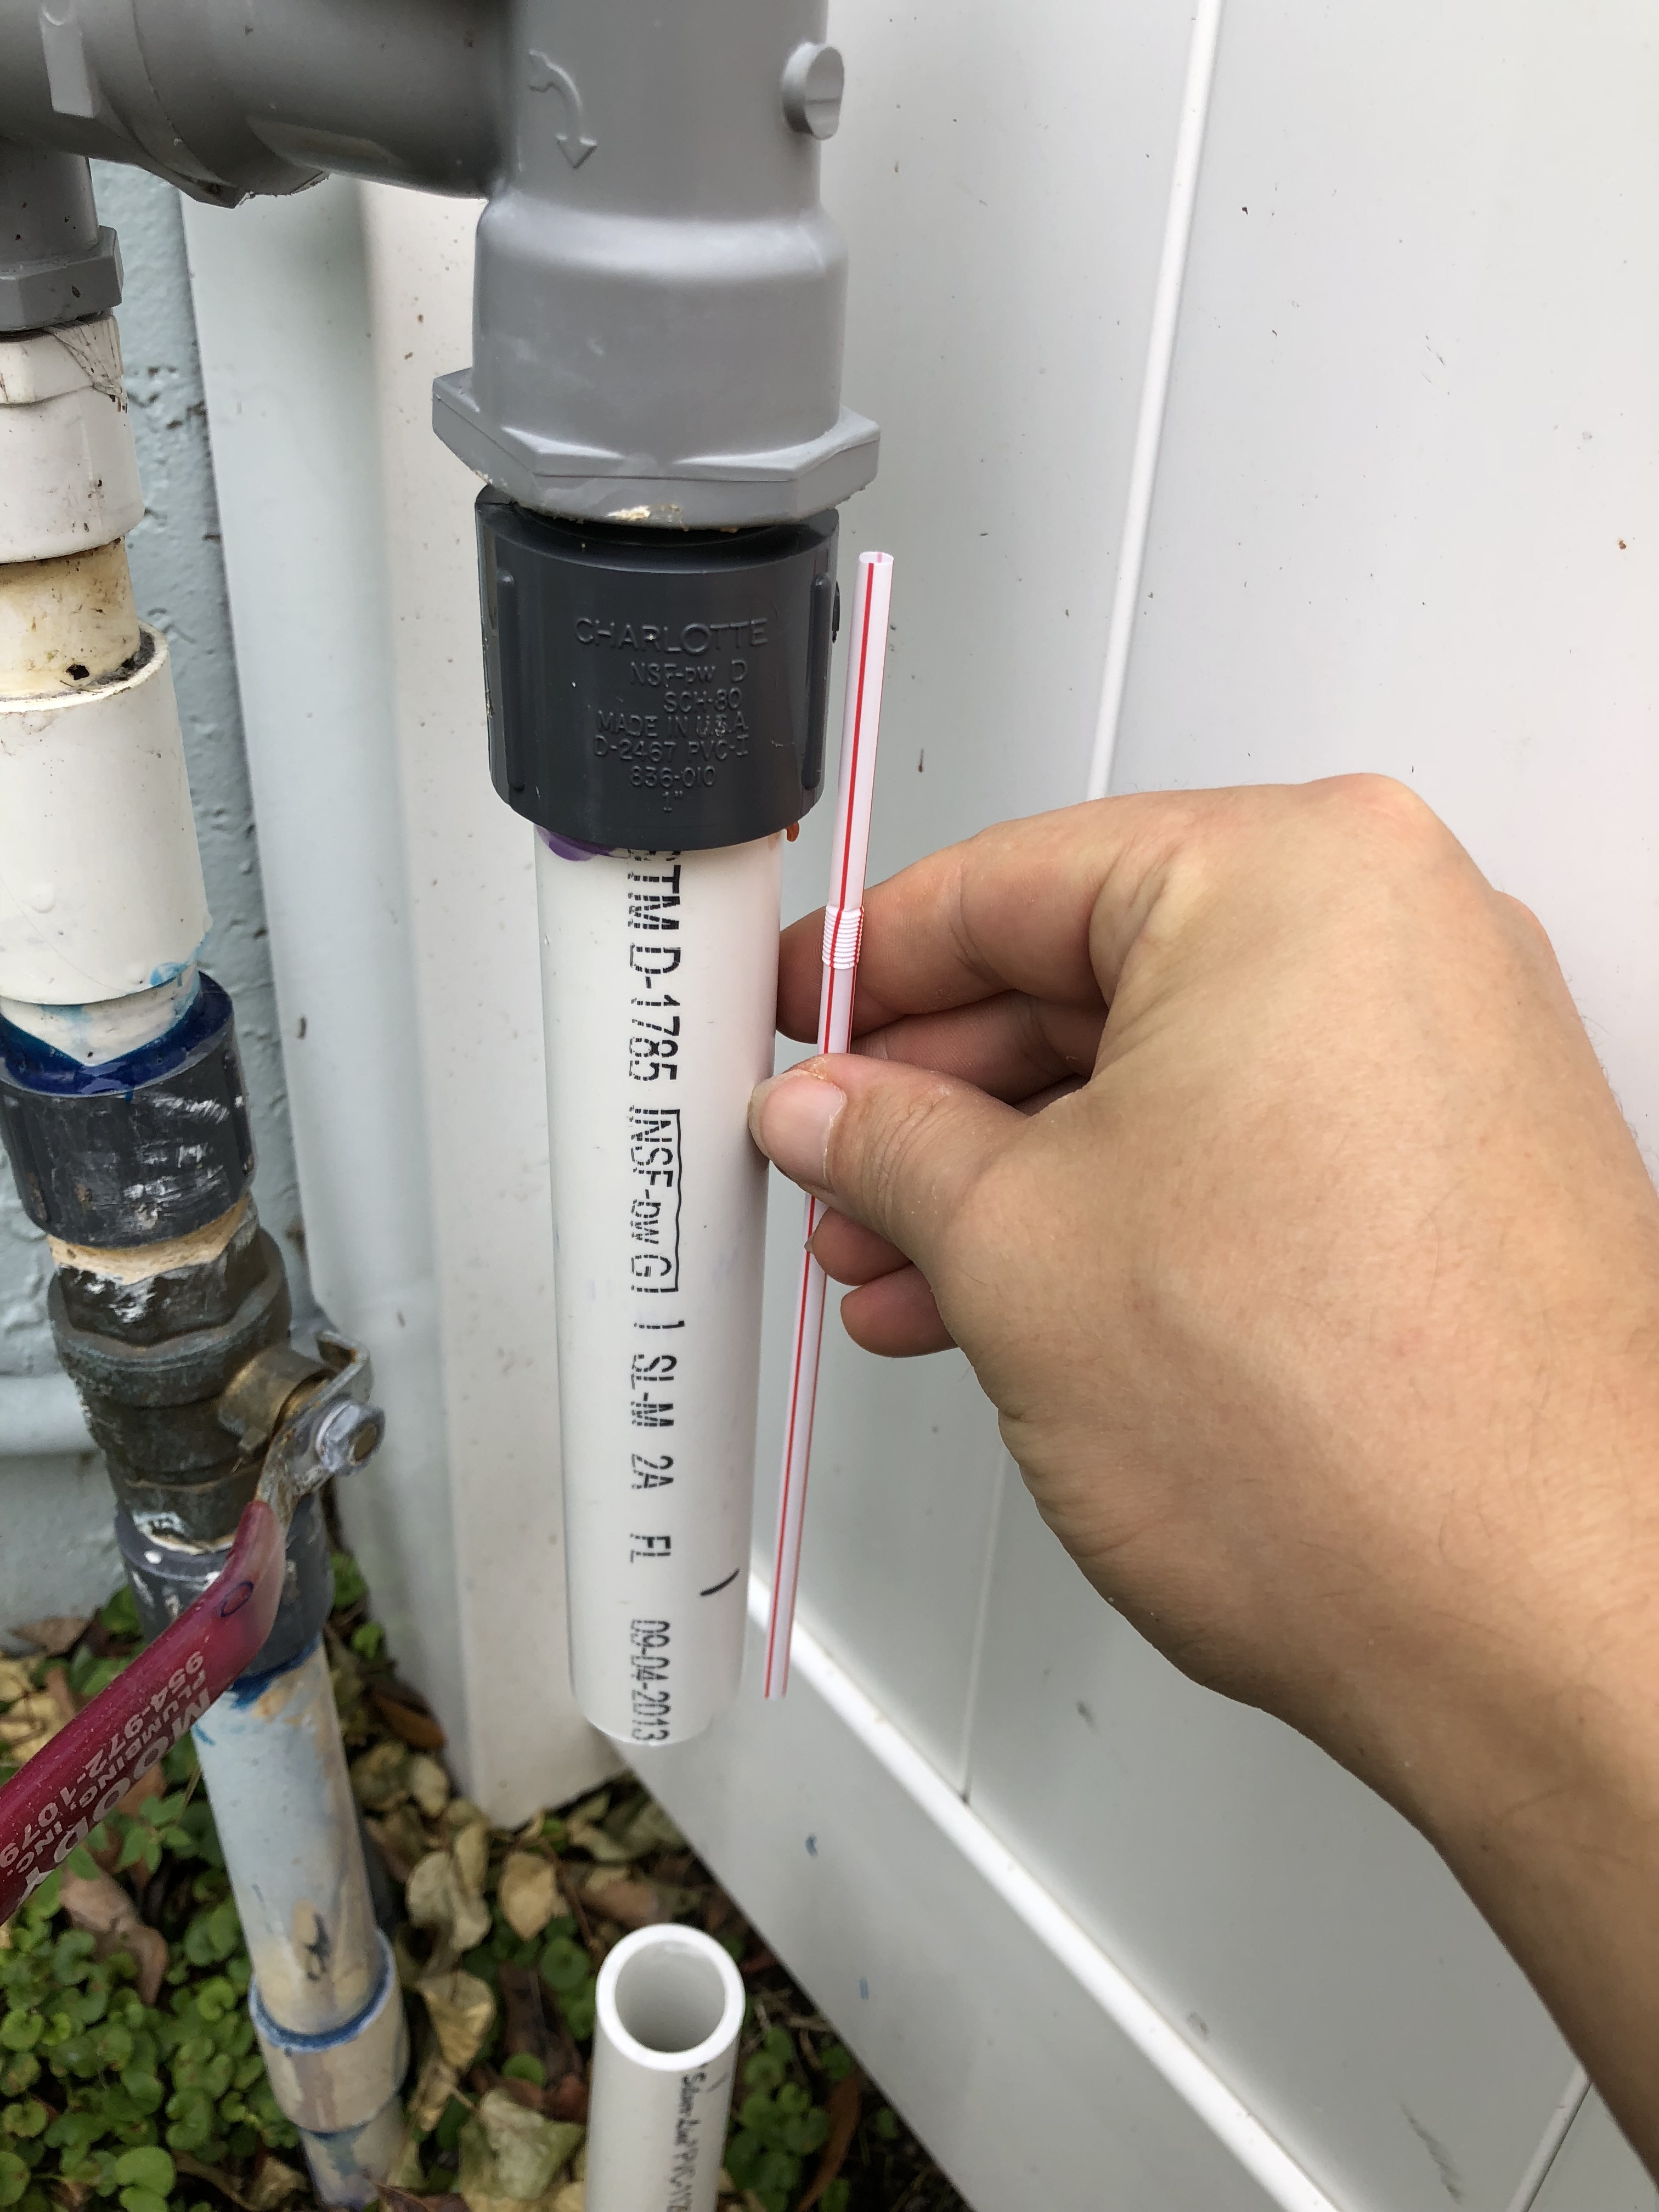
Prior to doing anything, make sure you have enough room. You can use smaller 5 inch coffee stir straws in case you have even less room.
When attaching the mating ends of the union(s), it is a good idea to only prime the union paces and put the cement on the outside of the pipe. Install the union part with a gentle twisting motion to avoid any cement on the inside. Let everything dry for at least half hour prior to installing the flow sensor and turning on the water.
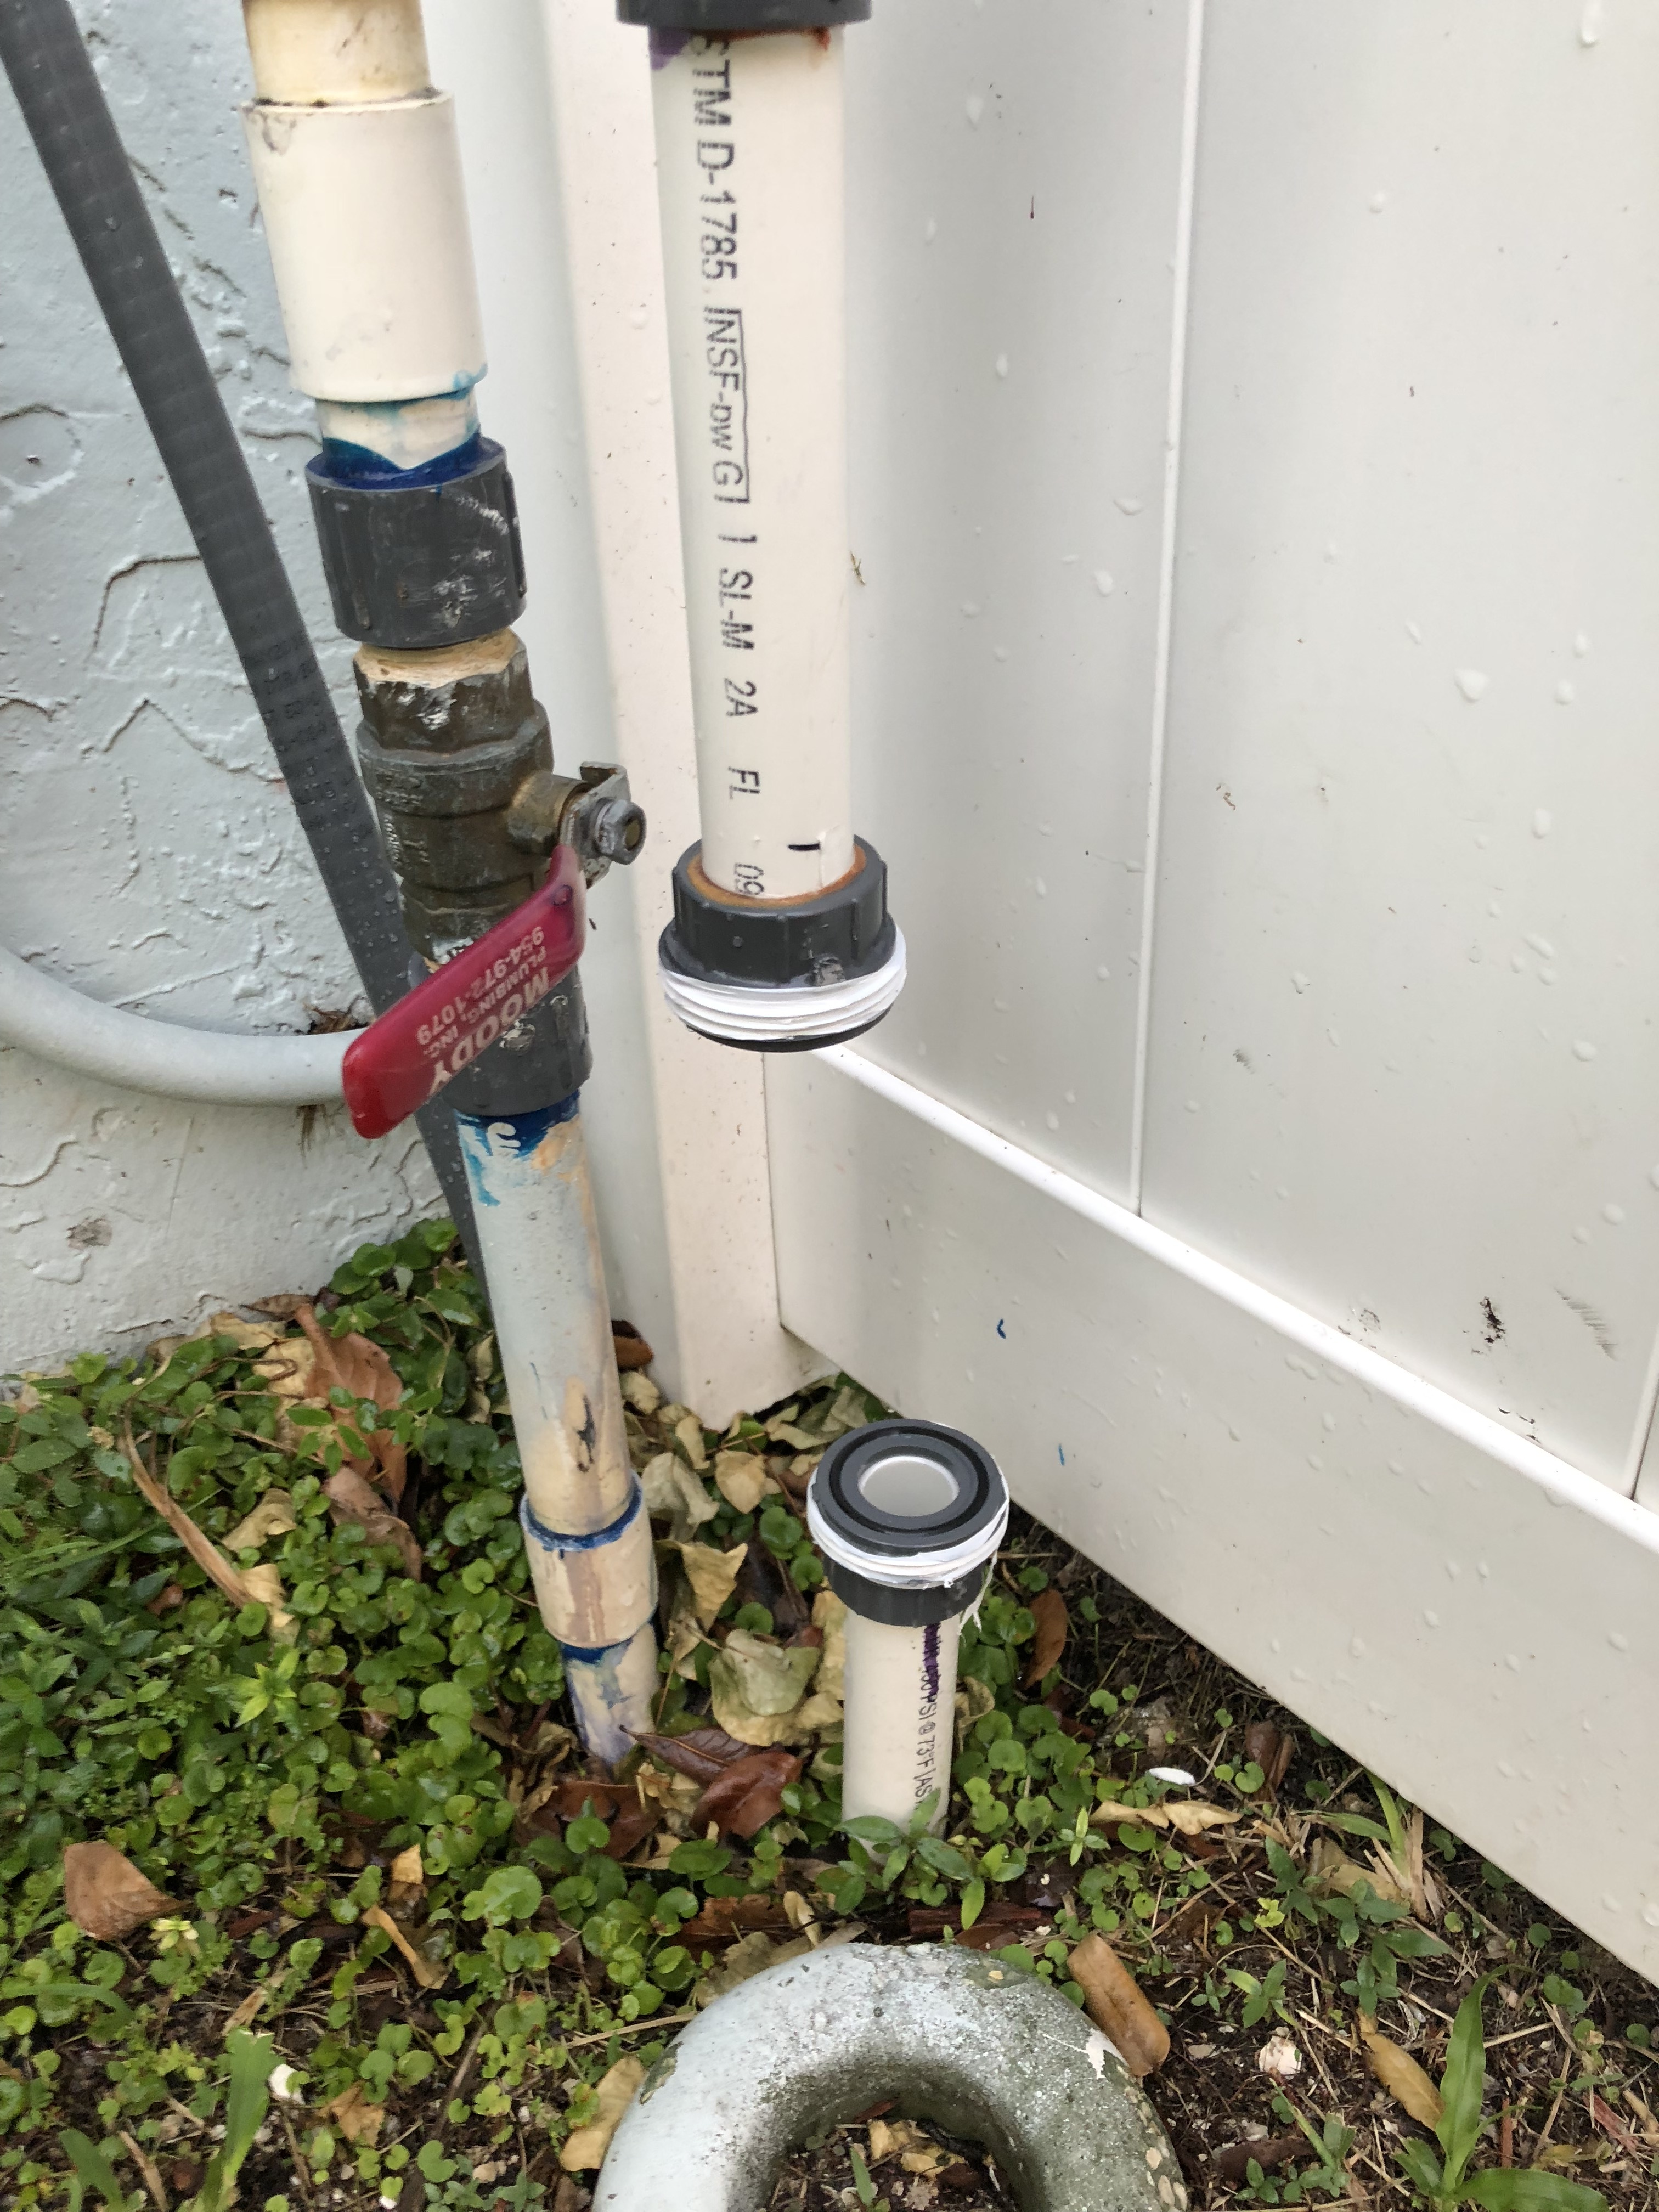
I’ve ended up using a plumber’s tape prior to attaching the flow meter. Remember to pair the meter with Rachio prior to the final installation or you may have to unscrew everything to get to the batteries.
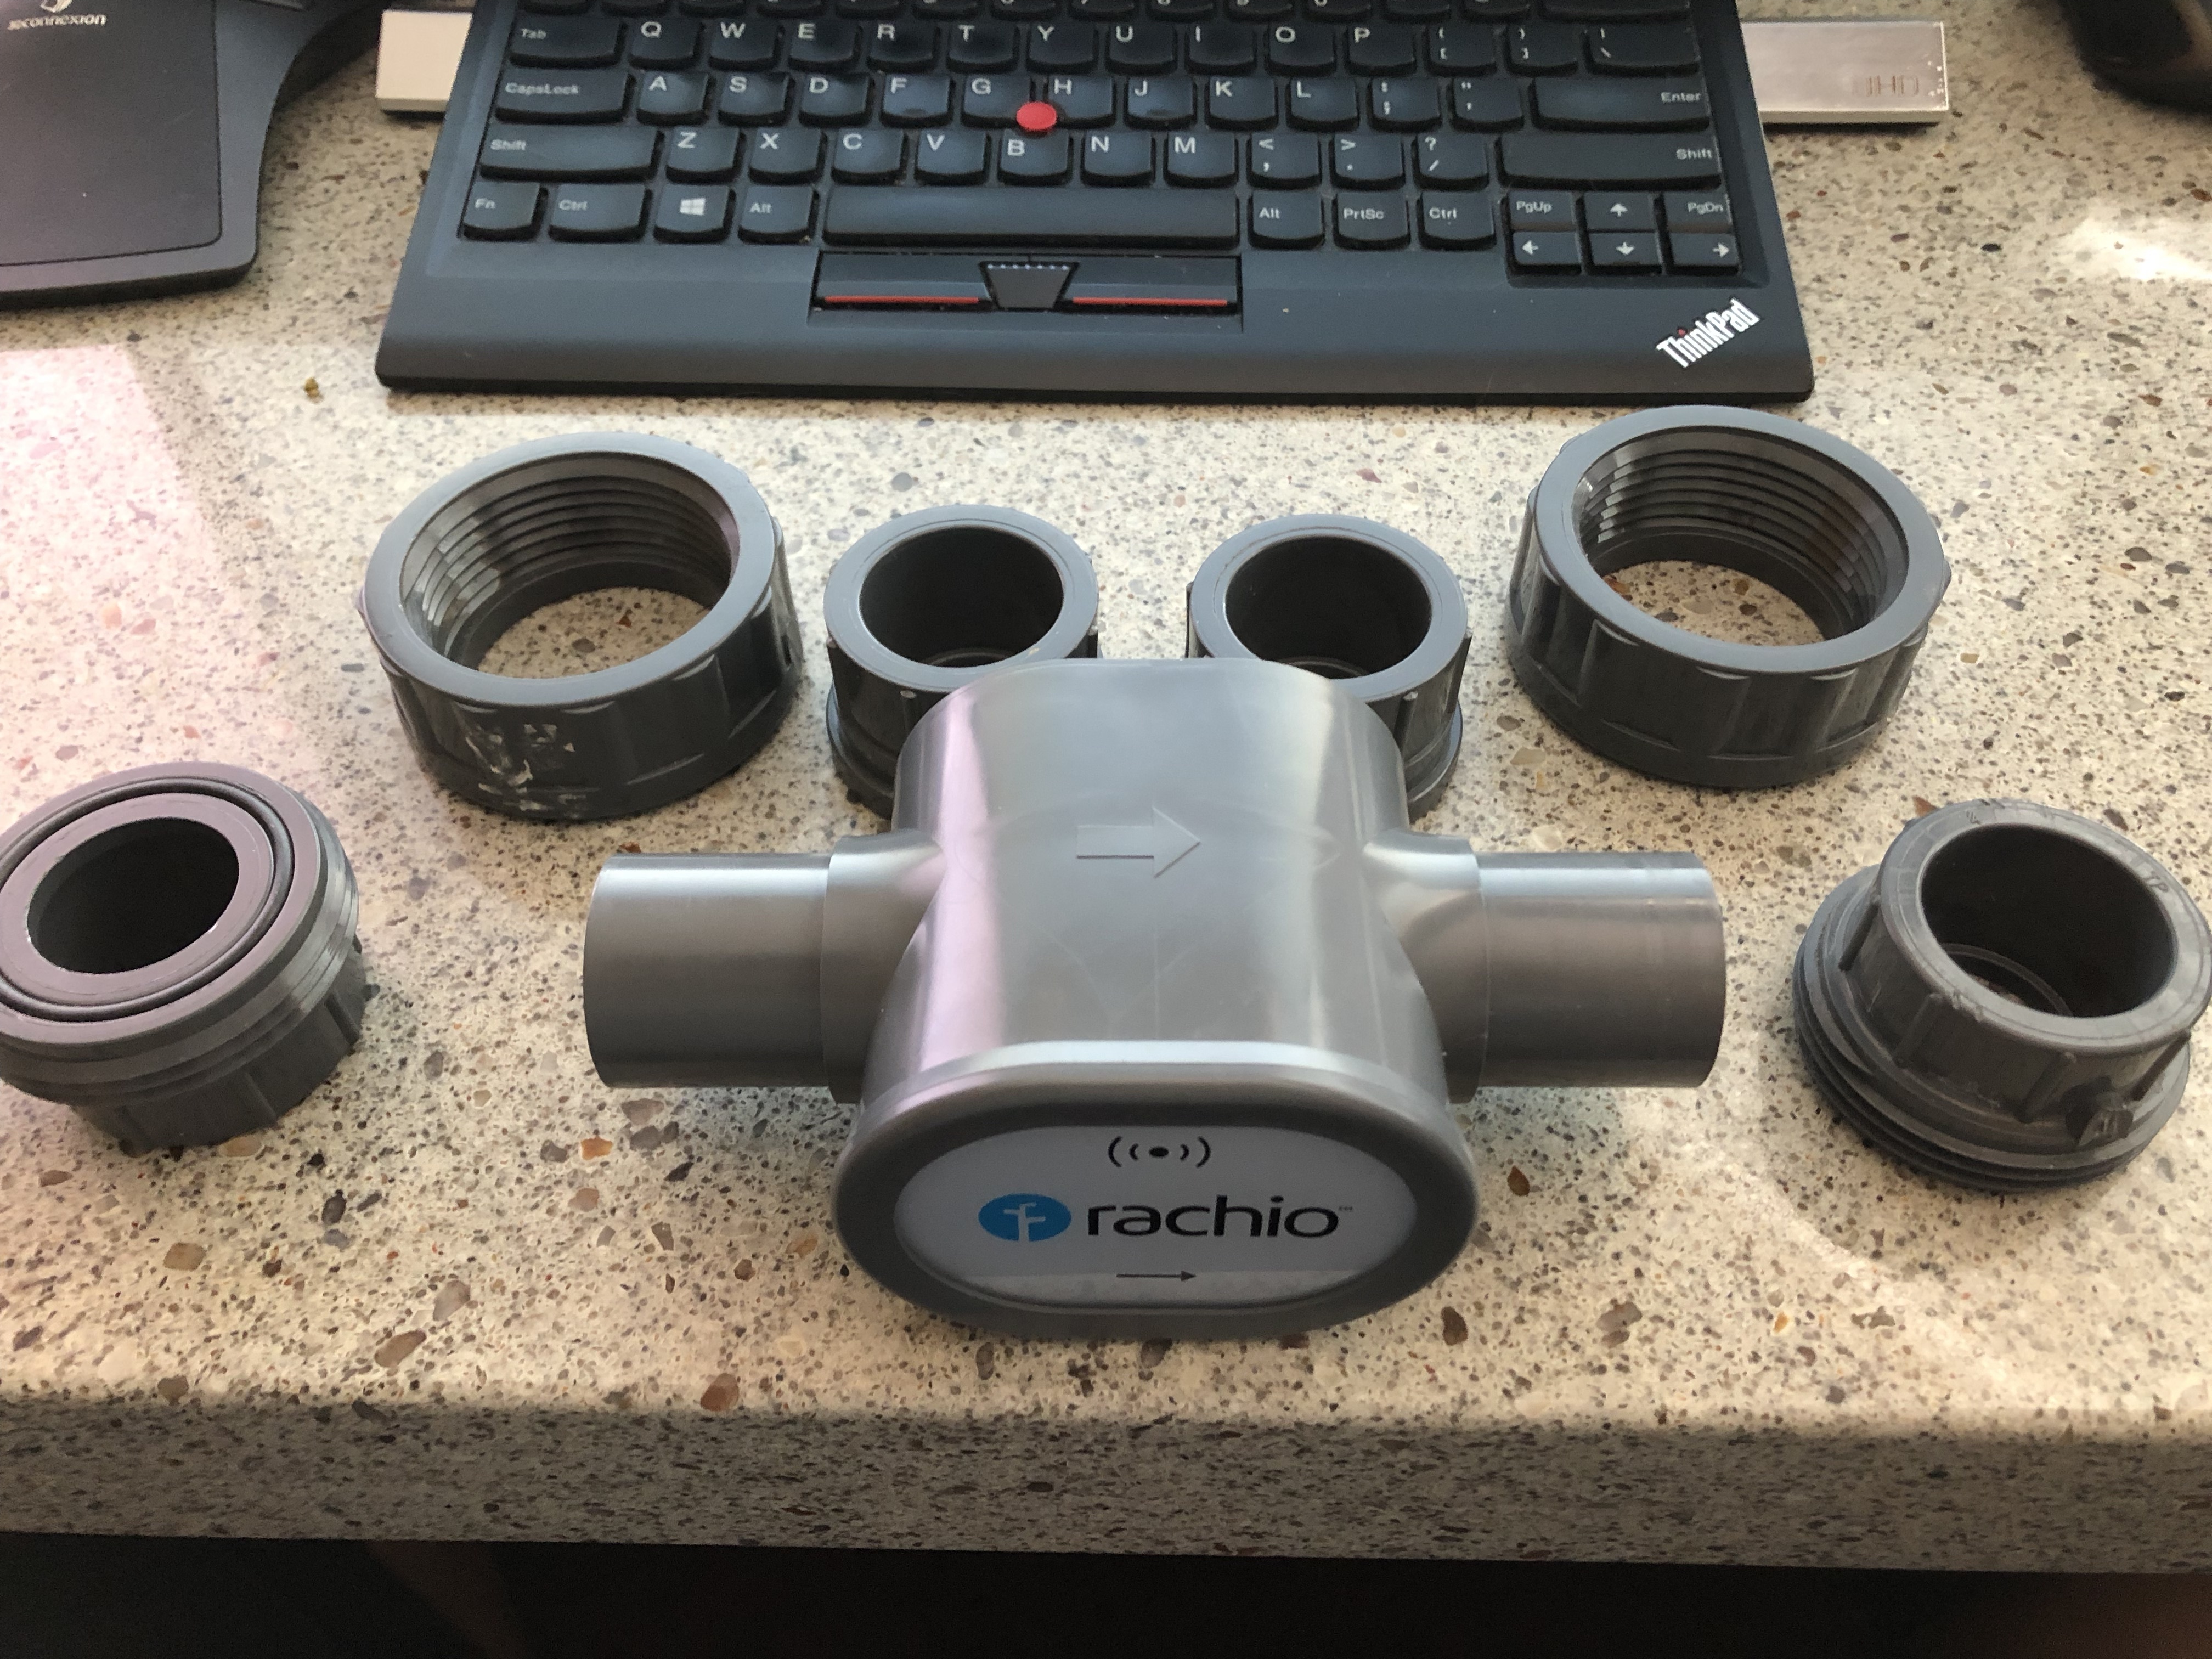
That is about it, Again, in hindsight, I recommend that you install the ends with the male thread (which also happen to have rubber gaskets on the above picture), onto the flow meter. This way you can avoid possibly deamaging the meter by forgetting to sandwich the female screw-on part.
Just installed this today. Seems to work well so far 
Cheers,
Gene